Now this is the post I intended to write yesterday, when I got sidetracked down memory lane photographing my grandmother's Victorian panoramic sugar Easter eggs and royal icing decorations. Today you actually get the tutorial for how to make Victorian panoramic sugar Easter eggs.
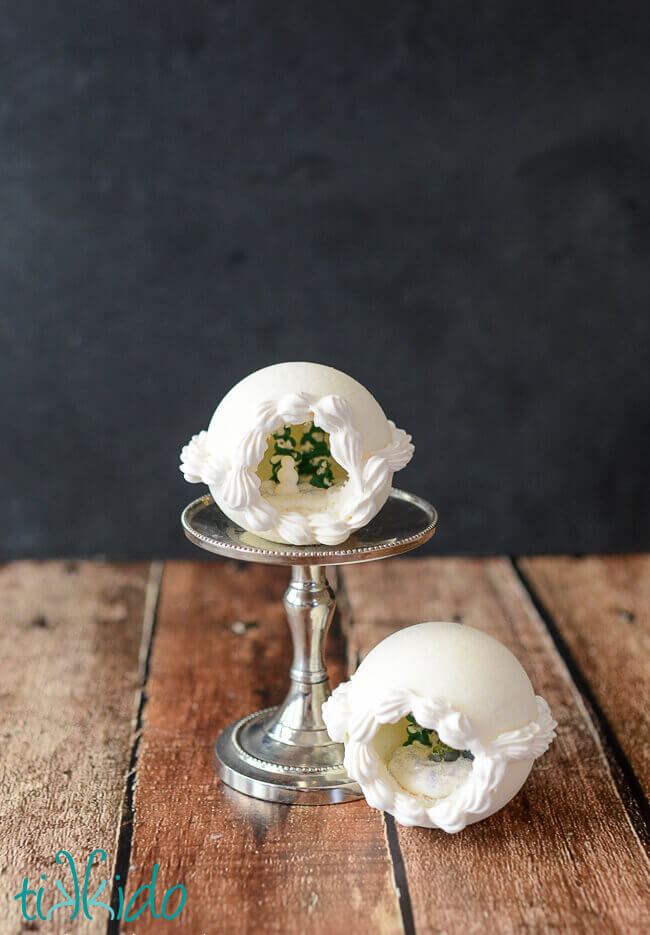
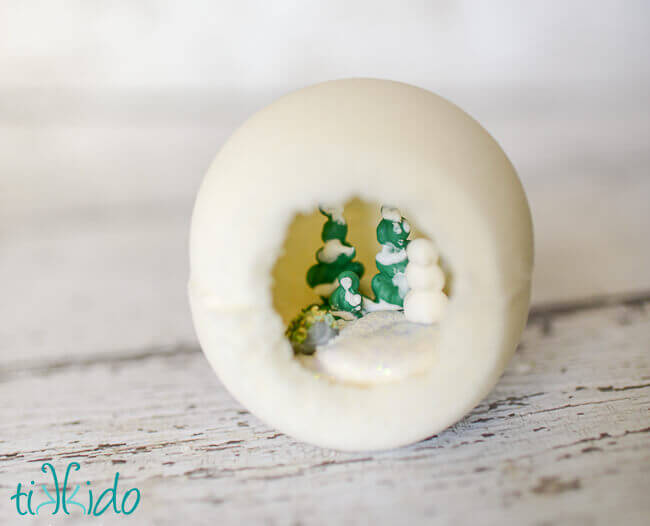
My grandmother mostly made Easter egg-shaped hollow sugar scenes, but she made them for Christmas, too, in perfectly round, snowy-white spheres, and what better inspiration for the FROZEN themed Easter egg hunt than a cherished family tradition from both Easter and Christmas?
Materials to Make Victorian Panoramic Sugar Easter Eggs:
- Granulated sugar
- meringue powder
- water
- food coloring (optional)
- royal icing
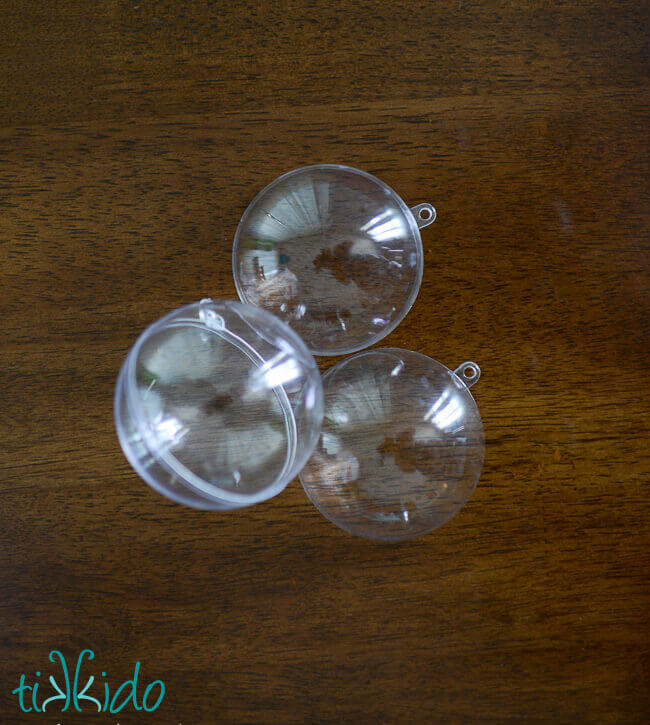
- panoramic egg mold or two piece plastic round mold.
- corn starch
- food safe dry paintbrush
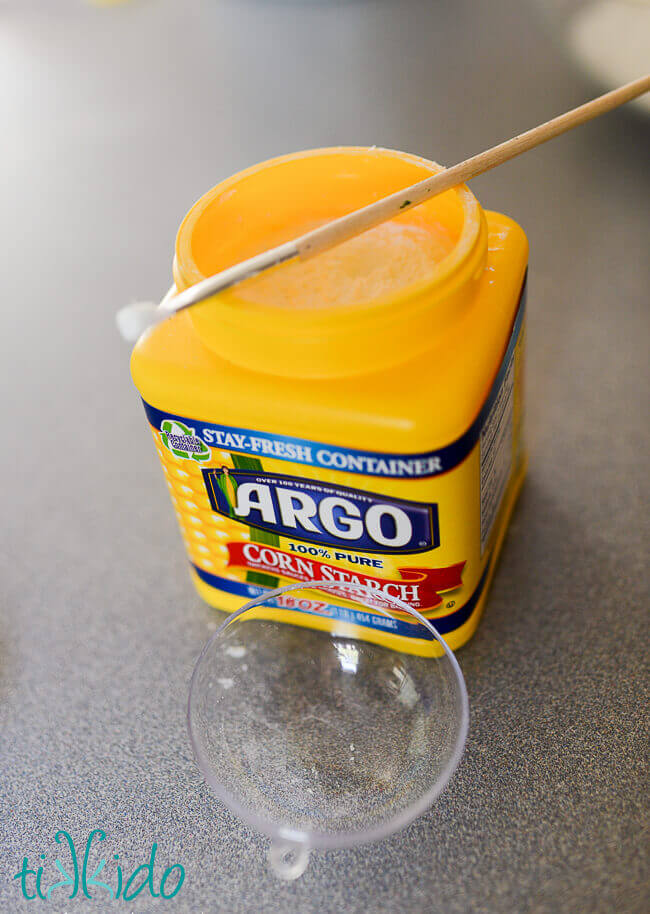
Corn starch was my grandmother's secret to getting the sugar to release cleanly from her molds. Use a clean, dry paintbrush to dust the inside of the mold you're going to use for your panoramic eggs with a layer of corn starch. It's not such a big deal with these round molds, but if you're ever trying to do something with any intricate detail, you absolutely MUST dust with corn starch first. And it's better to do so, even with the larger, smooth, simple shapes, too.
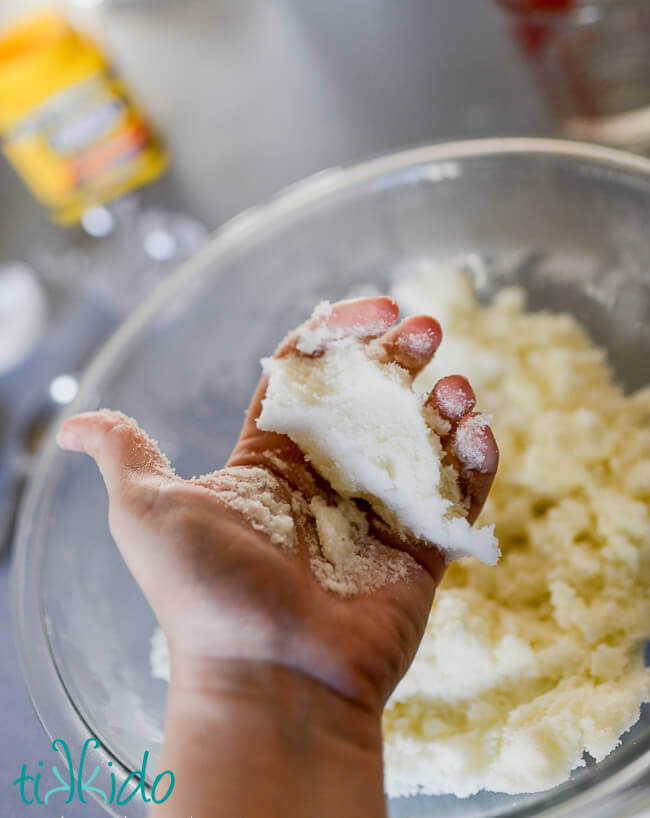
Combine the sugar, meringue powder, and water. I realize that I didn't give you measurements in the materials list above; that's because it depends on how much you need to make. Instead, I'll give you proportions: use one Tablespoon of meringue powder for every cup of granulated sugar. Use just enough water (go slowly! A few drops at a time!) until the mixture is damp and barely holds together when compressed. If you get it a little too wet, it will want to stick in your mold, but you can add more sugar to the mixture to bring it back to the right texture.
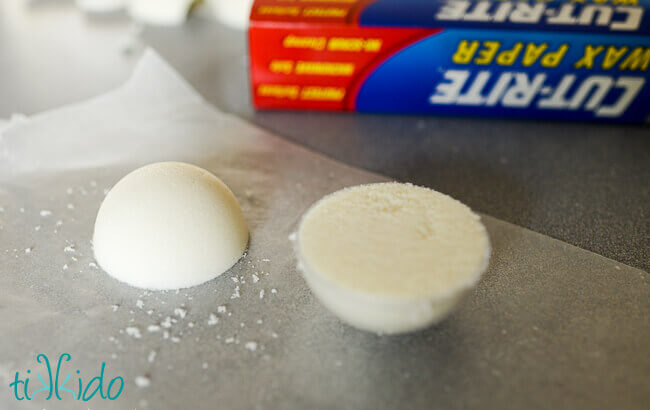
Pack the damp sugar mixture into one half of the mold, and flip it out immediately on a sheet of waxed paper.
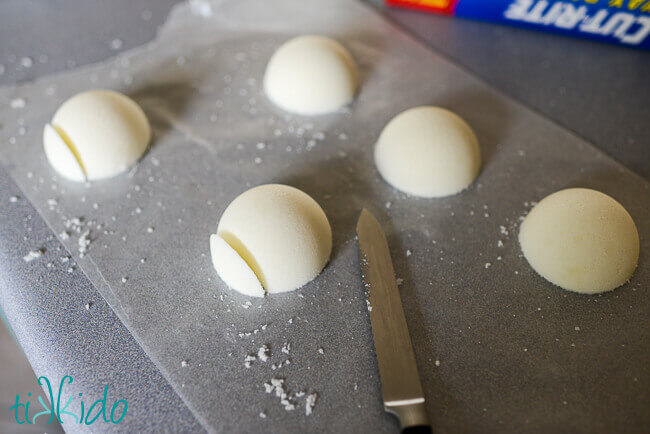
Immediately after turning the dome of sugar out of the mold, use a sharp knife to trim off a bit from one side of the half sphere to begin to create the hole where you'll be able to peek in and see the scene inside the sugar egg.
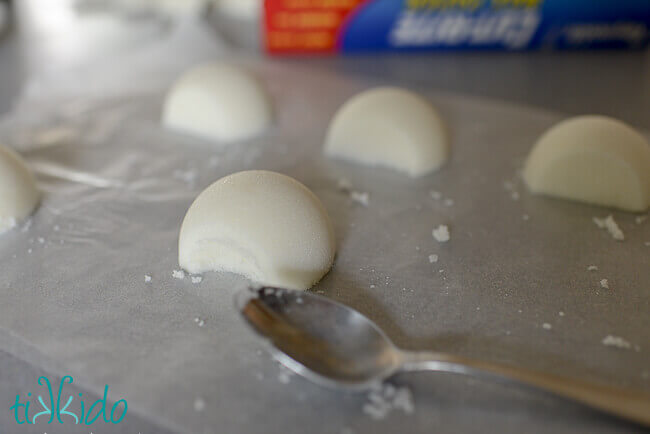
Also right away, take a spoon, and hollow out a bit of the inside of the sugar egg. When I didn't do this step, I got a lot of breakage when trying to move on to the next step of hollowing out the center.

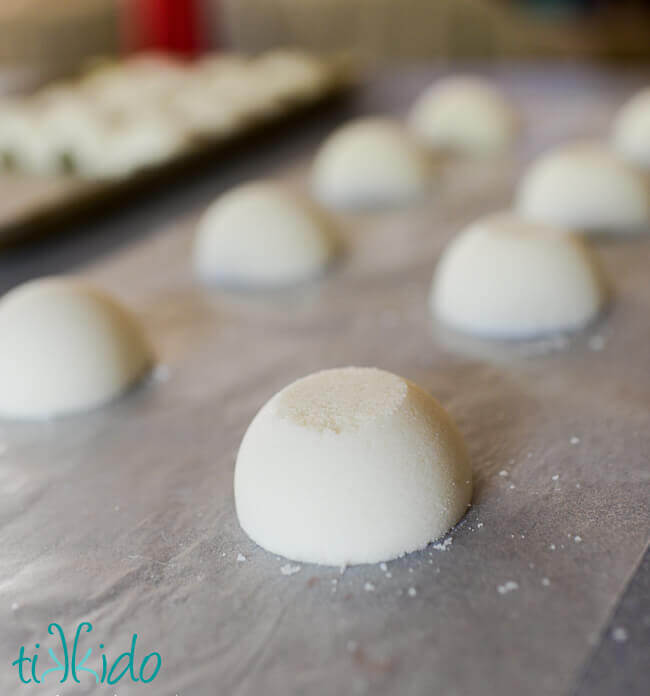
Let the sugar domes dry for about one hour. This will make the domes sturdy enough that you'll be able to carefully hold an overturned dome, and use a spoon to scoop out the extra sugar and hollow out the shape. Let dry overnight.
To make the bottom half of each sugar sphere or egg, follow the same procedure, but use your knife to carve a small flat platform on which the finished sphere can sit without wobbling.
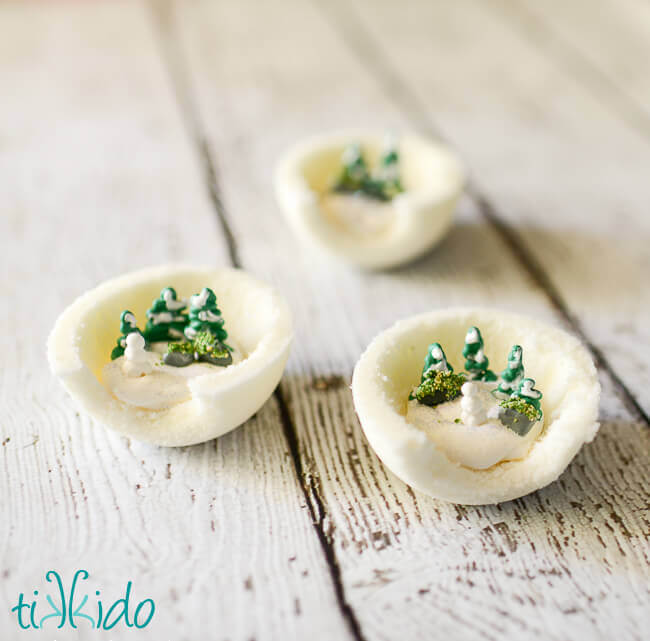
Once the two halves are completely dry (usually overnight), fill the bottom halves with royal icing scenes.
Use royal icing to glue the top half of the dome to the bottom half, and let dry completely.
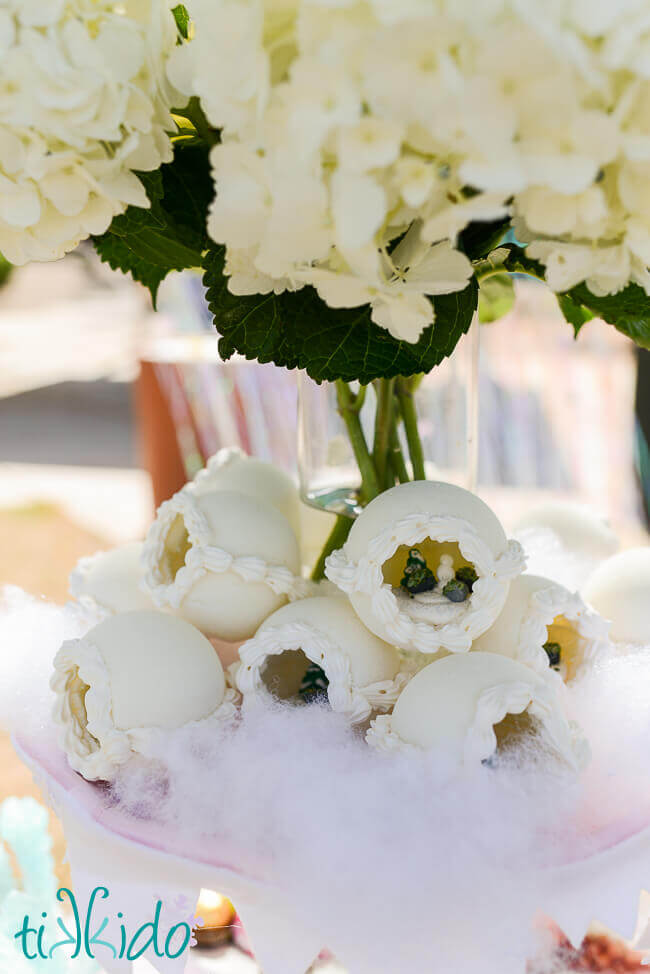
Once the entire sugar snowball or egg has dried, pipe more royal icing around the seam and the perimeter of the opening to cover any rough edges. My piping skills aren't anywhere near my grandmother's, but I'm working on it! The kids were all absolutely enchanted by the sugary snowball scenes at the FROZEN party, and I was so happy to have the opportunity to share such a cherished part of my family Easter tradition with our friends.
What does your family make for Easter?

.png)