I love creative gift wrapping ideas. Love love love them. Actually, I love paper crafts of any kind, so when I received a box of beautiful paper crafting supplies from Jen Hadfield Home+Made, I knew exactly what I wanted to do with them: transform boring, plain, white gift wrap into something artistic and hip and amazing.
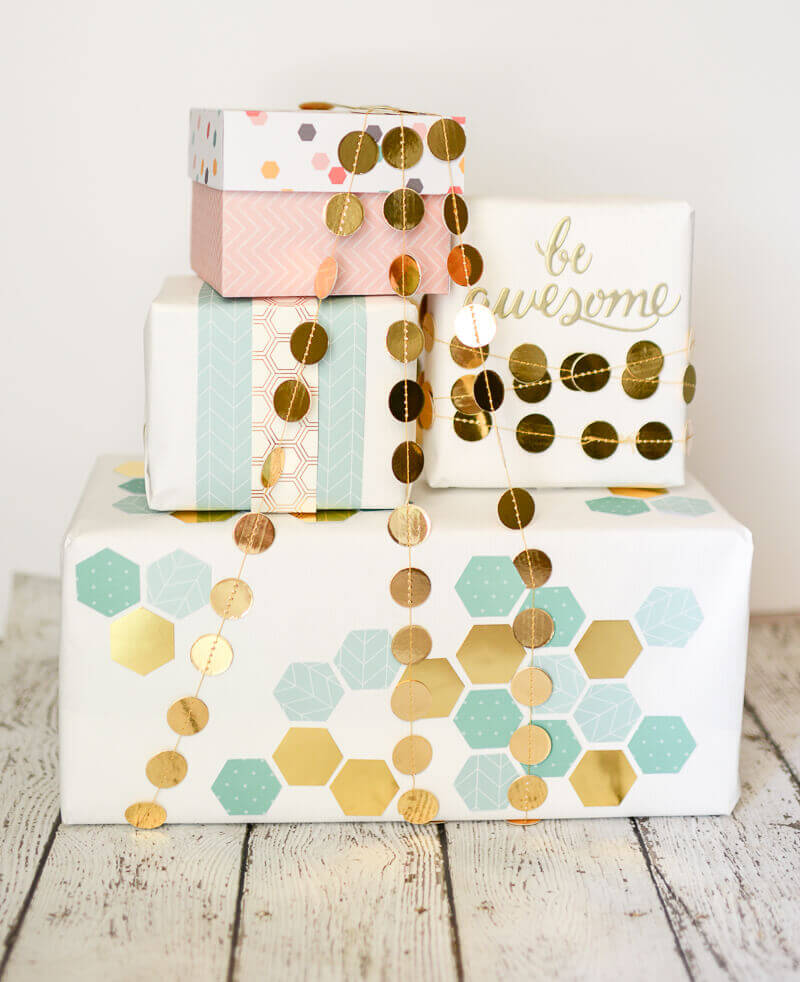
The theme for these coordinated, creatively wrapped gifts was inspired by the hexagon papers in the Jen Hadfield collection. Beautiful, geometric papers for scrapbooking and any kind of paper crafting. There were several different designs using hexagons, and I knew that was my unifying theme.
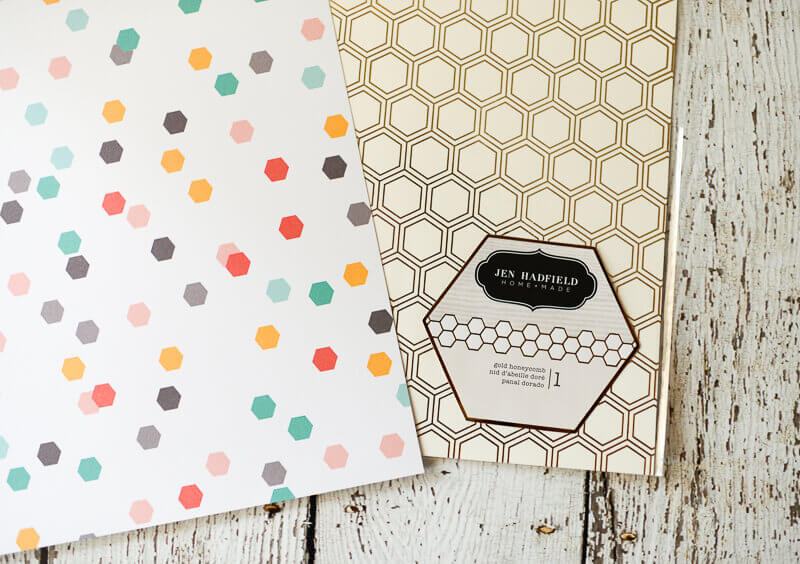
The cardstock was remarkably heavy and high quality, and I decided to make a custom gift box out of the scrapbook paper to stack in my collection of beautifully wrapped, coordinated gifts.
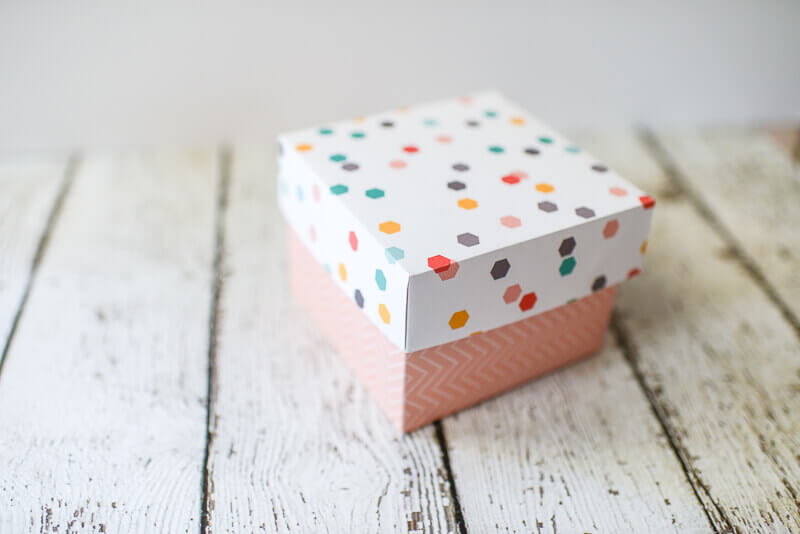
Gift boxes can be made in any size you need, so I'm going to give you a formula, rather than exact measurements to make a custom cardstock box out of beautiful papers.
Materials For Making a Cardstock Gift Box
- two sheets of complimentary, but contrasting cardstock
- straight edge ruler
- scissors
- low temperature glue gun or double stick tape
Making the Bottom Portion of the Box: Decide how high the walls of the gift box will be. Decide how wide the box will be. Add the height of the box + the height of the box (for the other side) plus the width of the finished box. This measurement will be one dimension of the total piece of cardstock you'll use to make the bottom portion of the box. Decide how deep the box will be (the other dimension of the square or rectangle). Add the depth + the height +the height. This measurement will be the other dimension of the total piece of cardstock you'll use to make the bottom portion of the box.
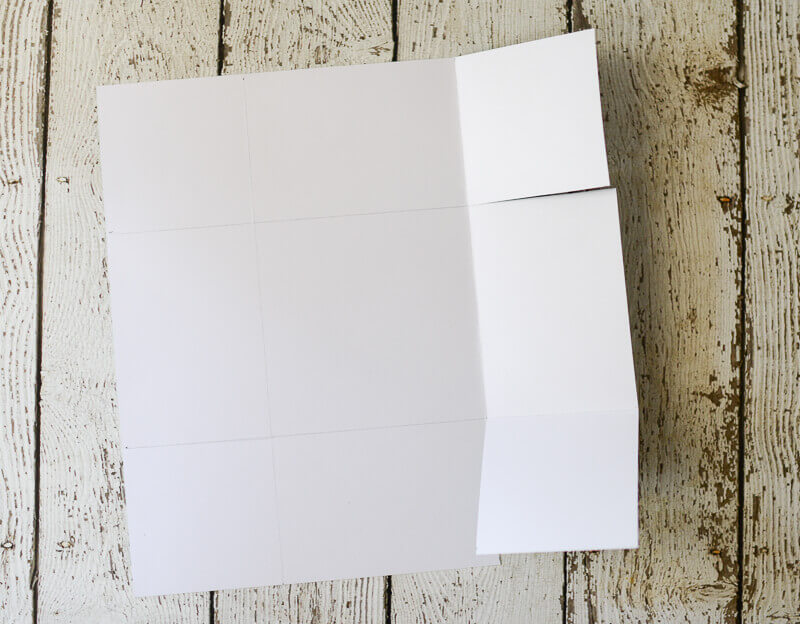
Cut the cardstock to the dimensions you found using the instructions above. (I wanted a square box, so I used the entire 12x12" paper, which was terribly easy.)
Use the ruler to measure the height of the box walls in from each corner of the large piece of cardstock. Do this on every corner. Take a look at the photo above. Basically, we're making a square at each corner that's as tall as the wall will be. Draw pencil lines connecting the marks you've made, so you'll see a square (or rectangle) in the center, and four perfect squares at the corners. Score along those lines, and fold the paper along those lines. See the four squares at the four corners? Use scissors to cut along ONE edge of each of those corners.
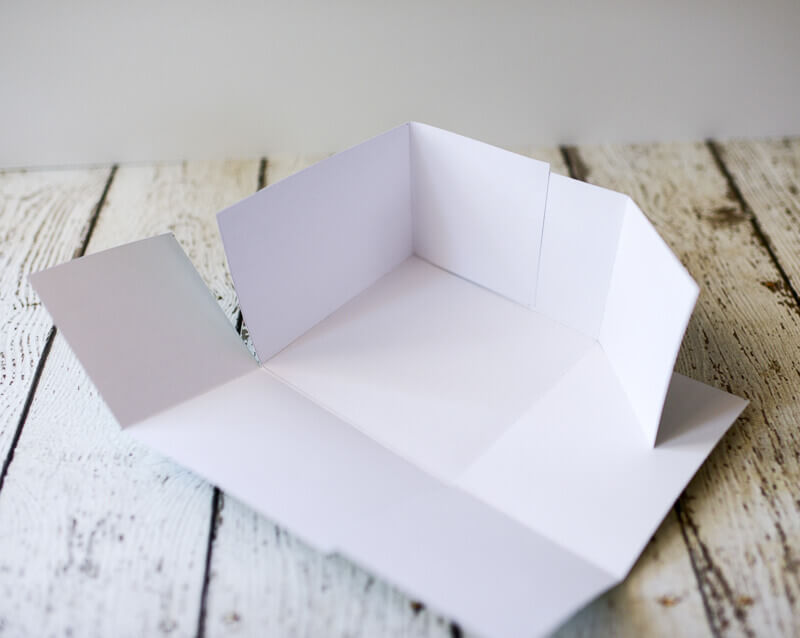
Fold the edges up along the scored lines. Use a low temperature glue gun or double stick tape to glue the corner square to the inside of the perpendicular side. Some of these descriptions might give you a headache eerily reminiscent of 9th grade Geometry class, but really, it's easy, I promise! Just look at the pictures. Glue all four sides together, and voila, you have the bottom of your box complete!
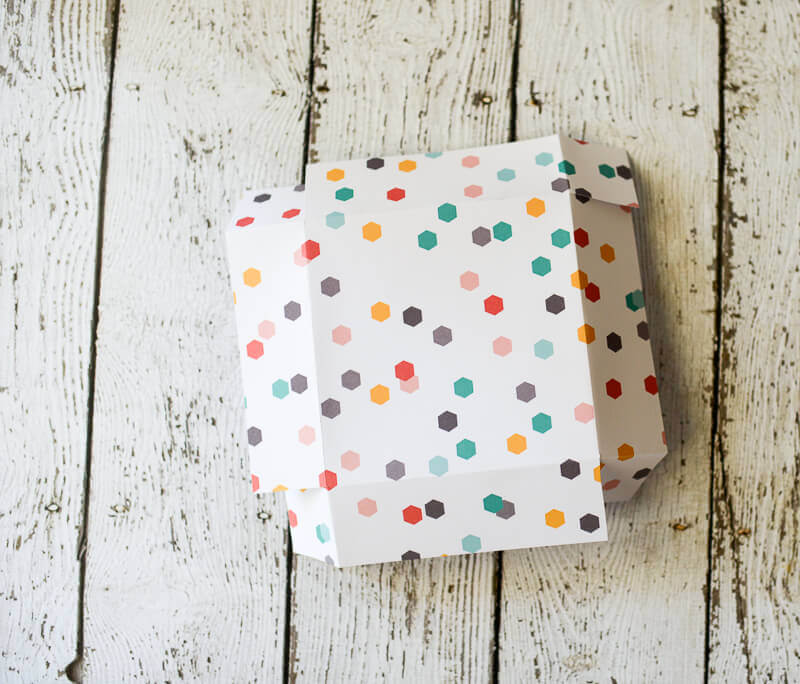
Do exactly the same thing to make the lid for the box, EXCEPT make the sides of the lid shorter (so you can see that pretty bottom box), AND make the center square just a *hair* larger. We're talking 1/16" larger, nothing dramatic. Just enough so that the lid will slip over the bottom box without bending the side walls.
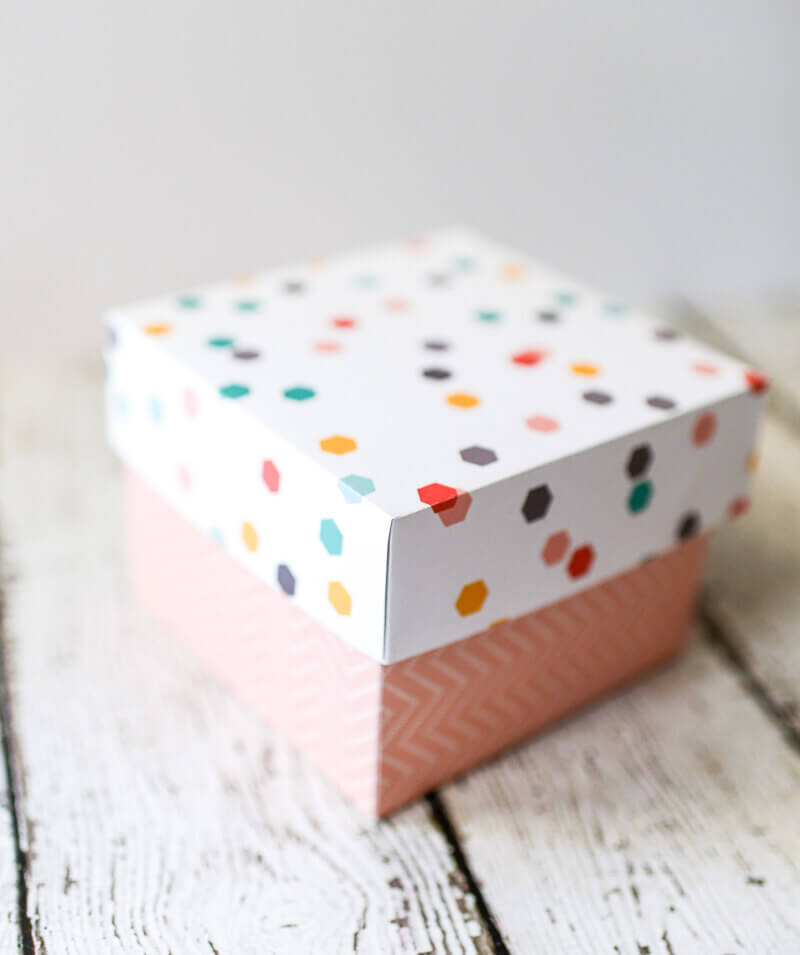
So pretty, right?
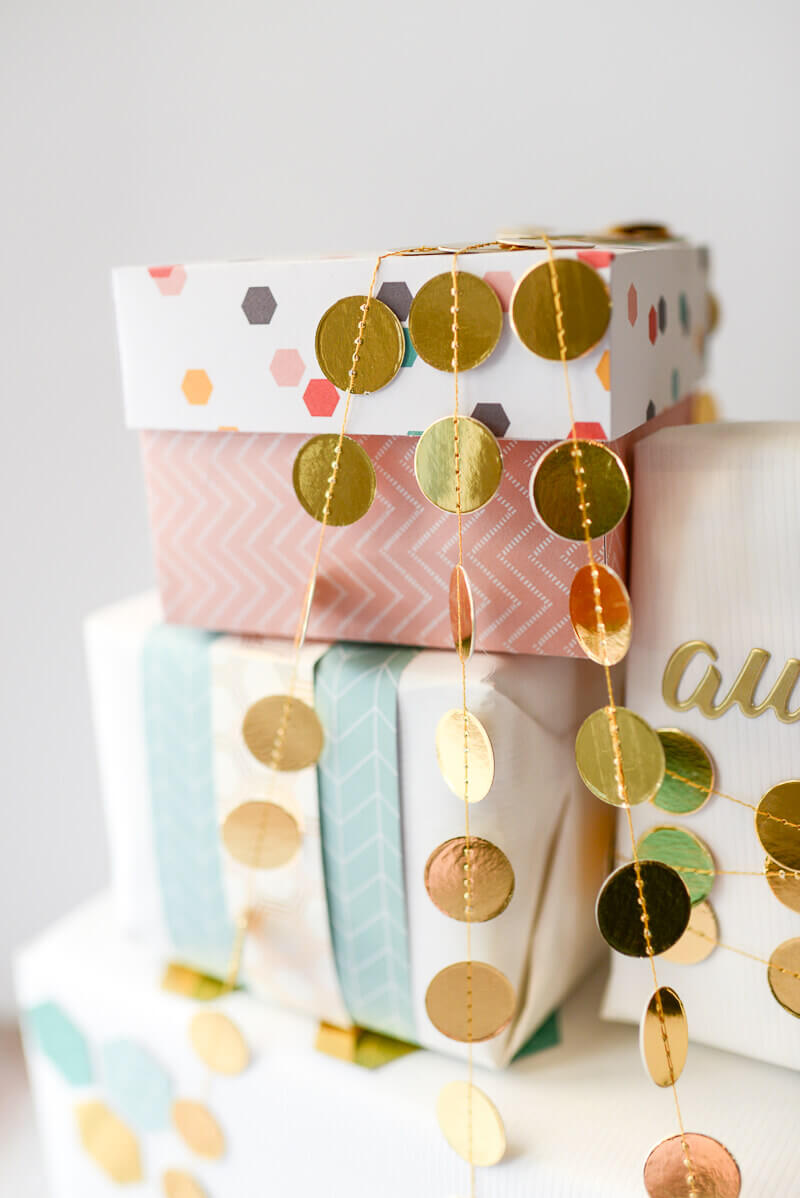
And the box works so well with the other coordinated presents, like the hexagon punch embellished present, the simple Be Awesome sticker present, and the scrapbook paper band embellished present ( http://tikkido.com/blog/scrapbook-paper-band-gift-wrap-tutorial ). So easy, and so perfectly coordinated.
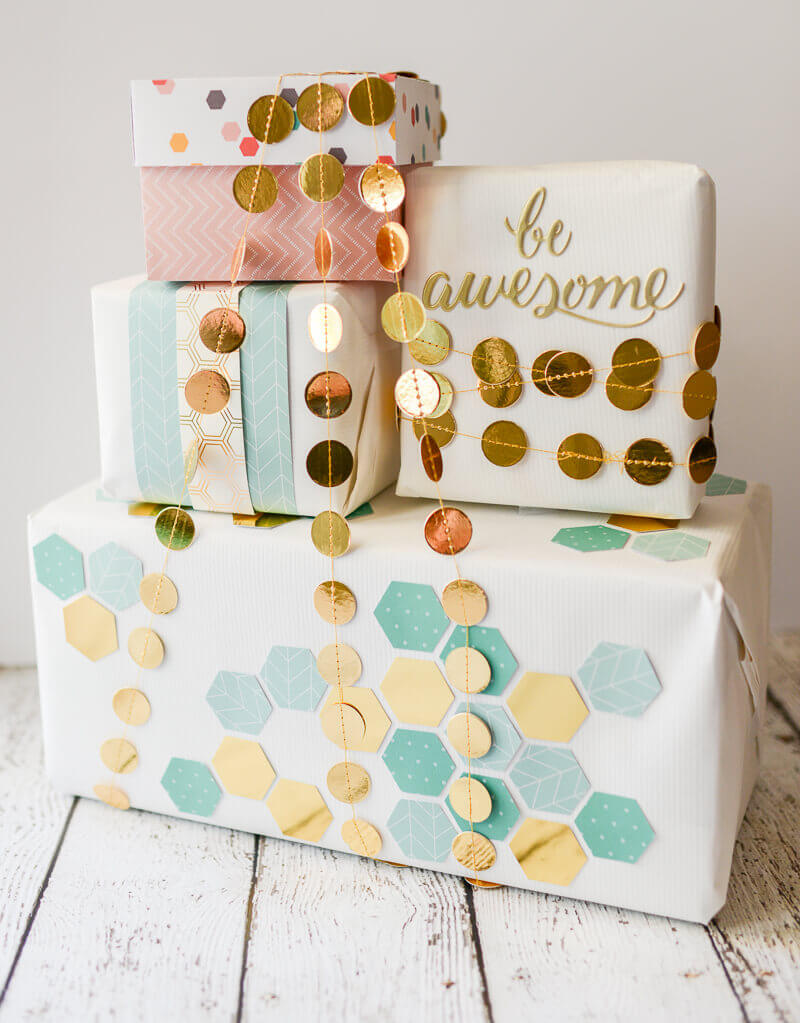
One present is great. But several? Gorgeously, thematically wrapped? Well, that's a present in-and-of itself.


.png)