I've been crushing on Katherine Sabbath (an amazingly creative, fun, Australian cake decorator) for a while now, and I thought it was high time that I tried making her style of cake. And I happen to be celebrating a friend's birthday today, so I had the perfect excuse to bake a cake! Not that I need an excuse, but it helps.
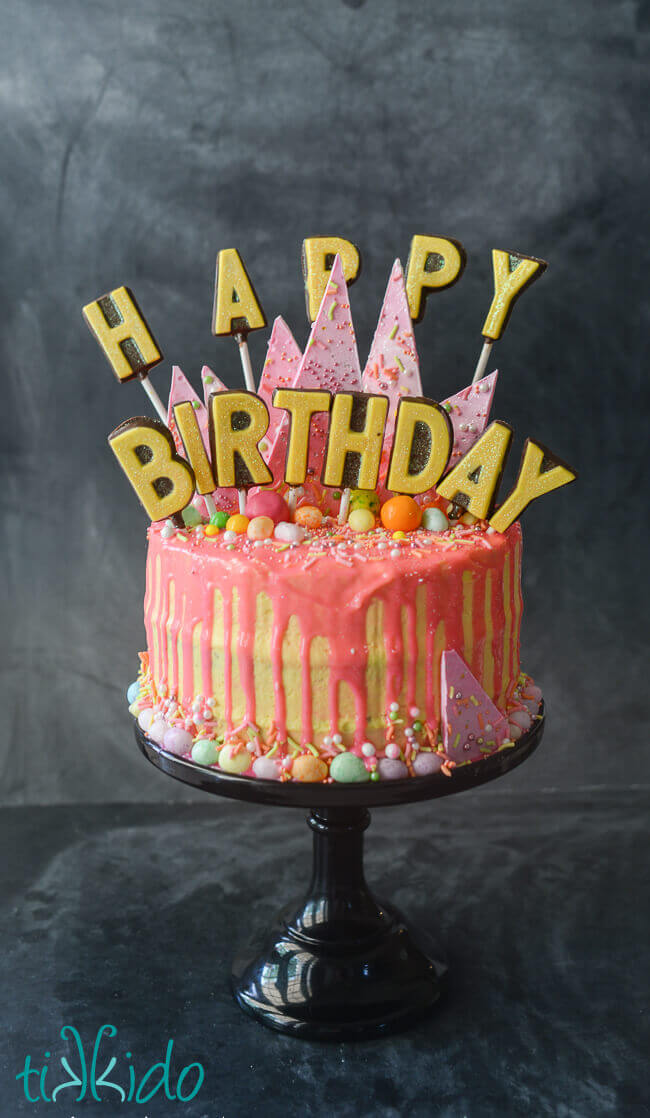
The colors, the drippy pink ganache, the mixed candies and sprinkles, that's all Katherine Sabbath signature style. I just added the chocolate lollipop happy birthday cake topper.
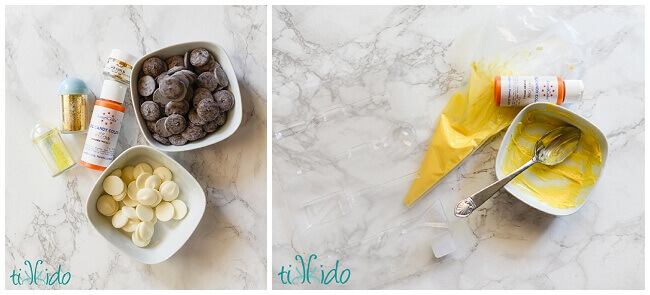
To make the chocolate lollipop cake topper, I used:
- dark chocolate and white chocolate melting wafers
- oil based candy food coloring
- disco dust
- light corn syrup

I picked up a set of alphabet chocolate lollipop molds at the East Valley Cake Decorating Supply in Mesa, AZ. I'm having a devil of a time finding the molds I used anywhere online to link for you, but if you call EVCDS I am sure they'll help you out. They're working on an online store, too, so before long, you'll be able to order from them directly online.
I knew I wanted to use two colors of chocolate, one light, one dark, so that the letters would really stand out on the cake. I've read about people painting on a layer of chocolate with a paintbrush, but I've never had good luck with that. My attempts are splotchy and spotty at best. Instead, I decided to put my melted chocolate in disposable pastry bags, and just squirt it carefully where I needed it to go. I first layered the yellow chocolate (made with white chocolate melts and the oil based candy food coloring) just in the letter shaped portion of the chocolate mold cavity, then I layered the dark chocolate on top (the back side of the lollipop). I used two lengths of lollipop sticks, standard 6" and extra long 11.25" sticks, so I could easily set the two words at different heights. The cavities were built for the standard 6" stick, but it worked just fine to use the longer sticks and just have them set at a slight angle.

Once I'd hardened the chocolate in the refrigerator, I popped the letters out of the molds. They were cute, but I wanted a little something extra. Glitter, of course. I painted the tops of each letter with clear corn syrup, and sprinkled more disco dust on top of each letter.
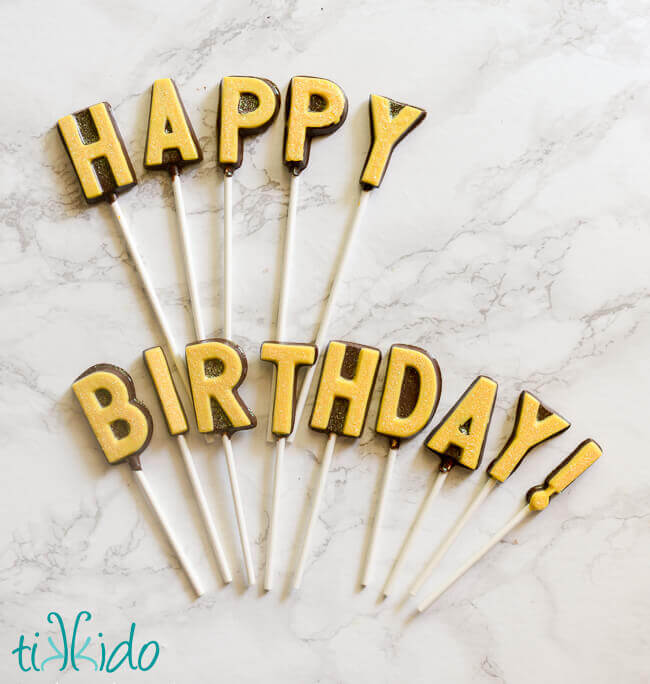
Ah yes, everything is better when it sparkles!

What a perfect addition to the birthday cake! If I add enough distractions, even I don't look straight at the bulging filling, or how I clearly should have waited longer for the pink ganache to thicken before spooning on the drips. That's what first attempts are all about! I still love it, and I think the birthday girl will, too.

.png)