I've always loved seeing the first blooms of spring push their way out of the ground, even through some of the last snow. The crocus, the daffodils--those bright spots of color herald the return of green and life, and always make me smile.
Here in Phoenix, I don't get to experience that. But when I was planning the FROZEN Easter egg hunt, I knew I wanted to incorporate something that would remind me of that favorite sight of spring from my childhood, and I came up with a fun twist on a classic Christmas/winter craft.
I'd seen people coat vases and candles with epsom salt before to give a snowy effect, and I thought that would be the perfect jumping off point for our springtime FROZEN party.

To Make Snowy Springtime Vases You'll Need:
- Glass vases (easier if it has a straight side)
- epsom salt
- glue that dries clear
- paintbrush
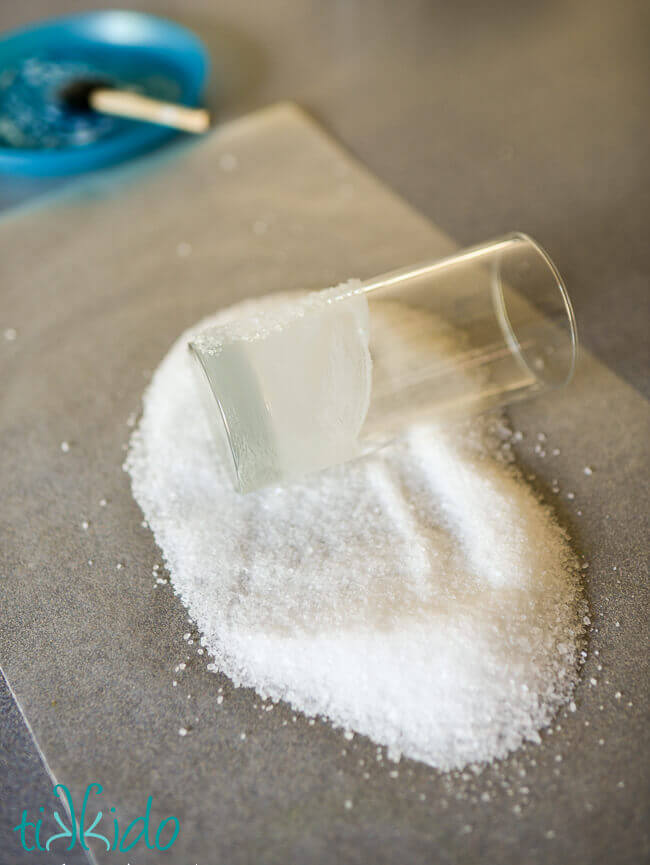
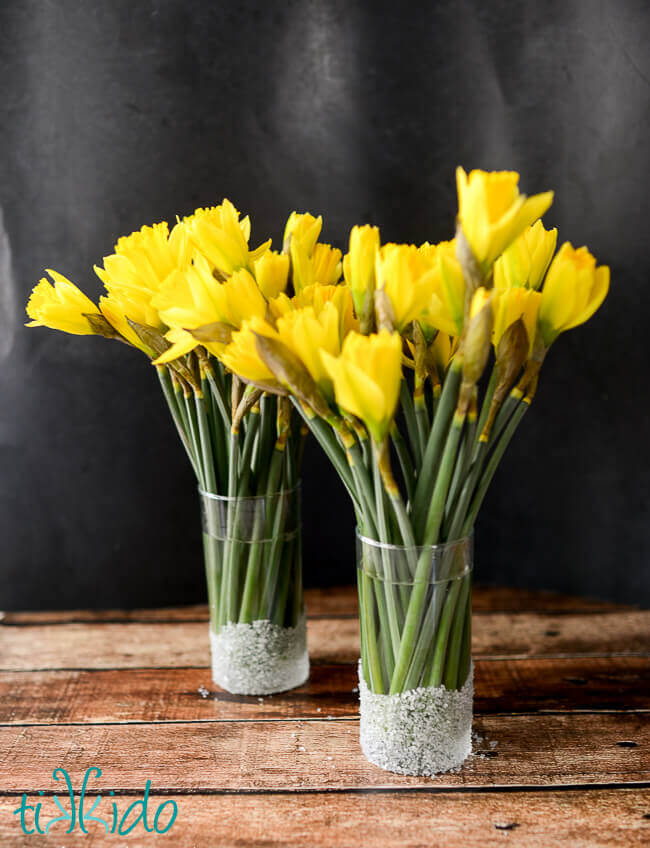
I didn't want to coat the entire vase, like the Christmastime vases I'd seen. I wanted to evoke the idea of the blossoms pushing out from the last, melting snows of winter, so I wanted the snowy effect to look shallower, and more irregular, like mounded snow on the ground. To get that effect, I painted just the bottom quarter to third of my vase, and made the top line wandering and wavy, like the ground might be in the woods. Once the glue was painted on the glass, I rolled the glass in epsom salt to coat.
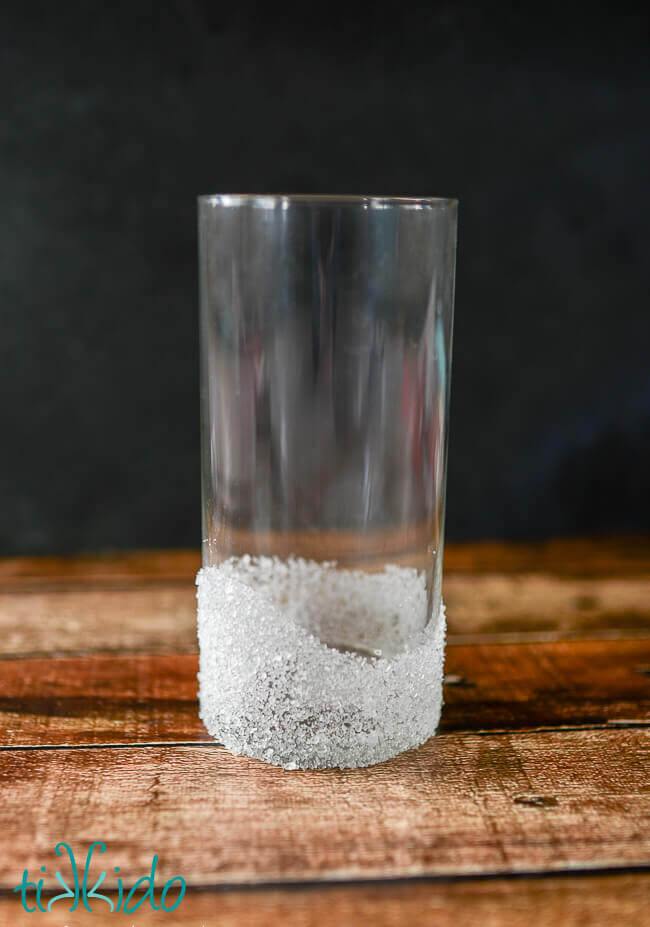
Let dry, and then fill with flowers! Told you it was easy!
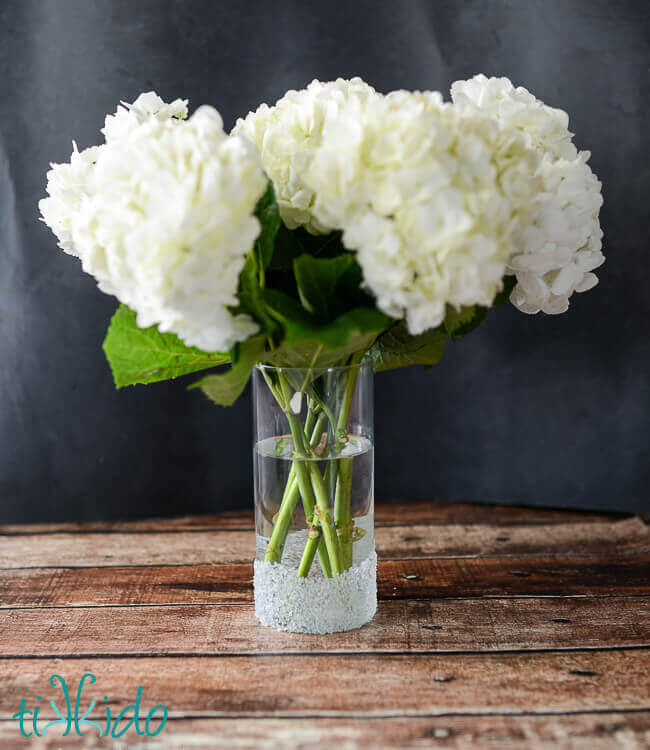
I love how these vases turned out, especially with the cut daffodils. But what I really love about this project is that I'll be able to use the vases next winter, and keep using them through the spring! I love decor items that can transition.

.png)