I've always had a thing for those Elven-style crowns. You know, the ones that remind you of Lord of the Rings. So when my friend Jen asked me to create a crown for her stage-fighting theater group, I knew exactly what I wanted to make.
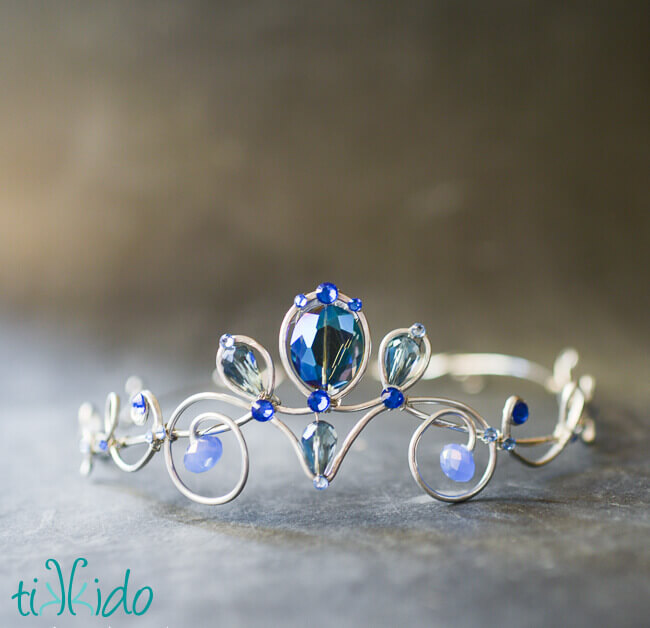
This style of crown sits a little low, so it's more stable for wearing for activities, and they also didn't want something too blingy and gaudy. Perfect opportunity to make this kind of headpiece!
Materials for Elven Wire-Wrapped Crown Tutorial:
- 12 gauge craft wire (buy here)
- 24 gauge craft wire (buy here)
- assorted crystal beads
- glass and metal glue (buy here)
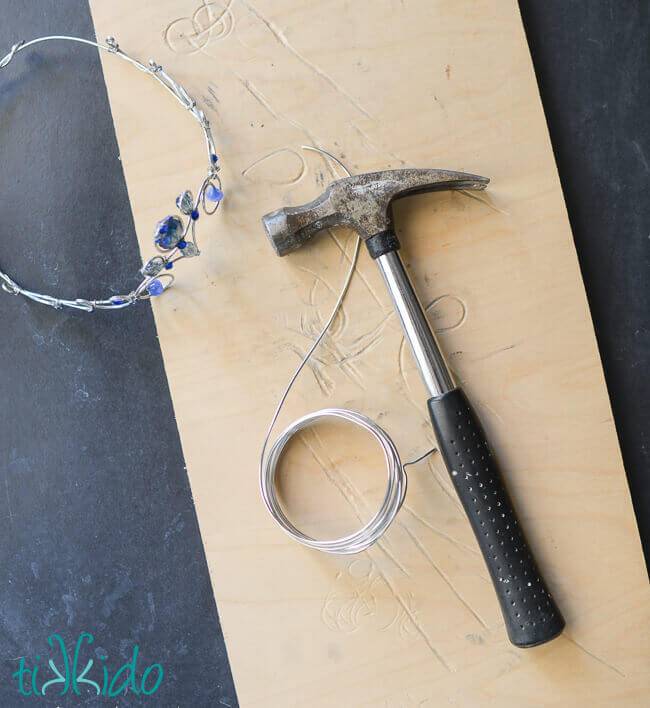
I knew I wanted a hammered metal look--not just the perfectly cylindrical wire--so I took a literal hammer to my wire. You need to be careful to choose an appropriate surface for hammering the wire; as you can see, I made lots of indentations in my scrap wood surface while I flattened out my pieces.
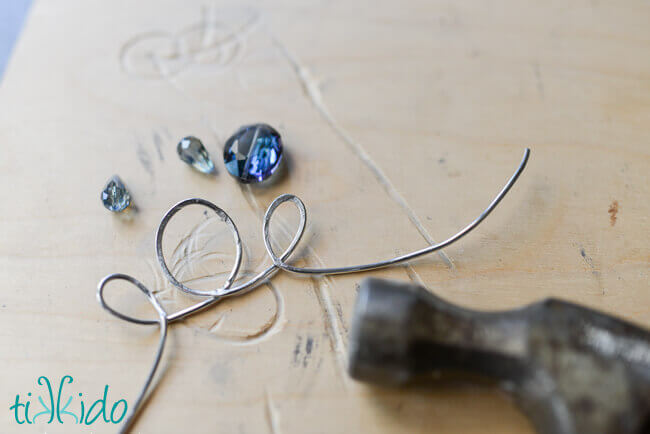
Oh, and curl the wire into its basic shape before you start hammering. It bends MUCH more easily and prettily in its original form.

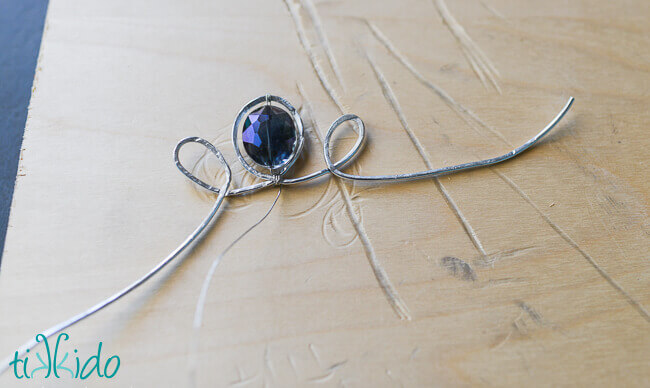
Use 24 gauge craft wire to attach the crystal beads to your basic hammered metal shapes. Start by securing teh wire at the bottom of the oval, where the wire crosses itself.
A note on the crystals I used. I used to be a complete Swarovski snob--and for good reason, nothing else in the world compared to Swarovski's quality--but in the last several years, Chinese crystal manufacturers have cracked the process, and make absolutely gorgeous crystal beads, at a fraction of the cost of Swarovski. There's a tremendous range of Chinese crystals available on Amazon, but I have an AMAZING local bead store, Beads Galore, where I buy mine. And I'll bet if you give them a call, they can set you up with absolutely anything you need.
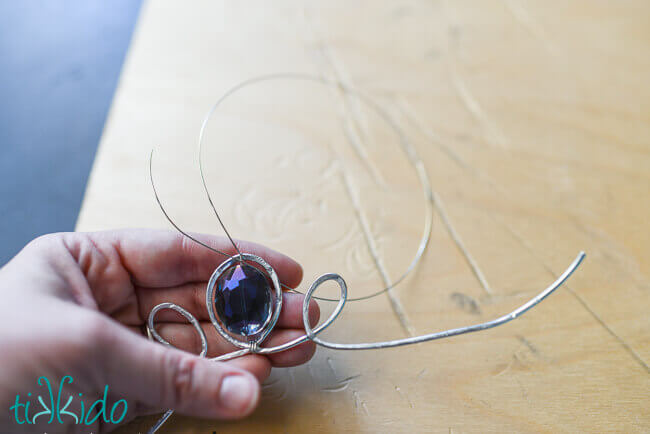
Thread the wire through the bead, and anchor the wire at the top of the loop as well.
Run the wire back down to the bottom point, and secure the wire by wrapping it around the original juncture several more times.
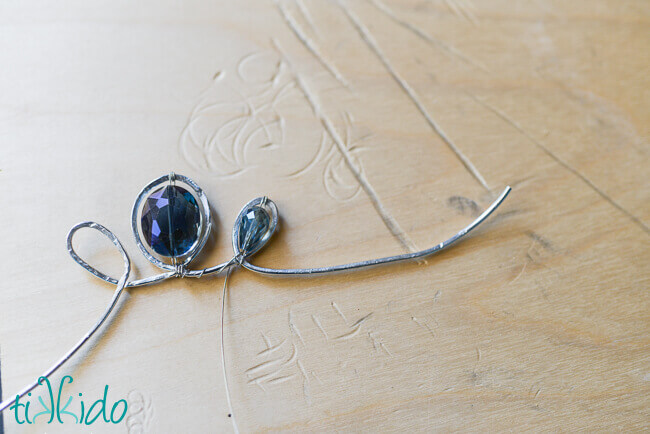
You could snip off the wire and start again, or, if you don't mind seeing the thinner wire, you can wind it around the basic wire shape to the next loop, like I did here.
Make a basic circle of wire as the foundation for your crown (you can certainly throw some loops in the foundation piece, too), and use more of the 24 gauge wire to attach your metal and crystal flourishes and swirls to the basic crown form.
I glued some flat-backed rhinestones on top of the wire-wrapped joints to help hide some of the mechanics of the construction. (A hot glue gun will NOT WORK, you have to use glass and metal glue!)
Yep, I definitely need to make one of these for myself this year. I wonder if I can convince my youngest to be a hobbit for Halloween?

.png)