I put a lot of thought into the favors I give at my parties. I don't want to spend money on something that kids (or their parents) are just going to throw away. So I like to take as much care in packaging up the favors, so that the guests will get a hint that it's something I think they would truly enjoy. Just as I love creating creative wrapping for all presents I give. (I collect all sorts of awesome ideas over on my Packaging Pinterest board, if you're similarly obsessed.)
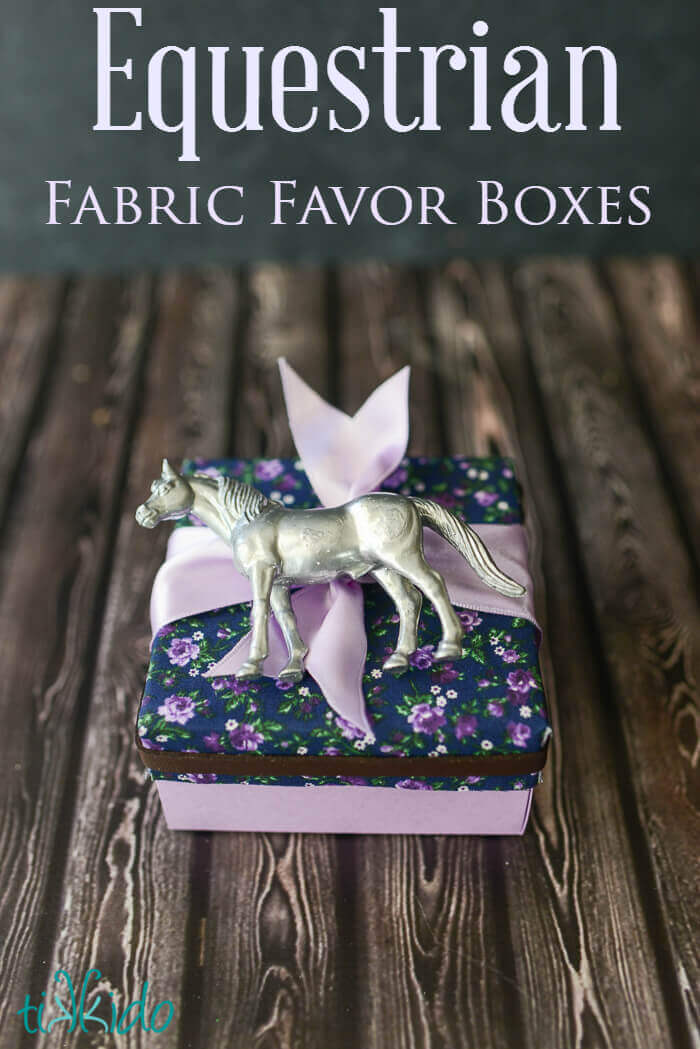
I'd made stylish leather wrap bracelets to give as favors, and wanted a small jewelry box kind of package. But a pretty one. I could have ordered jewelry boxes and decorated them, but of course I come up with all my best ideas at the last minute. I've made such boxes before (for the Fall Harvest Rehearsal Dinner a couple years ago), but I had the idea to make the lid of the box out of the lavender and navy fabric I was using elsewhere in the party design.
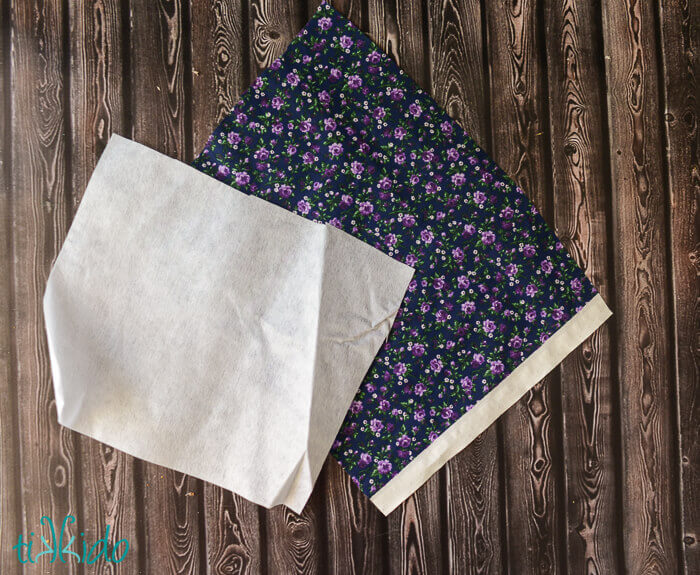
I knew I'd need to give more structure to my fabric, so I used iron on interfacing. You know what would have worked brilliantly, too? The fabric cardstock and scrapbook paper tutorial.
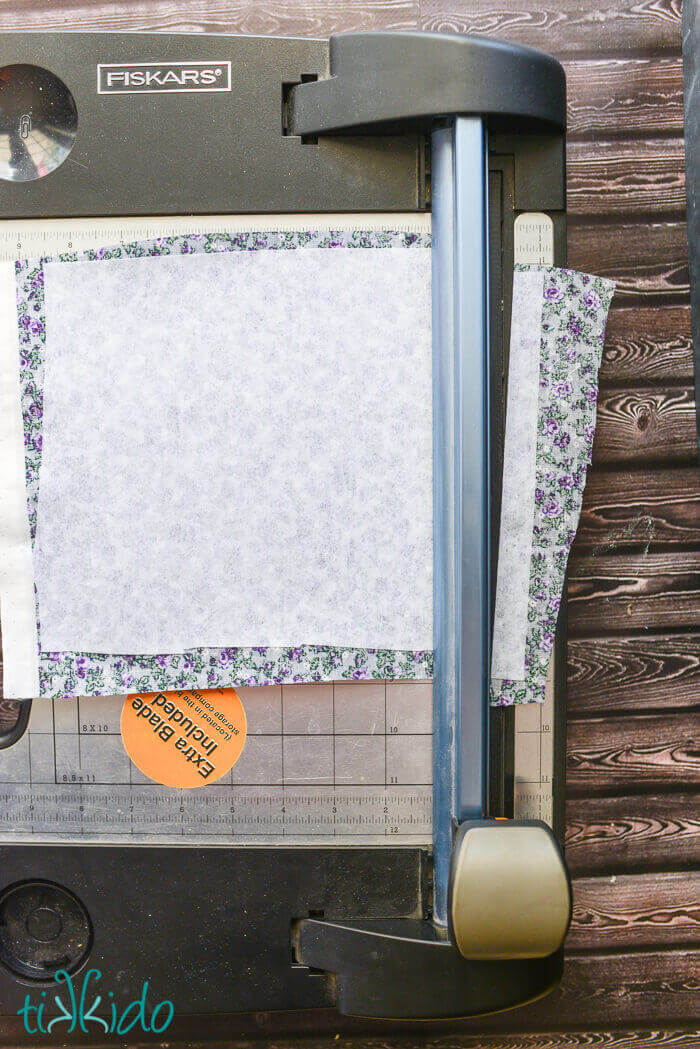
The next step was to cut the fabric into a perfect square. I'd never tried using my beloved Fiskars paper cutter (I think I have an older version of this one) on fabric before, but I decided to give it a go, and it worked fabulously!!
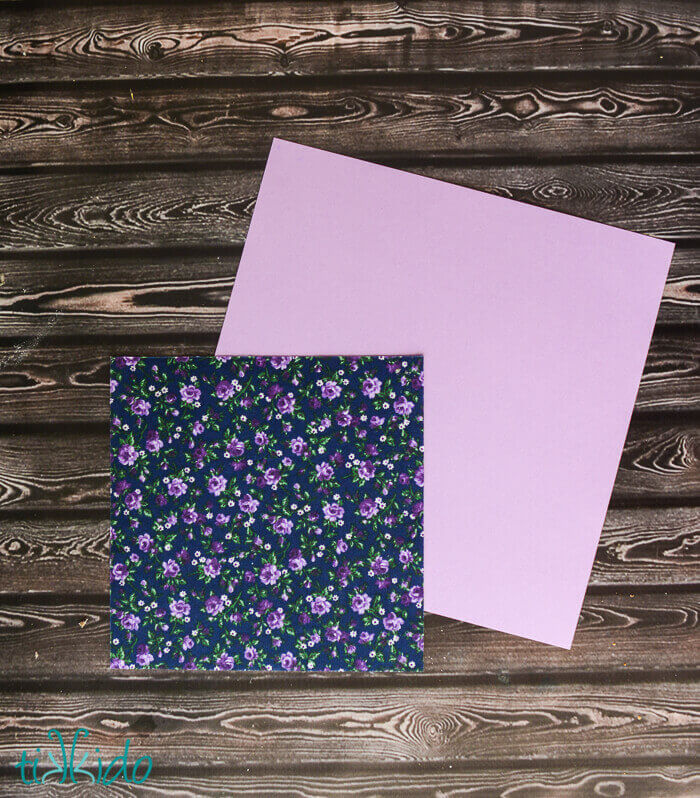
I cut a gorgeous, perfect 6" square out of the interfaced fabric, and an 8" square out of my lavender cardstock for the bottom portion of the box.
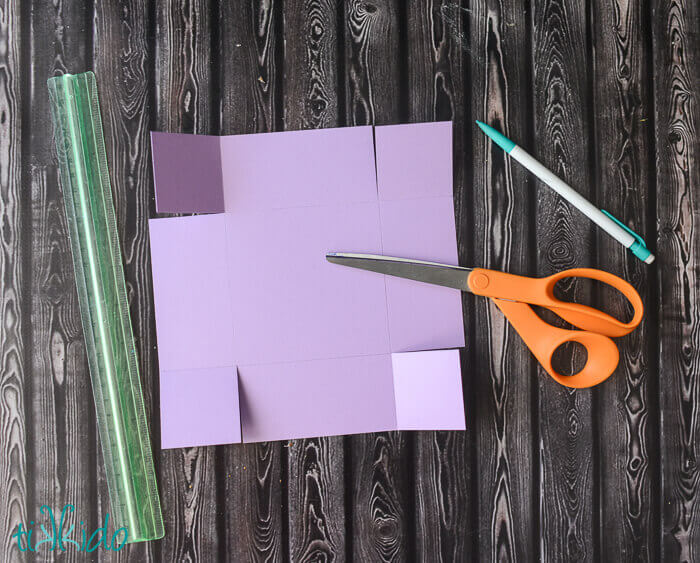
Measure and mark two inches in from each side. Draw lines to create a 4" square in the center of the 8" square (two inches on each side). Score along those four guide lines. Take scissors, and cut along one line at each corner, just until you reach the corner of the interior square.
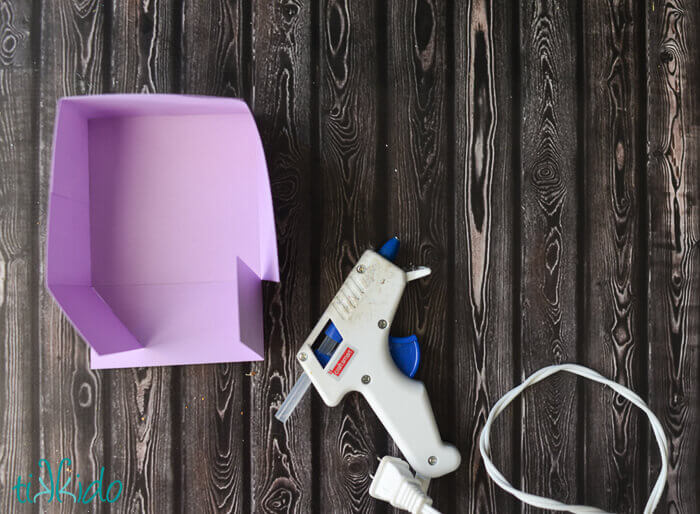
Fold on the center square lines, and glue the box together using a hot glue gun. Or use double stick tape, o whatever you like best. I like the instant gratification of a hot glue gun.
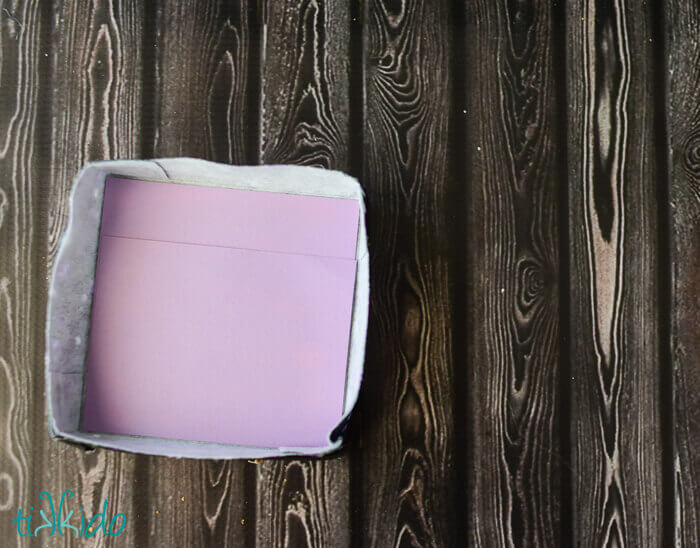
make the lid the same way, creating a 4" square in the center, but this time with a 1" lip on each side.I actually made my center square just a touch wider than 4" so that it would slip easily over the bottom box. About an extra 1/16th of an inch on all sides.
The fabric lid looked great at this point, but I discovered that it sagged a bit when I put the silver horse on top of the ribbon. Problem easily solved by adding a 4" square of cardstock to the inside of the box lid. But this is why I think it would have been a good idea to use my fabric scrapbook paper method.

The horses didn't start off as silver. They were just inexpensive plastic toy horses I purchased.
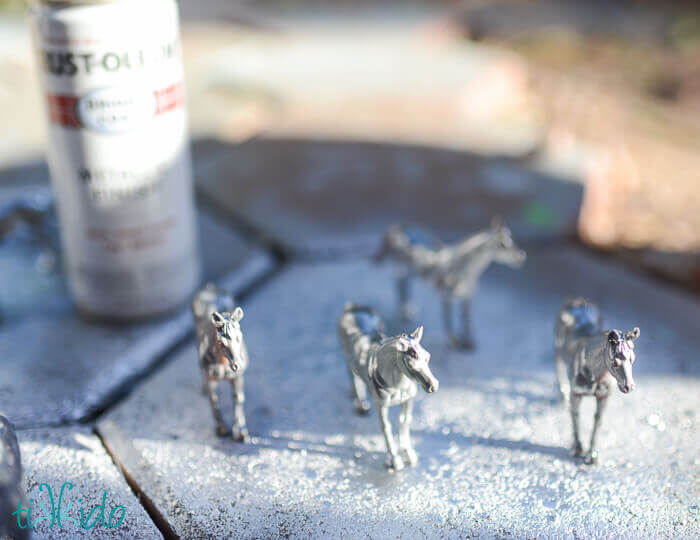
A little silver spray paint made the plastic horses perfectly compliment the gorgeous pewter equestrian serving items I used from Vagabond House.

No need for a fancy bow; I just tied the lavender ribbon (I bought on clearance for $5 for a GIANT roll! You're going to be seeing a lot more lavender from me, clearly. ;-) ), and cut it in that characteristic swallowtail shape used in equestrian award ribbons. A dollop of hot glue stuck the silver horse to the center of the ribbon.
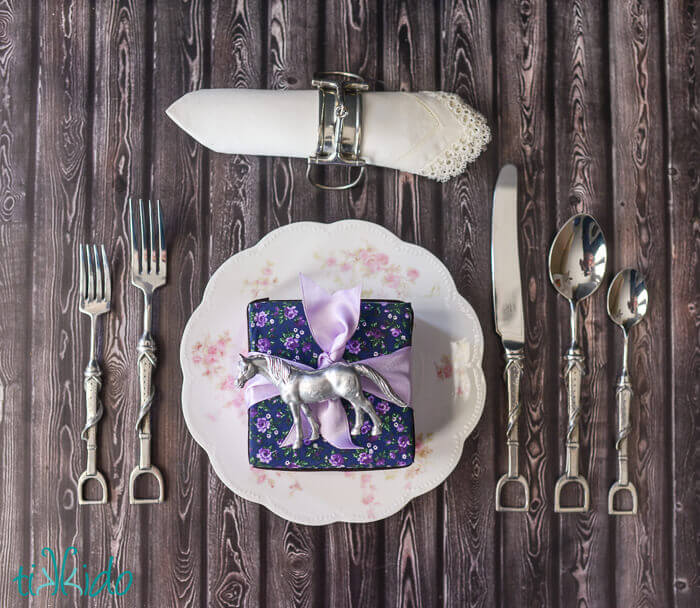
How cute is that? Elegant, but it totally plays into that little-girl love of horses.
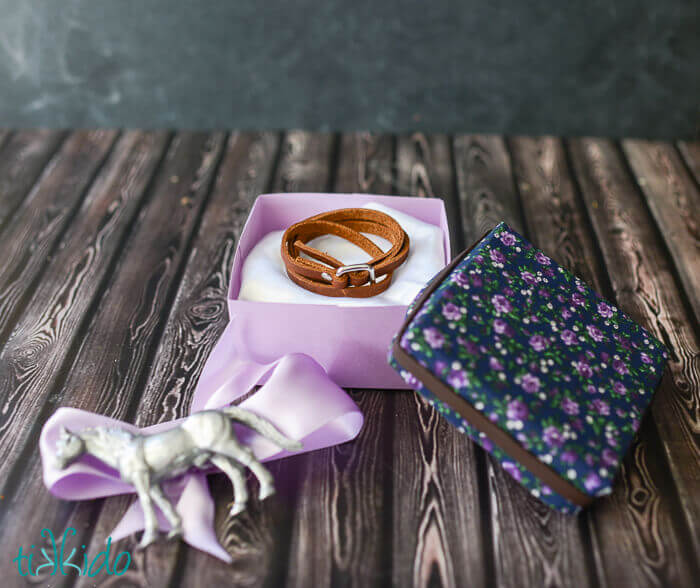
The inside of the box? I totally cheated. I took a handful of white fake snow fluff (any stuffing-type product would work), and wrapped a piece of white satin around it. No sewing. I didn't even use the hot glue gun. I just set it in the box and set the leather wrap bracelet on top. Why mess with something so simple if it works so well?

.png)