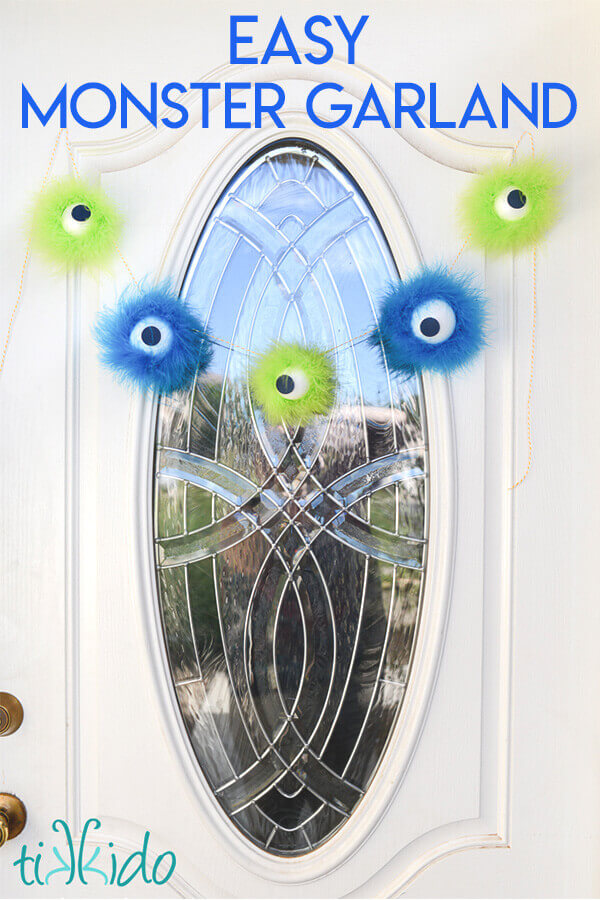
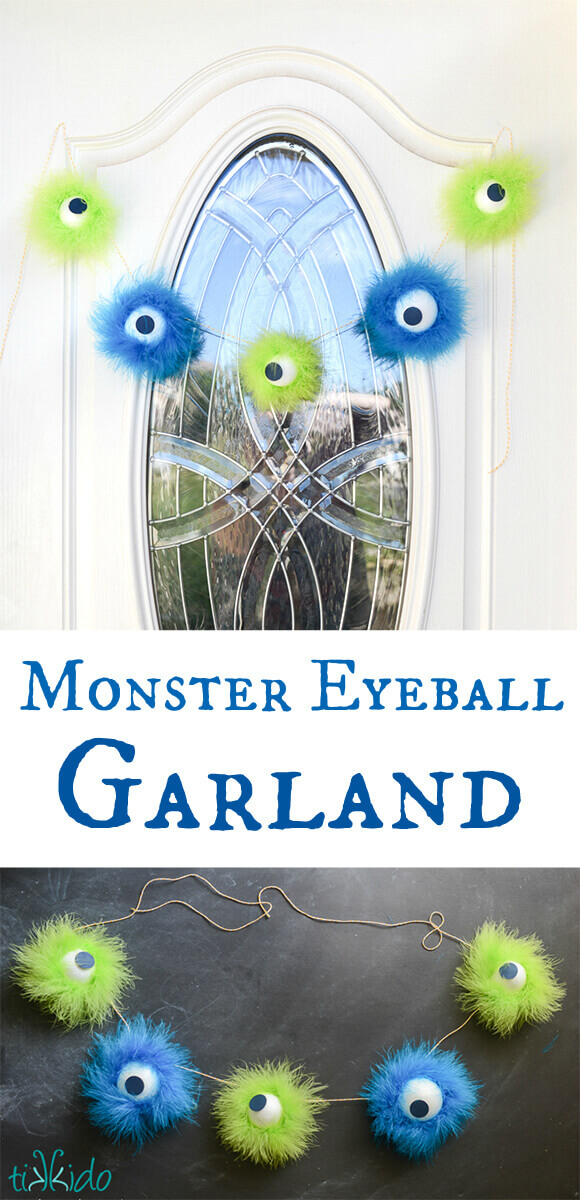
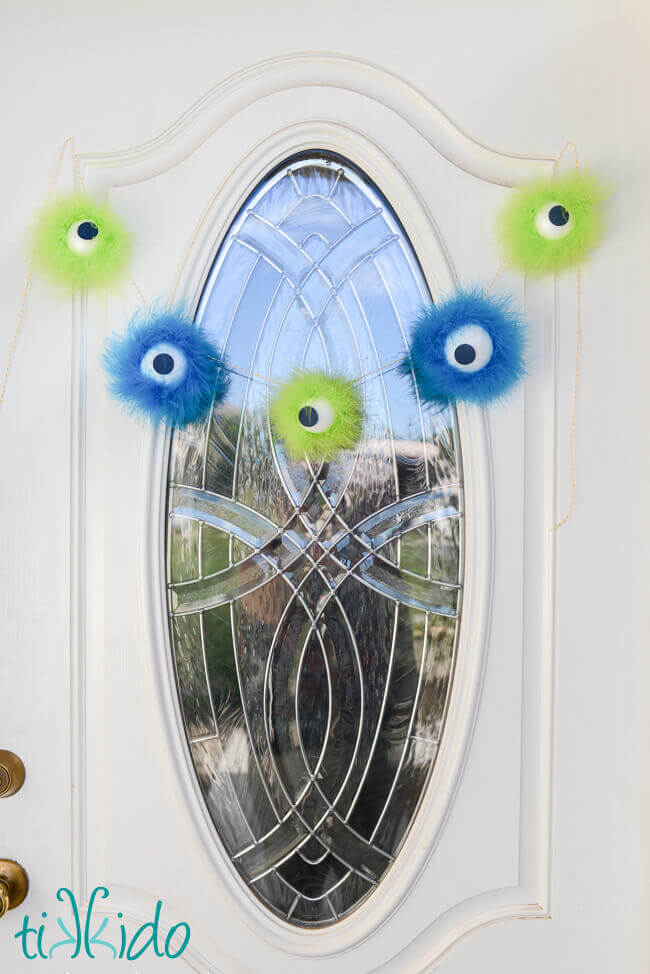
Every year, my friend Keisha from Cupcake Wishes and Birthday Dreams hosts an amazing blog party called 13 Days of Handmade Halloween. Today is my day to contribute to the fun, and I've made a furry, friendly, monster eyeball garland.
I've been collecting ideas and brainstorming for a Monster Mash Bash for a while. Something not scary, but full of friendly, furry, fun monsters.
So when Keisha had a Silly Monsters theme for her Trunk or Treat this year, I knew exactly what I wanted to make for her Handmade Halloween blog hop! She's totally a kindred spirit.
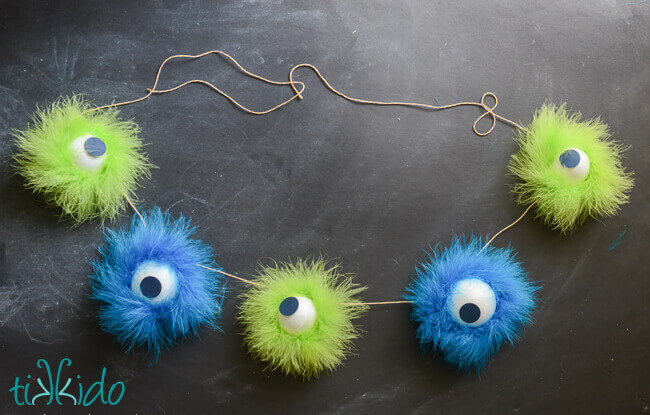
The garland was really easy to make, and I absolutely love it. It's the perfect, quirky way to greet our ghoulish guests this Halloween.
Furry Monster Eyeball Halloween Garland Tutorial
Materials for Furry Monster Eyeball Halloween Garland:
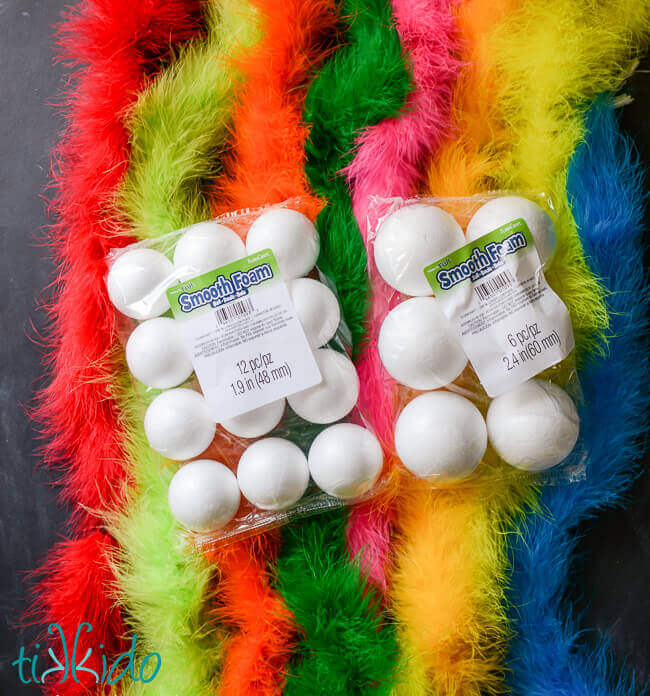
- maribou craft feather boa
- smooth foam balls
- low temperature hot glue gun
- 1" round circle punch
- dark cardstock
- baker's twine or other string for the garland
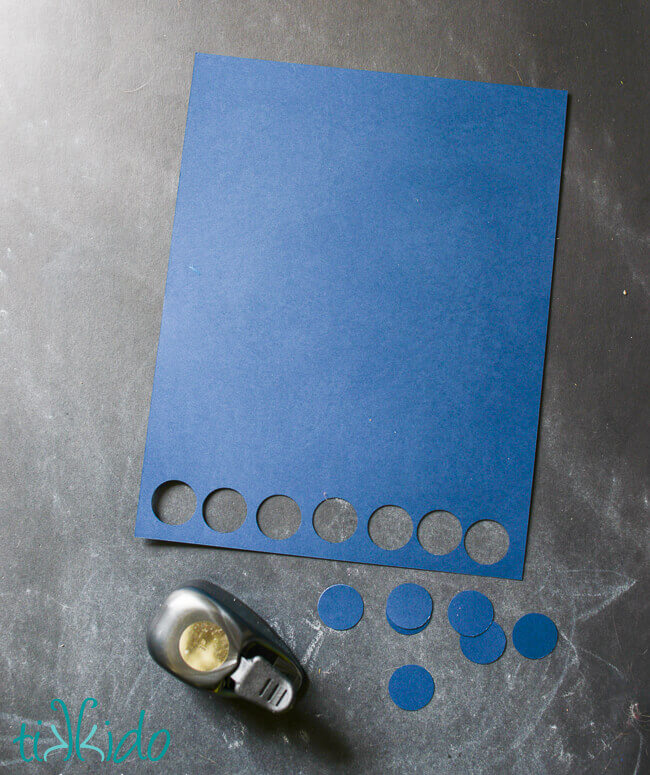
Use a 1" round circle punch (buy here) to cut pupils out of a dark color of cardstock.
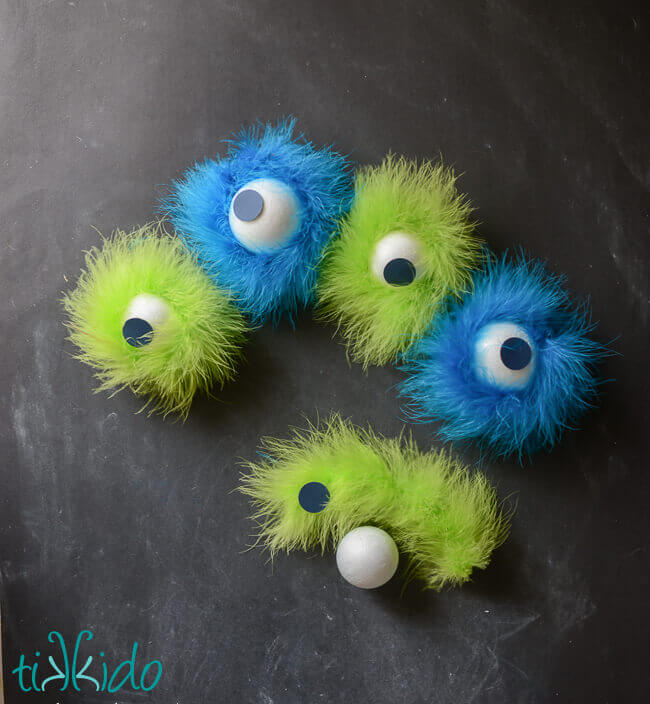
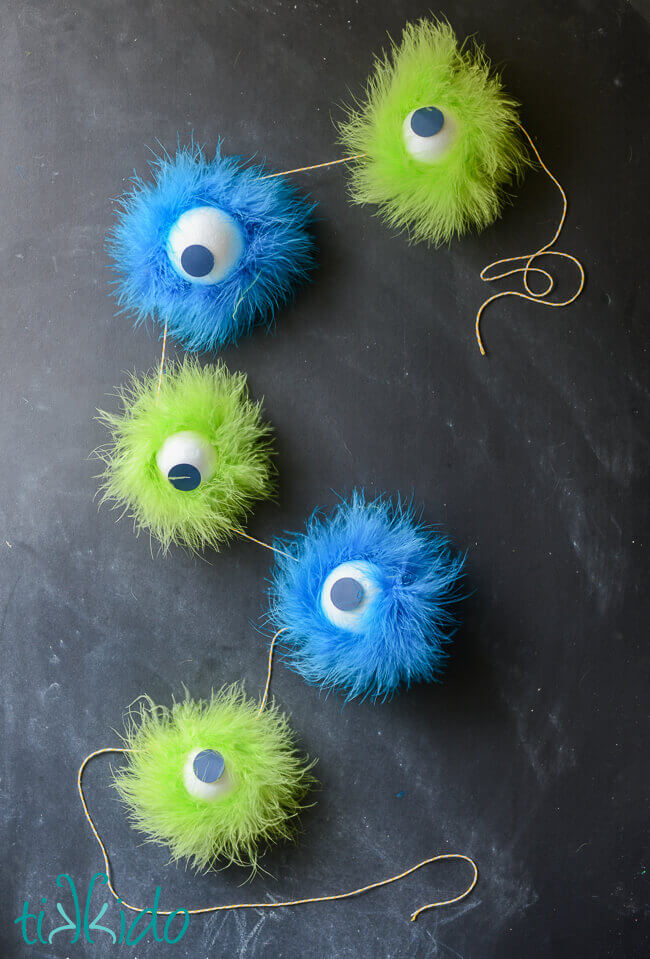
Cut a length of the maribou craft feather boa long enough to go around the perimeter of the foam ball. I used two sizes of smooth foam balls, 1.5" (buy here) and 2" in diameter (buy here). The length of the feather boa you'll need will depend on what size of foam ball you choose for your garland.
Use a low temperature hot glue gun to glue the feather boa around the circumference of the smooth foam ball. It is important to use a low temperature glue gun, because when gluing feathers to things, some glue always gets on my fingers. Low temperature glue guns, quite literally, save my skin.
Glue the cardstock pupil to the foam ball to create the pupil.
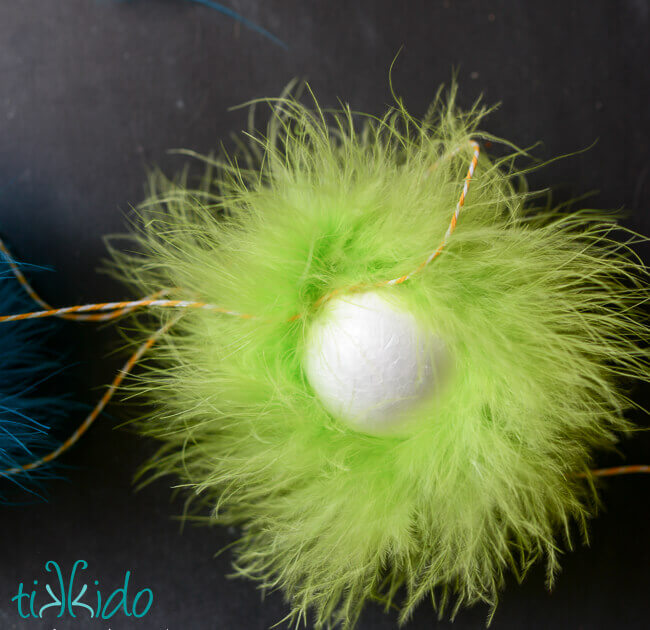
Use baker's twine, or any other string or yarn of your choosing, for your garland. Glue the twine on the backside of the monster eyeball, attaching it along the edge of the foam ball, right behind the feather boa. Attaching the string here will ensure that the eyeballs on the garland hang properly, and don't spin around accidentally.
I love my garland, but I think a bunch of these would look amazing all gathered together on a wreath form. Next project!!
Be sure to head over to Cupcake Wishes and Birthday Dreams to see the rest of the fabulous, creative Halloween tutorials, or check out the other links directly in the Linky below.


.png)