These Princess Mononoke birthday party invitations are made with cardstock, some faux fur fabric, and a hot glue gun. Nothing complicated necessary to create a truly spectacular homemade invitation for the Princess Mononoke birthday party.
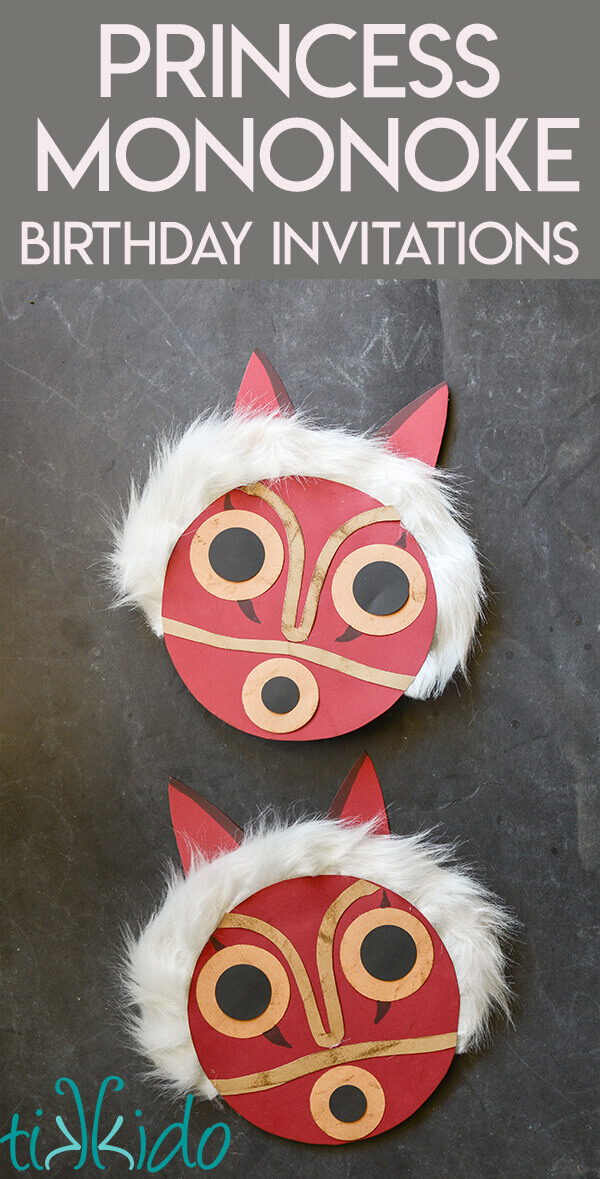
I love the ease and convenience of an Evite, but I'm a sucker for a creative invitation, too. When my daughter asked for a Princess Mononoke themed 8th birthday party, I knew I wanted to create some extra-special invitations.
The design was based on the mask that Mononoke wears (which has always reminded me of a Japanese kabuki mask).
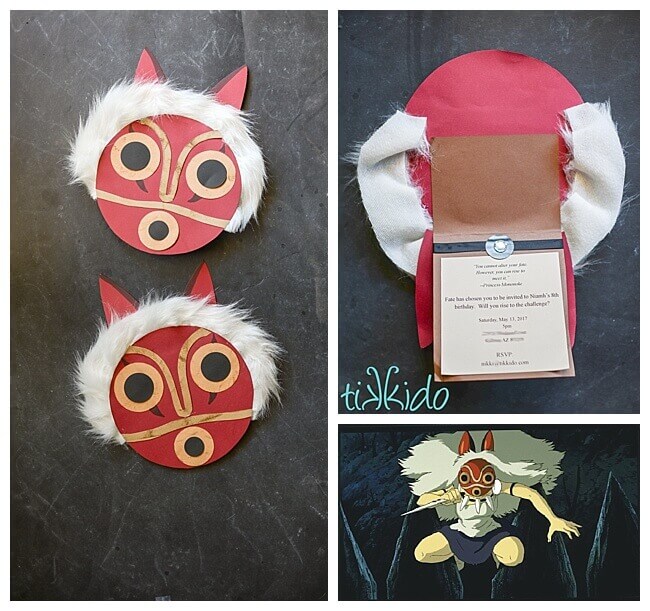
She looks fierce, doesn't she? That's why Niamh loves Mononoke! No princesses waiting around to be rescued for my daughter; she loves kick-ass, self-rescuing princesses.
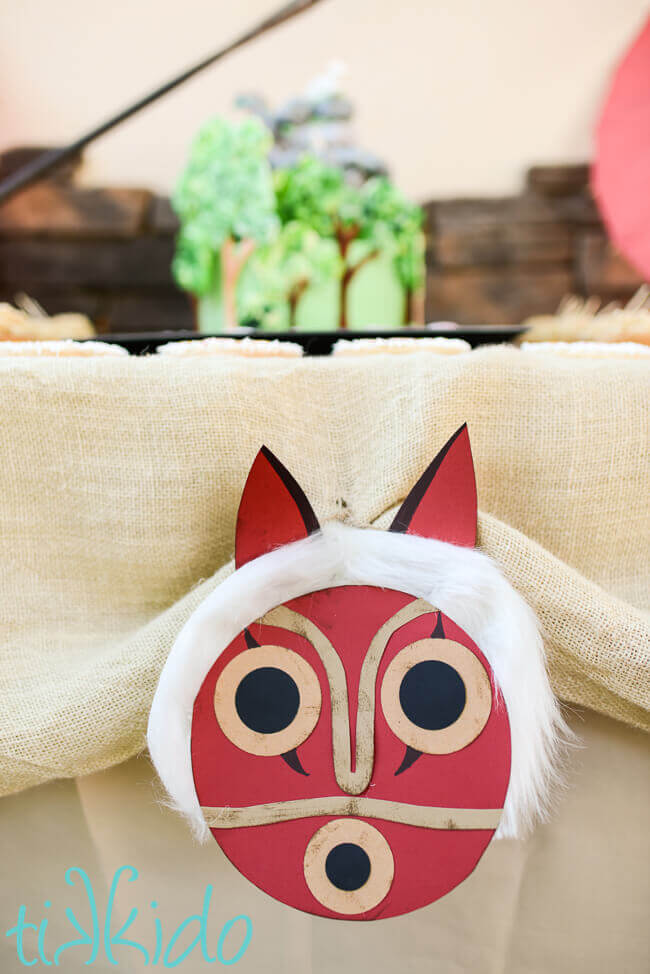
I used some of the extra paper masks as party decor, too. One on the dessert table.
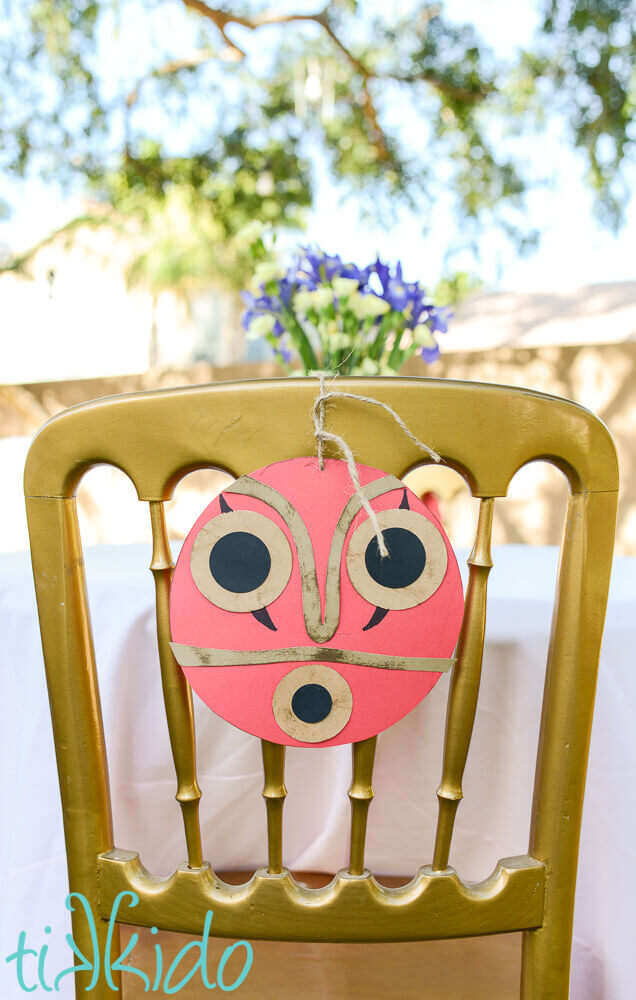
And a bunch tied to the backs of the chairs. I used them all over the place! But they made especially exciting invitations.
Princess Mononoke Mask Invitation Tutorial:
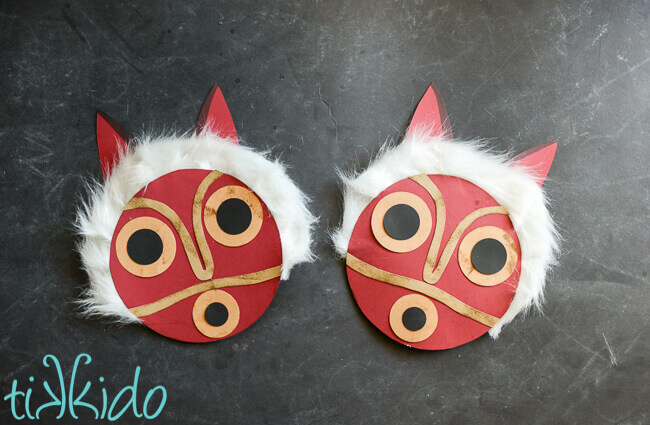
Materials for Princess Mononoke Mask Invitation:
- red cardstock
- brown cardstock
- faux white fur
- Distress Ink
- 1" round punch
- 1.5" round punch
- 2" round punch
- 2.5" round punch
- black marker
- hot glue gun
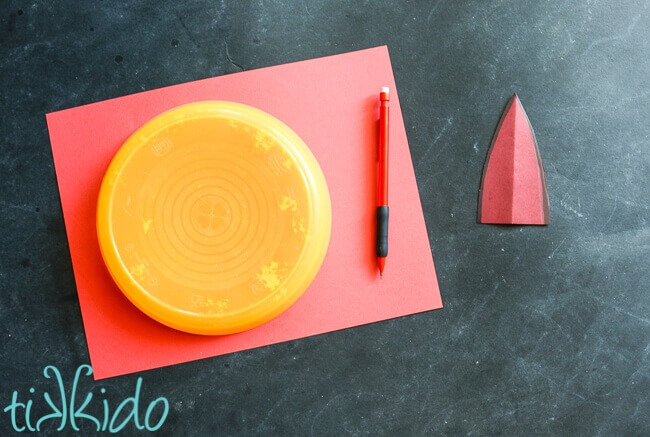
Start by tracing a large circle for the basic mask shape. I used an Ikea kid plate for my circle. Handy things, those plates!
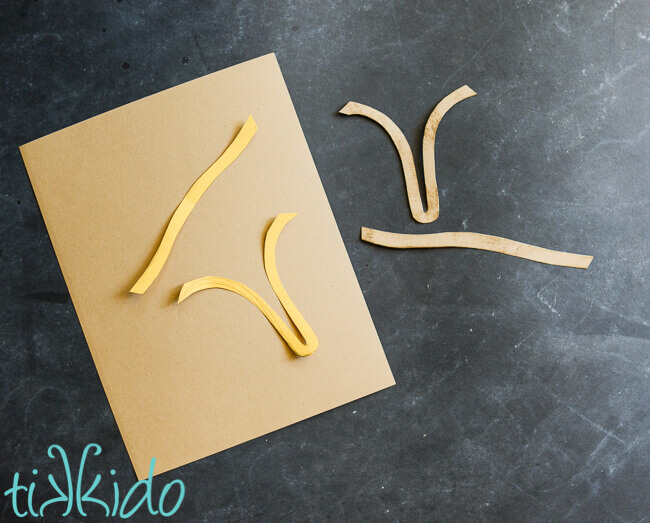
Cut the line pieces out of brown cardstock, and give the pieces some texture and grit with Distress Ink.
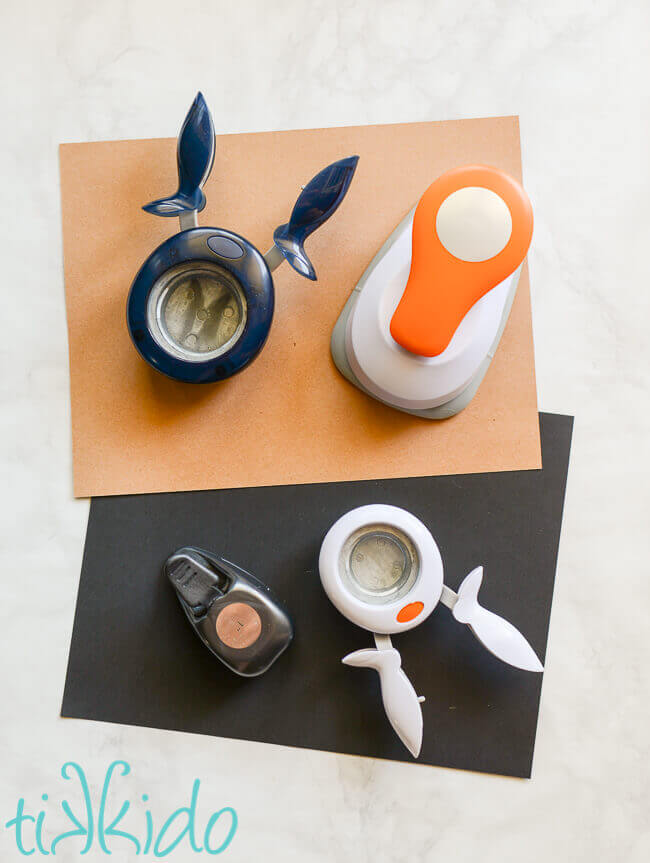
Cut two brown circles with the 2.5" diameter round punch. Cut one brown circle with the 2" diameter circle.
Cut two black circles with the 1.5" diameter punch. Cut one black circle with the 1" diameter punch.
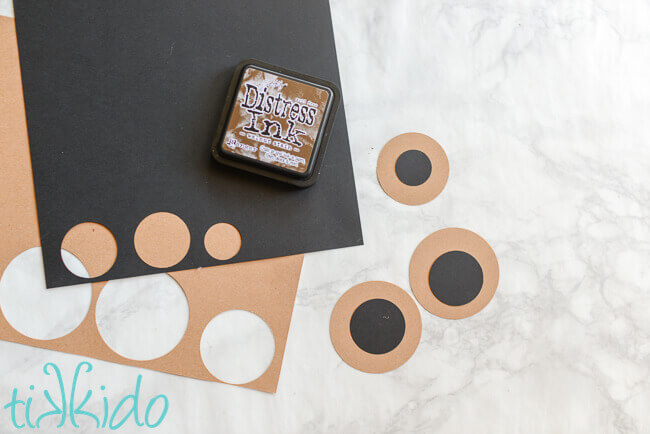
See how they nest together for the eyes and mouth of the mask?
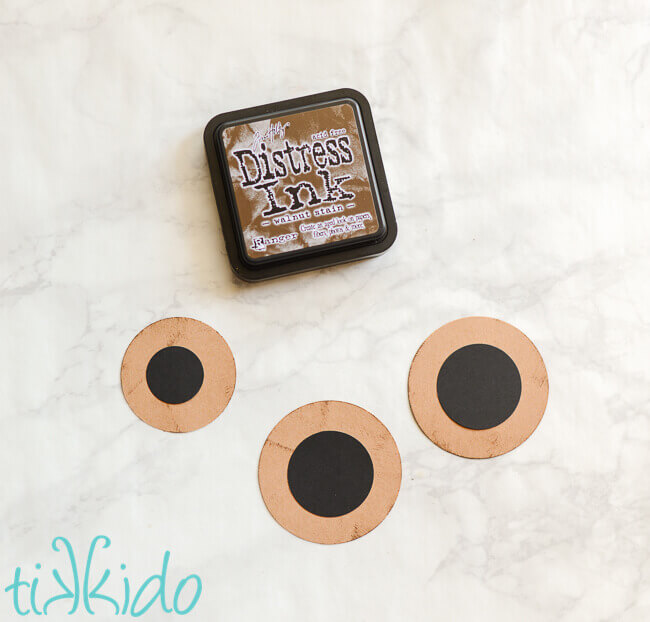
Use Distress Ink on the brown circles, then glue the pieces together.
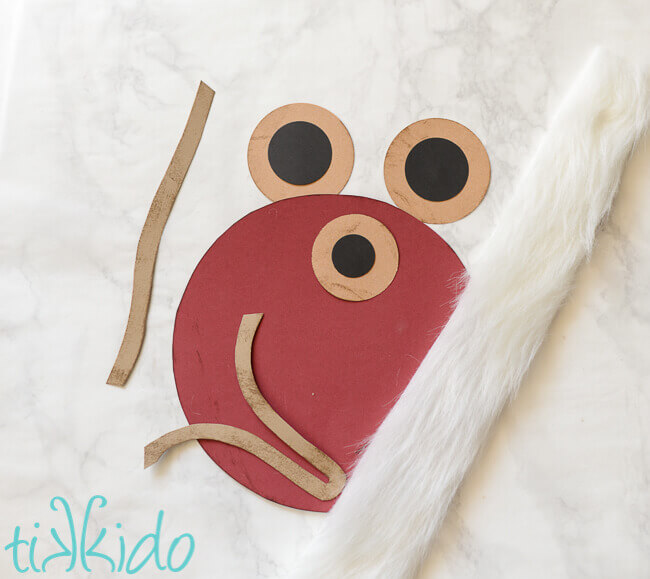
1/2 yard (18") turned out to be the perfect length of fur. I cut it into strips approximately 2" wide.
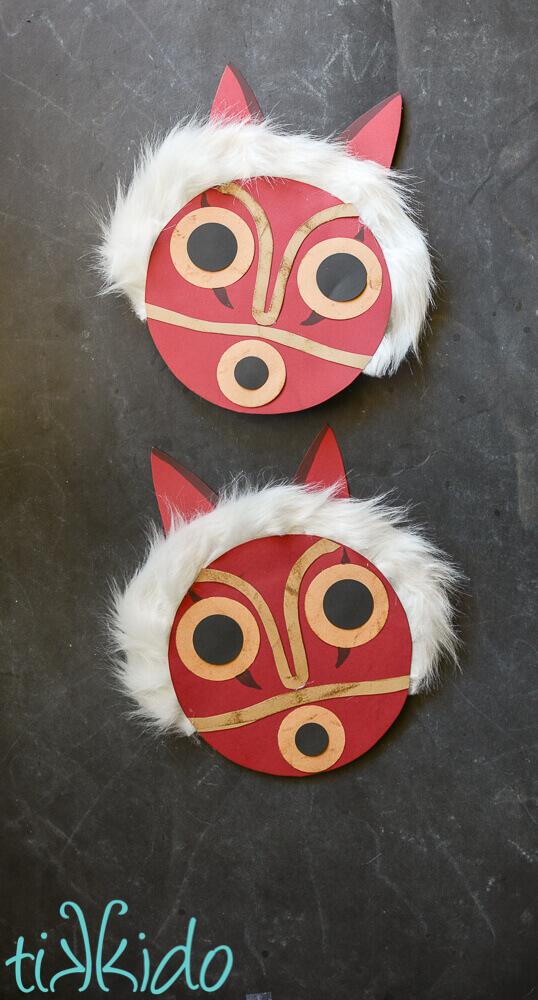
Glue it all together with a hot glue gun, add a few accents with a black marker, and attach a simple card with party details to the back of the mask. It was time consuming, but it was all worth it when I showed my daughter the invitations and she completely flipped out. She loved giving these to her friends. And that makes me happy!
Of course, next year I'm sure I'll be back to doing Evites just like everyone else. ;-) . (Update: for her 9th birthday, with a wolf theme, I totally just did evites! Ran out of time even to think of a creative invitation idea for that one.)


.png)