If you're looking for an easy Christmas ornament craft to do with kids, this is an absolutely perfect one. It looks great, but the technique is so simple, even very little kids can do it easily.
No painting skills necessary to create a beautiful, rustic wood slice Christmas ornament, just a napkin. Yep, a napkin.
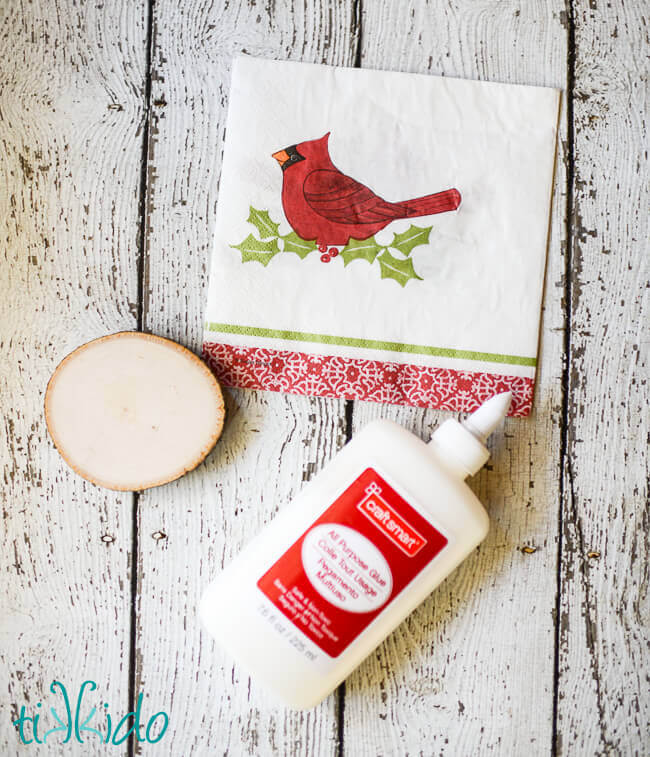
Materials for Decoupage Rustic Wood Christmas Ornament:
- paper napkin with a pretty design
- white craft glue or Mod Podge
- wood slices
- ribbon
- glitter (optional)
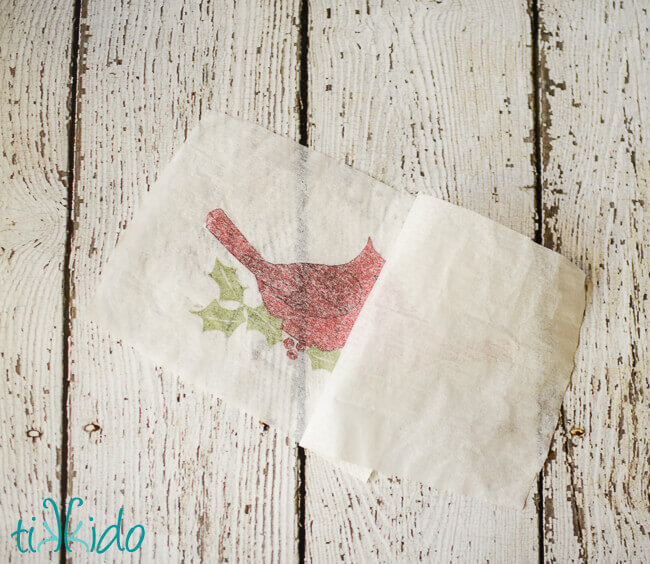
Unfold the paper napkin and cut out the general section you want to use for your ornament. Make it larger than you need. Carefully pull apart the two layers of the paper napkin.
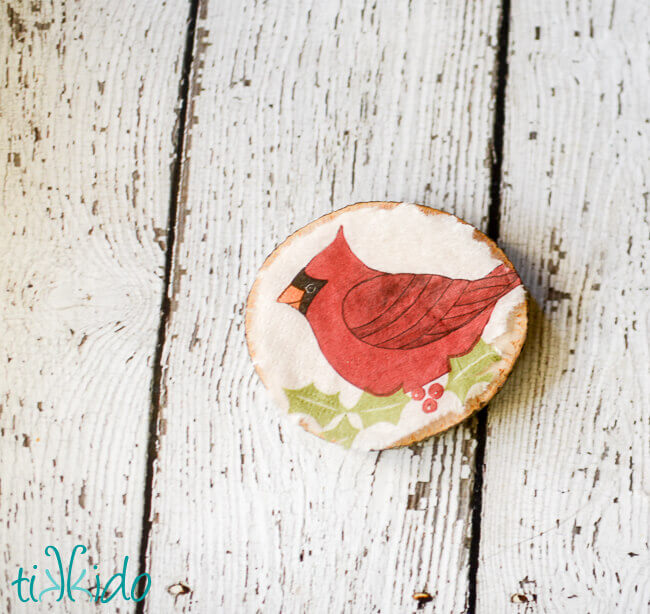
Trim the napkin image to the proper size (just a tiny bit smaller than the wooden disk). I like to carefully rip my edges, rather than use scissors. The ragged edges disappear into teh wood better, so you don't see the paper at all once the image is glued down.
Use Mod Podge or some watered down white craft glue to attach the paper napkin to the wooden disk. Paint a layer of the glue over the top of the paper to seal. If you'd like a little sparkle, add glitter to the ornament while the glue is still wet.
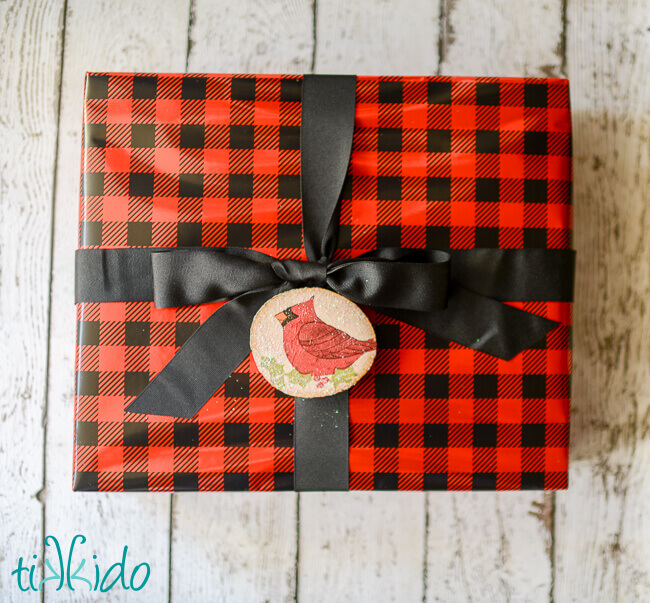
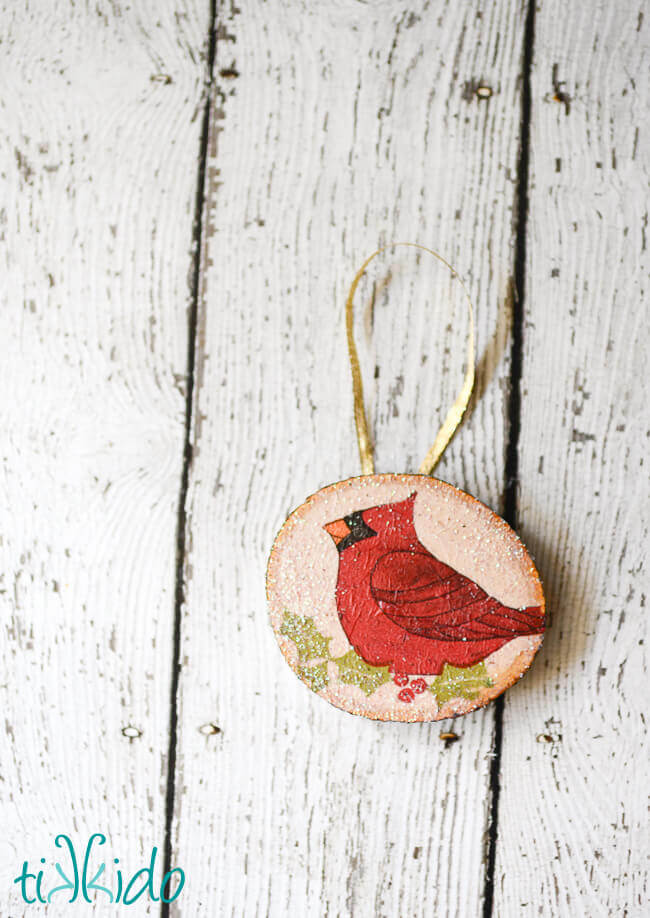
The white background pretty much disappears into the light wood, making the design on the napkin the star of the show, like this sweet cardinal. He looks fabulous adorning a gift or decking the tree!
What's your favorite ornament project to make with kids?


.png)