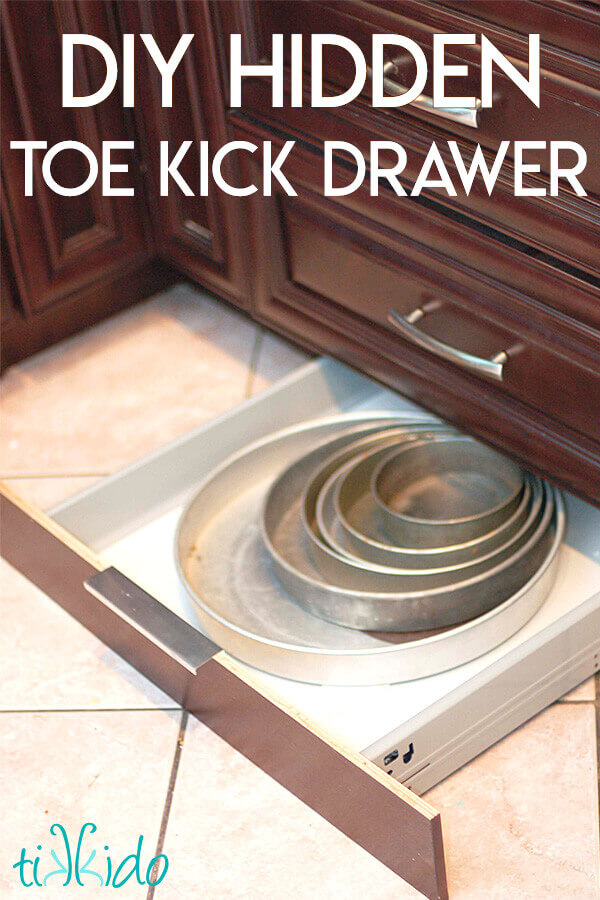
Find extra storage space in your kitchen by using Ikea drawer kits to create hidden, under the cabinet toe kick drawers. It's a bonus drawer in the dead space where your toe kick goes!
So my husband is out of town for work this week, and I'm just waiting for the plumber to do his thing tomorrow and have slowly started assembling cabinets.
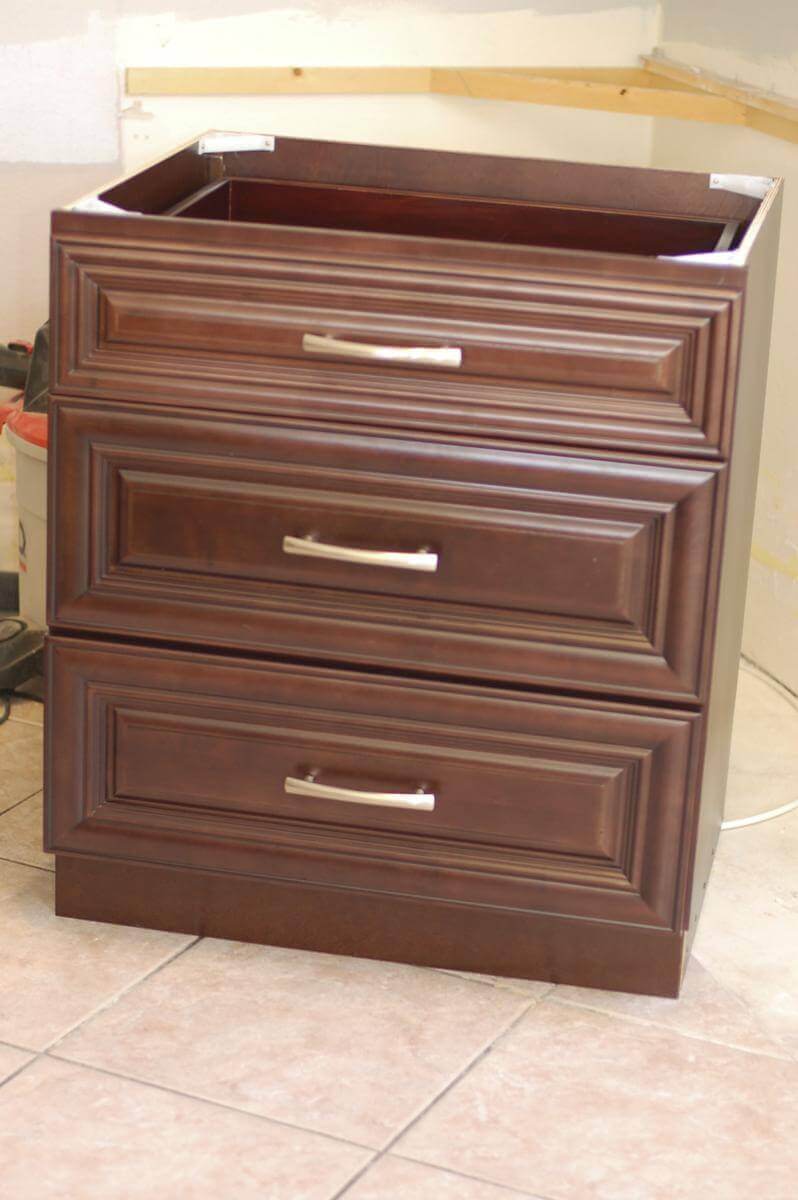
Looks like a nice, normal base cabinet, right? Right?
NO!
Behold my crafty craftiness, and see the hidden toekick drawer:
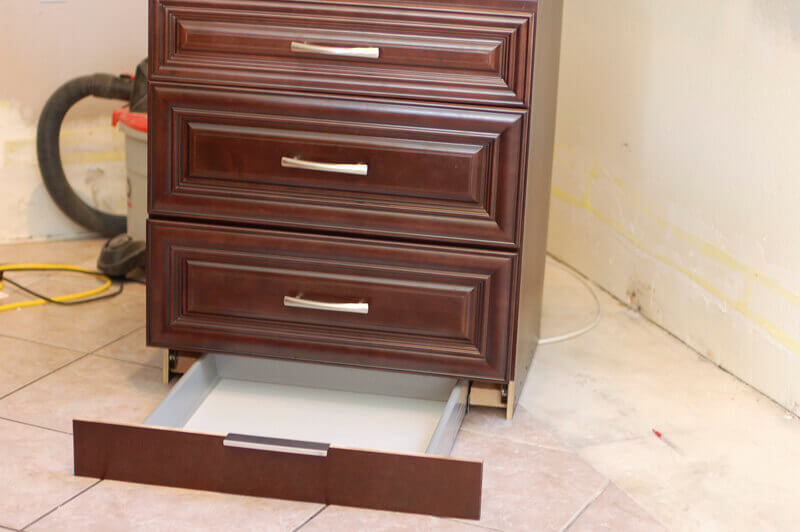
Usually, the toekick area is just dead space, sealed up and unavailable. I stumbled on the concept of a toekick drawer in my kitchen renovation googlings last week, and became completely obsessed. I had to have them. Extra drawers in every base cabinet! And they're secret!!
How to Make a Toekick Drawer
- Ikea Rationell drawer kit
- scrap wood (2x4s were perfect for my project)
- 1 1/2 inch wood screws
- drill
- miter saw
- table saw
- small carpenter's square
- measuring tape
- marker
- drawer hardware
I have to note that this might be possible if you have existing cabinets, but it is clearly far, far, far easier if you are building/assembling/installing new ones. It was incredibly beneficial to be able to rest the cabinet on its back, exposing the toekick area where I was installing the new drawer.
1) Choose a Rationell drawer kit smaller than your base cabinet size. This was a 30" base cabinet, and I used a 24" Ikea drawer kit.
2) Measure measure measure. The external dimension of the Ikea drawer was 22", the drawer rails added an extra 1/8th inch to either side, and the interior dimension of my 30" cabinet was 28.5" wide. That meant that I needed to cut a piece of wood 3 1/8 inch wide for each side of the drawer. I used our table saw (it's little and inexpensive, but it gets the job done!) to rip a 2x4 to a 3 1/8 width, then used the miter saw to cut 14"lengths of the wood.
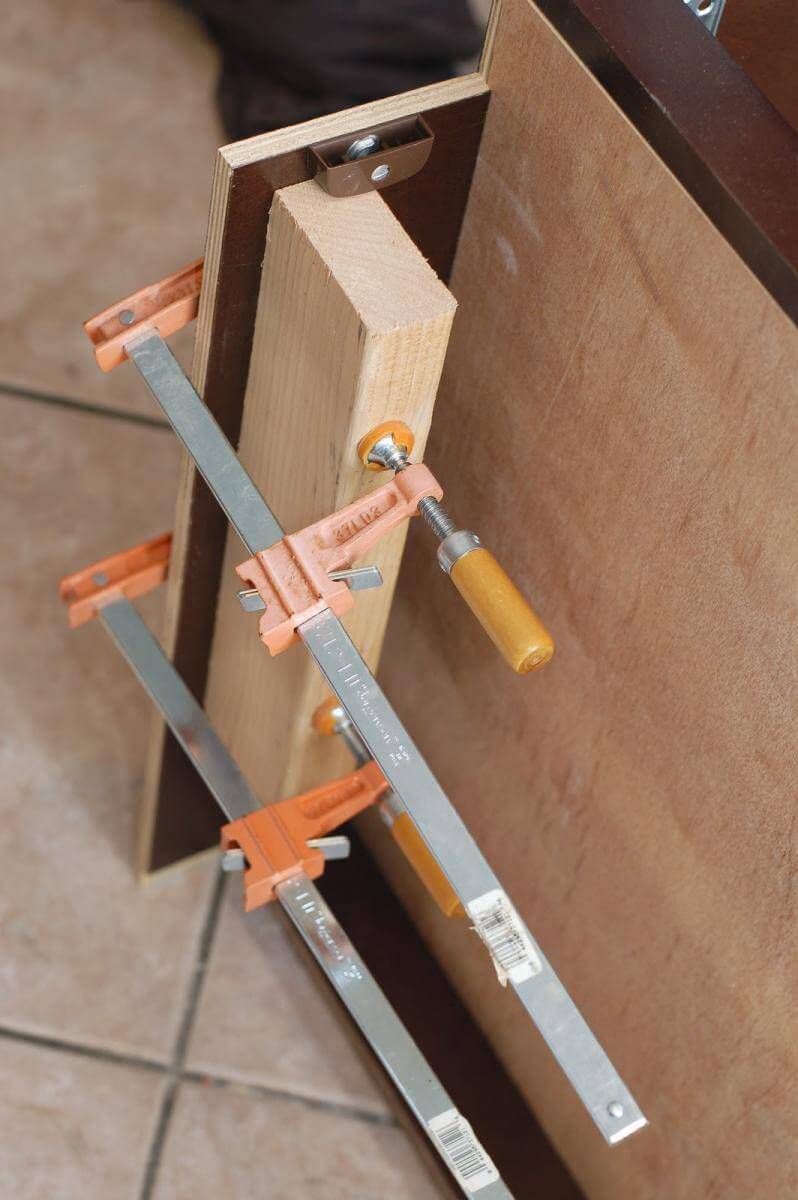
3) More measure, measure, measure. I measured the height of my toekick area. I measured the height of the drawer box. I measured the clearance I would need to let the drawer work smoothly. I decided that I needed 3/4" of clearance from the bottom, and clamped my wood filler pieces accordingly. I then used 2" wood screws to secure the block in place.
4) Again, more measure, measure, measure, this time to figure out where to place your drawer glides. Screw the drawer glides to the wooden spacer blocks, again using 2" long screws.
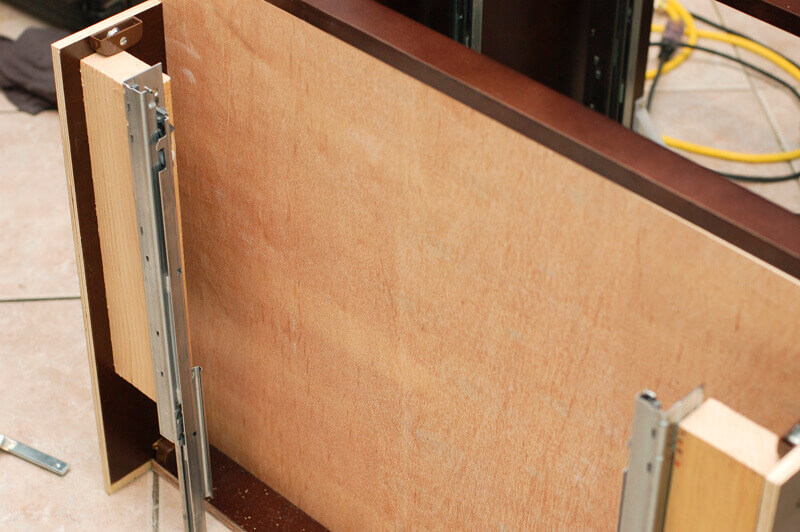
In the end, I finally figured out that the drawer glides should be secured as far toward the back (wall) as possible. That made the process substantially easier.
You know that woodworking saying, "Measure twice, cut once?" Yeah, for me on this project, measuring three times turned out to be my minimum for my comfort level while figuring out this project. ;-)
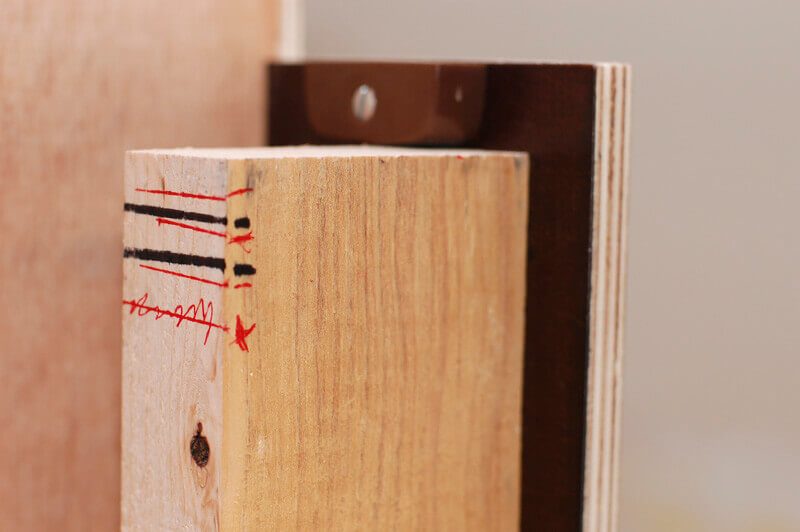
5) Attach the toekick board to the front of the drawer. The toekick is designed to fit snugly, so you'll probably find, as I did, that I needed to rip just a wee bit off the height of the board. Especially since I wanted to use a kitchen door pull that fit over the top lip of the drawer, so it would be invisible unless you were lying on the floor.
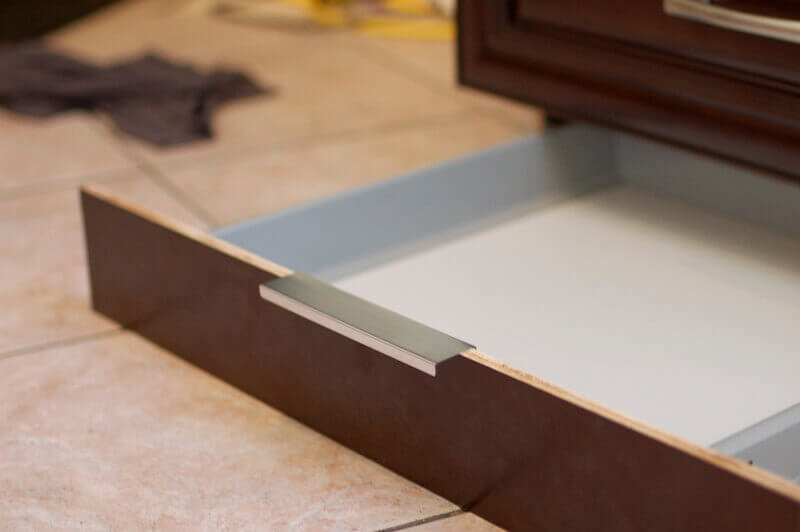
And voila! Super secret extra storage drawer for about $30. I can't decide what I'm more in love with, the top-secret-hiding-place part or the efficient use of previously useless space. Both! I can't decide!

I still need to touch up the drawer with a bit of matching varnish, but even without those final touches, I'm completely in love. What a brilliant place to store those unwieldy platters! Stacks of pre-cut parchment paper! Napkins and placemats! All my cake decorating food colors and disco dust and icing tips!
(Puff chest) I'm so proud of me. ;-)
Update:
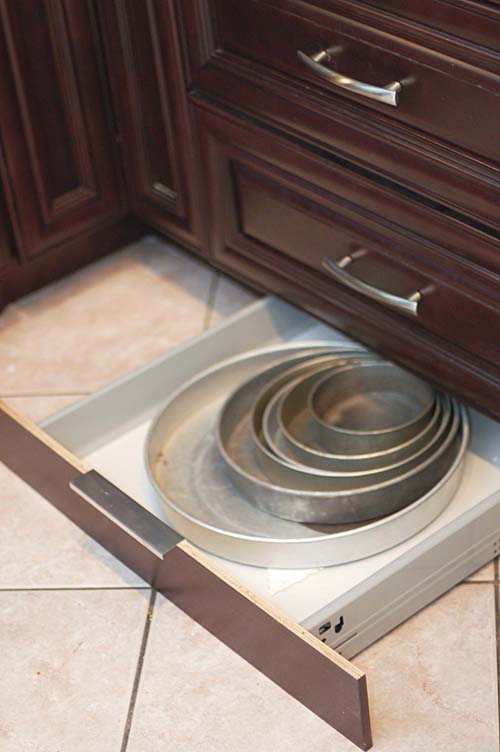
Look how awesome these are! My cake pans finally have a place to live that doesn't involve being precariously stacked in the guest room closet!


.png)
Comments
Yay!!!
Mighty proud of you, too!! ((Ripping wood scares m...
I loved ur posts and wat information that u issue...
This is fantastic! would be the perfect drawer for...
totally completely awesome!!
The top photo is the finished product with the dra...
This would be a great idea for hiding valubles und...
It is really important that my wife never see this...
(No subject)
They would NOT see it even if they yanked the draw...
(No subject)
This is such a great idea and I'm going to get...
Great idea! It is definitely easier when done on n...
These are brilliant! What did you use to attach t...