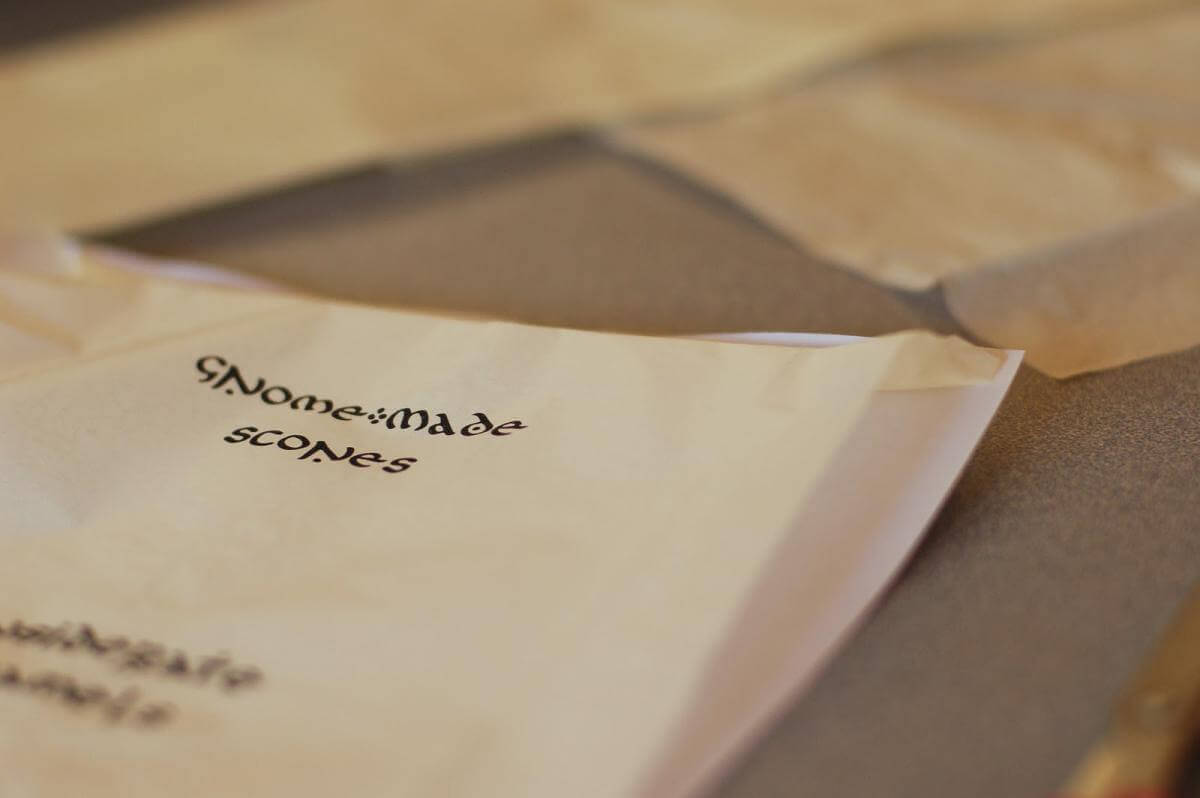
When working on the Cornish Fairy party, I wanted the labels on the dessert table to go along with the woodland decor. I thought of the idea of writing on river rocks...but with my handwriting, that wasn't a pretty sight. I came up with the idea of doingdecoupageon the stones. That way I could use the same font I used for the invitations and wood-burned signs, avoid my miserable penmanship, and create a continuity of decor.

Materials:
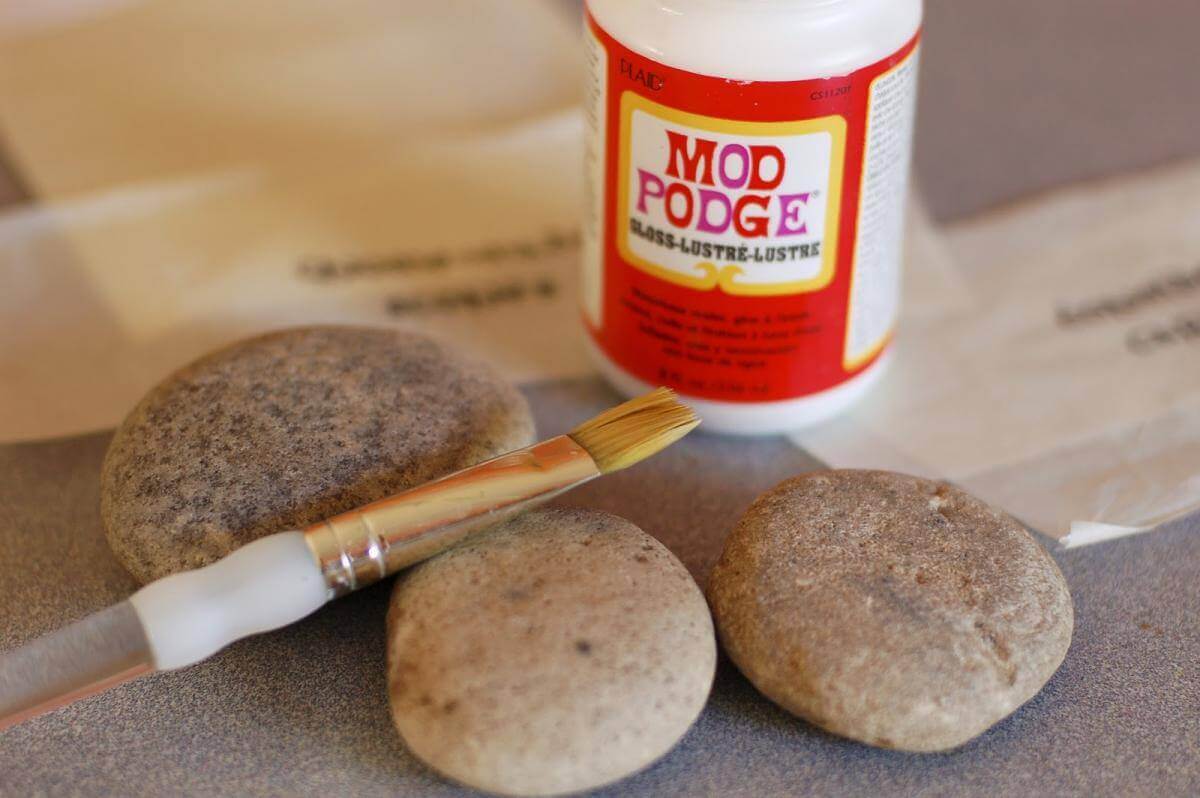
- river rocks
- tissue paper (as close in color to the rocks as possible)
- scissors
- Mod Podge decoupage glue
- paintbrush
Step 1) Printout the text you want on the rocks on a sheet of tissue paper. To accomplish this on my computer, I cut the tissue paper slightly smaller than a standard sheet of printer paper, and taped the tissue to the standard letter-sized paper. I ran that through the printer, then removed the tissue from the paper backing.
Step 2) Cut out the labels to fit the size of the rocks you're using.
Step 3) Use the brush and Mod Podge to adhere the tissue paper to the rocks. It's really incredibly easy and quick.
Step 3) Use the brush and Mod Podge to adhere the tissue paper to the rocks. It's really incredibly easy and quick.
Let dry, and there you have it! Beautifully calligraphied stones.
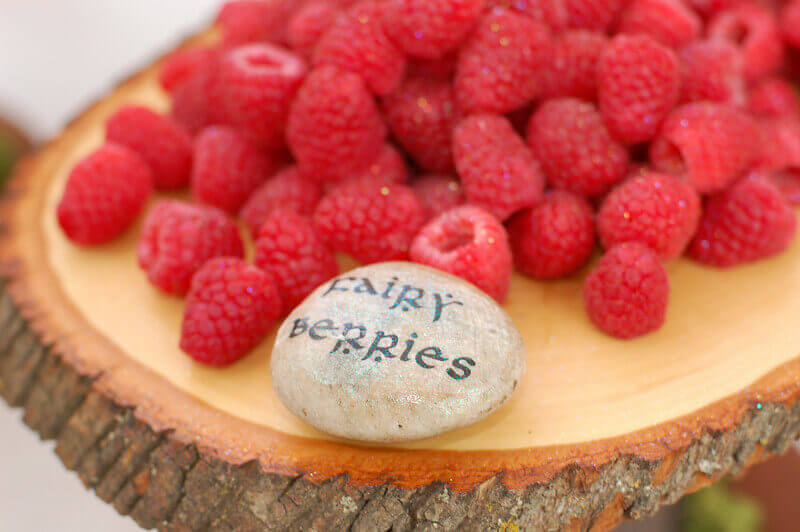
These would make magnificent rustic place cards for a wedding--and of course, they worked brilliantly for the dessert table at the party. What if you gathered stones from a place significant to you and yourfiancé, and made thank-you paperweights as favors? An outdoor aisle defined by lines of river rocks would be stunning as well, and you could incorporate little messages and love notes with this technique. So many possibilities! Inexpensive, easy, and meaningful. What could be better?

.png)