I'm definitely not a professional, but I love baking and cake decorating. But I hadn't been exposed to the concept of a dessert table (a la Amy Atlas) until fairly recently. I'd always offered more than just cake, but was excited to really try my hand at a grand display for this party.
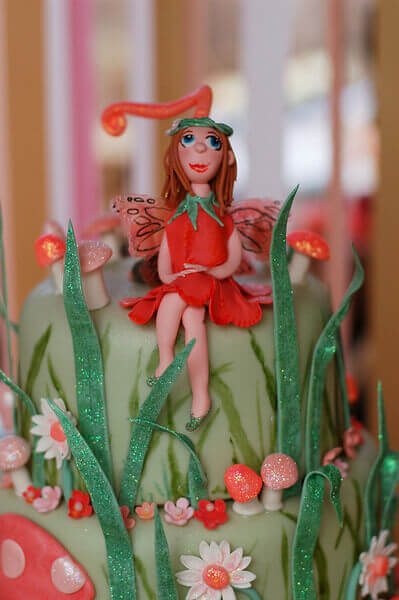
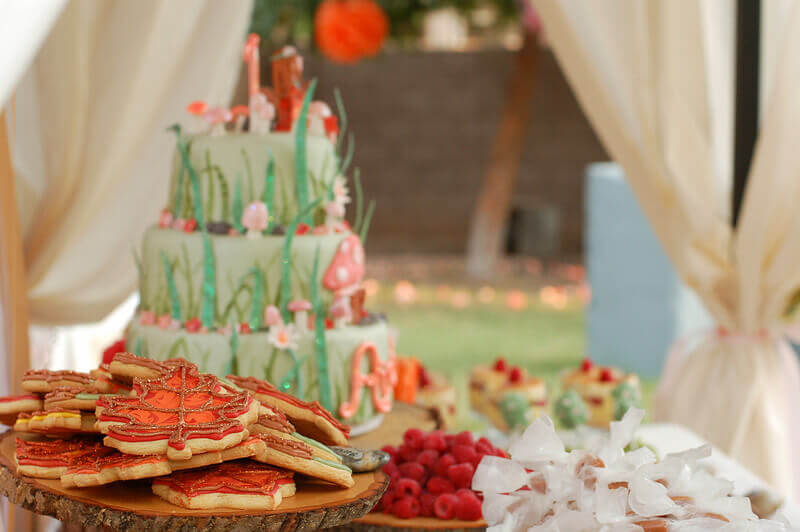
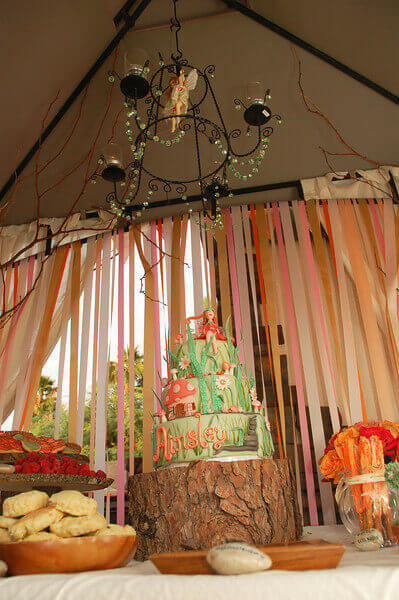
The star of the show was, of course, the cake.
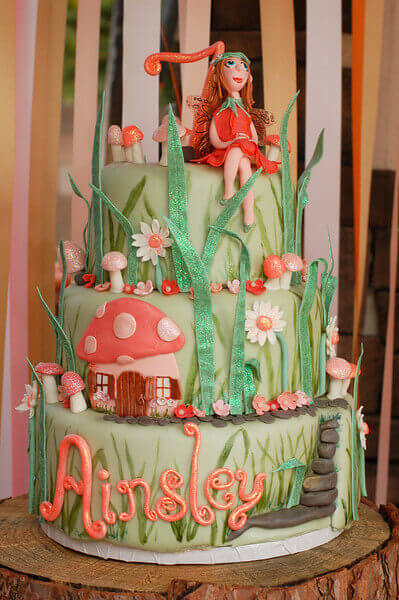
Two layers of caramel apple cake and one layer of chocolate. I'm incapable of making a cake without at least one layer being chocolate.
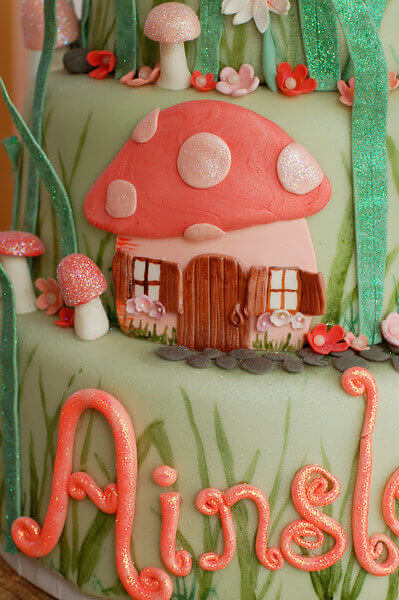
Detail of the toadstool fairy house on the cake.
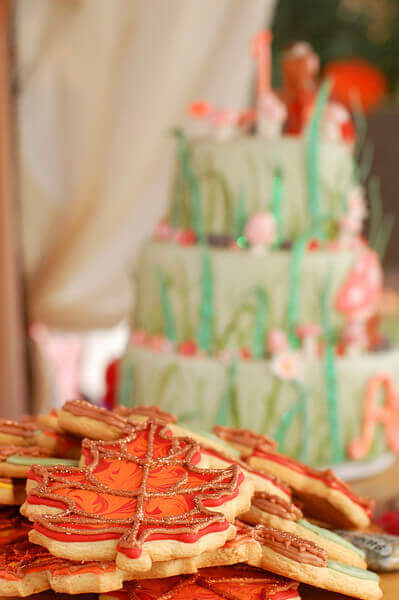
Sparkly sugar cookies! I absolutely love using disco dust (also called pixie dust--how appropriate)!
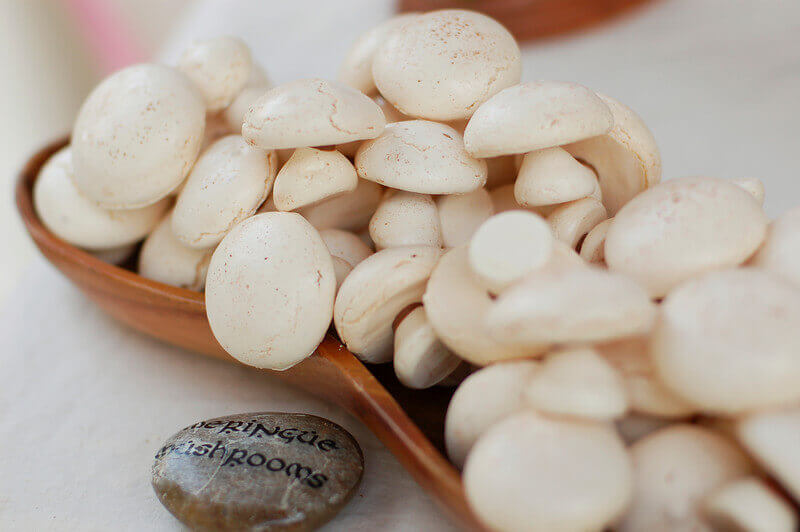
These were my favorite part, the meringue mushrooms. I fooled a few people with these!
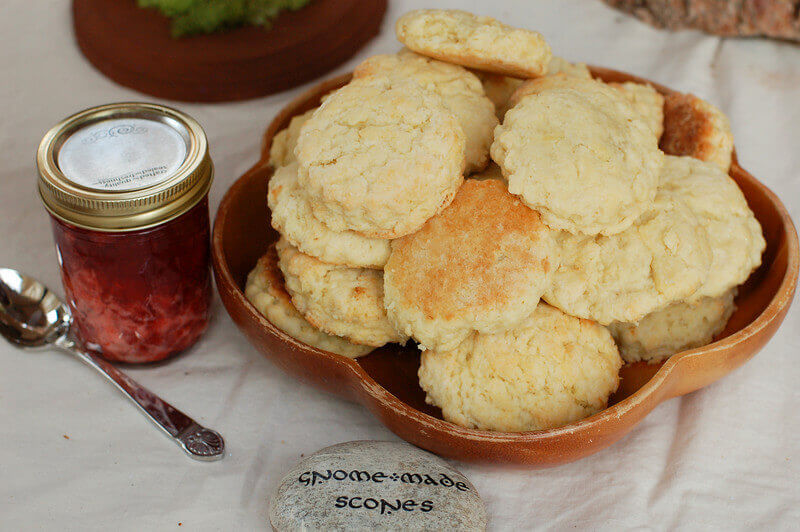
Gnome-made scones!
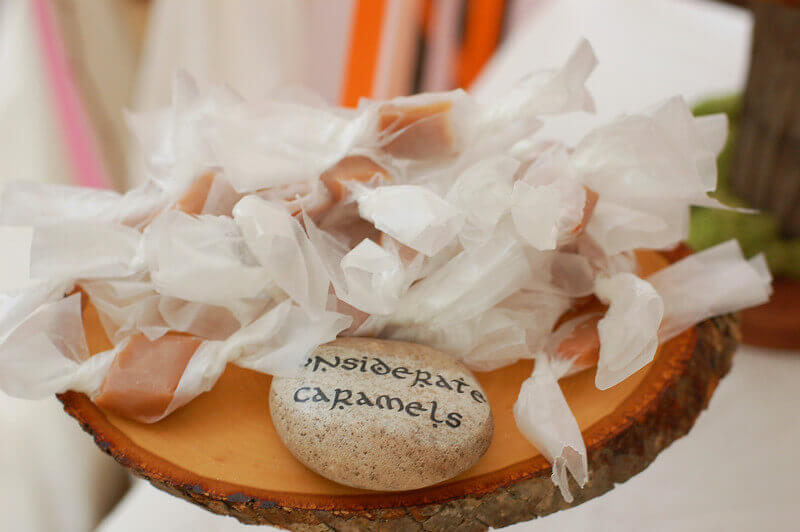
"Considerate Caramels" refers to a bit of the invitation story.
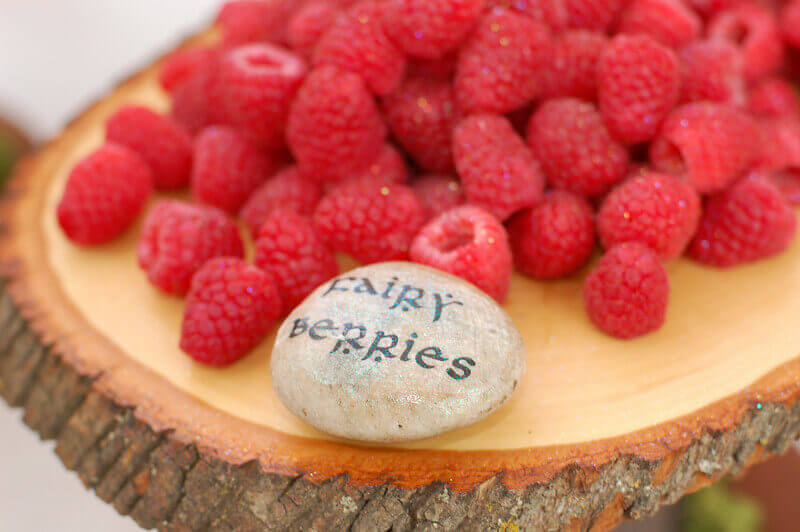
We were going to do chocolate covered strawberries, but when I went shopping for the party, Sam's club had no strawberries. At all. For the first time in months and months. Oh well, raspberries dusted with disco dust were even easier, and just as delicious!

I love the way the decoupaged rock signs turned out! Tutorial coming up soon!
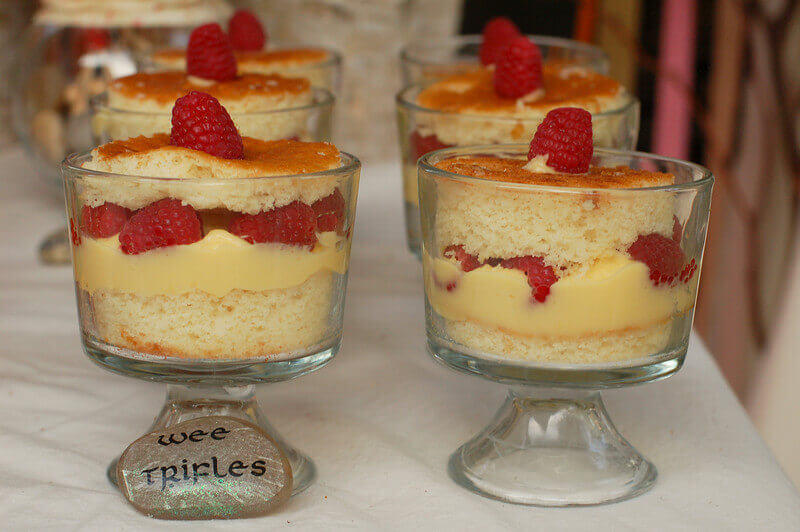
Miniature trifles! I love any chance to use my tiny trifle dishes, and what better excuse than an English birthday party?
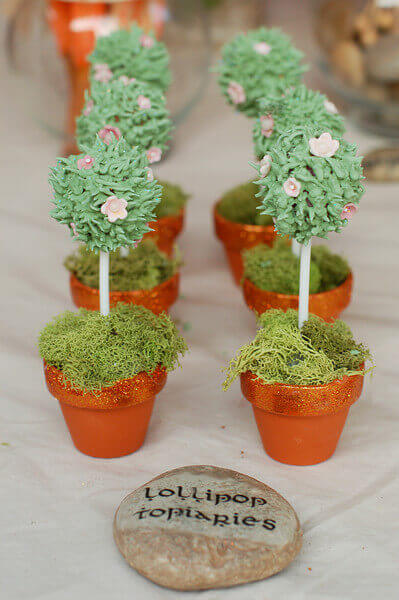
I take it back. These lollipop topiaries are my favorite element of the dessert table.
All of the serving dishes were either wooden (thanks to my mom's extensive collection of wooden servingware from our years in the Philippines), or glass. Perfect for a woodland fairy setting! I love the slice-of-log cake plateau I made.

But I was more proud of the wooden cake stands I made!
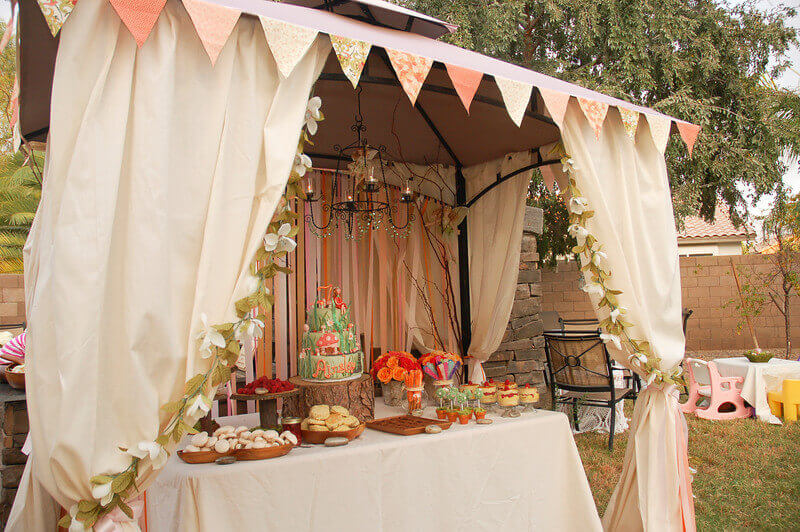
My secret for the bunting: the triangles of fabric are simply taped to the tent. It looked better and was far easier than when I tried to sew it.
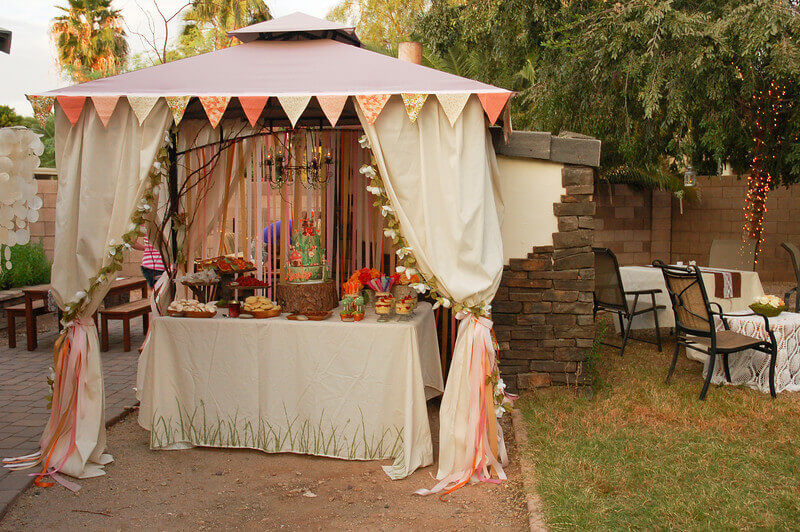
I didn't make a dessert table so much as a dessert pavilion. I really liked the sense of importance and occasion the small tent gave the table. Not to mention it made adding a backdrop to the table easy and make sense (rather than a random wall in the middle of nowhere). The 7x5 tent was originally designed to go over a grill. Thanks, Craigslist!
Tomorrow, the party as it was meant to be celebrated--with lots and lots of children!

.png)
Comments
Love it!
I just made the mistake of letting Emma see these ...
Saw you on Kate Landers and also Catch My Party! T...
Brittany--Oh my gosh, I remember those! Your ros...
Girl, I know! They are super time-consuming! LOL.
So cute! I loved! www.deanaaz.blospot.com
i was looking for a "paris themed engagement ...
It's hard to impress me with dessert tables bc...