I love Evite, don't get me wrong. The ease of the rsvp list, how quickly I can send the invitation... I use the service, I really do. But no level of convenience will cure me of my love of stationary and beautiful invitations. Sometimes, I just need to create something physical, tactile, special.

For the Sprinkles birthday party, that meant a sprinkle covered, cupcake shaped, glittery invitation.
The first challenge was in finding sprinkles scrapbook paper. Despite the wealth of fabulous scrapbook stores here in the Phoenix area, I couldn't find anything. I began to look online, and still came up with nothing I liked. Digital papers--nada. I found a few sprinkle-ish paper designs, sure, but I wanted the paper to look like classic, multi-colored sprinkles.
Clearly, the answer was to make my own.
Now, I'm no graphic designer. That is definitely not my strong skill set. But I have some basic skills, and managed to come up with a pretty decent sprinkle scrapbook paper.
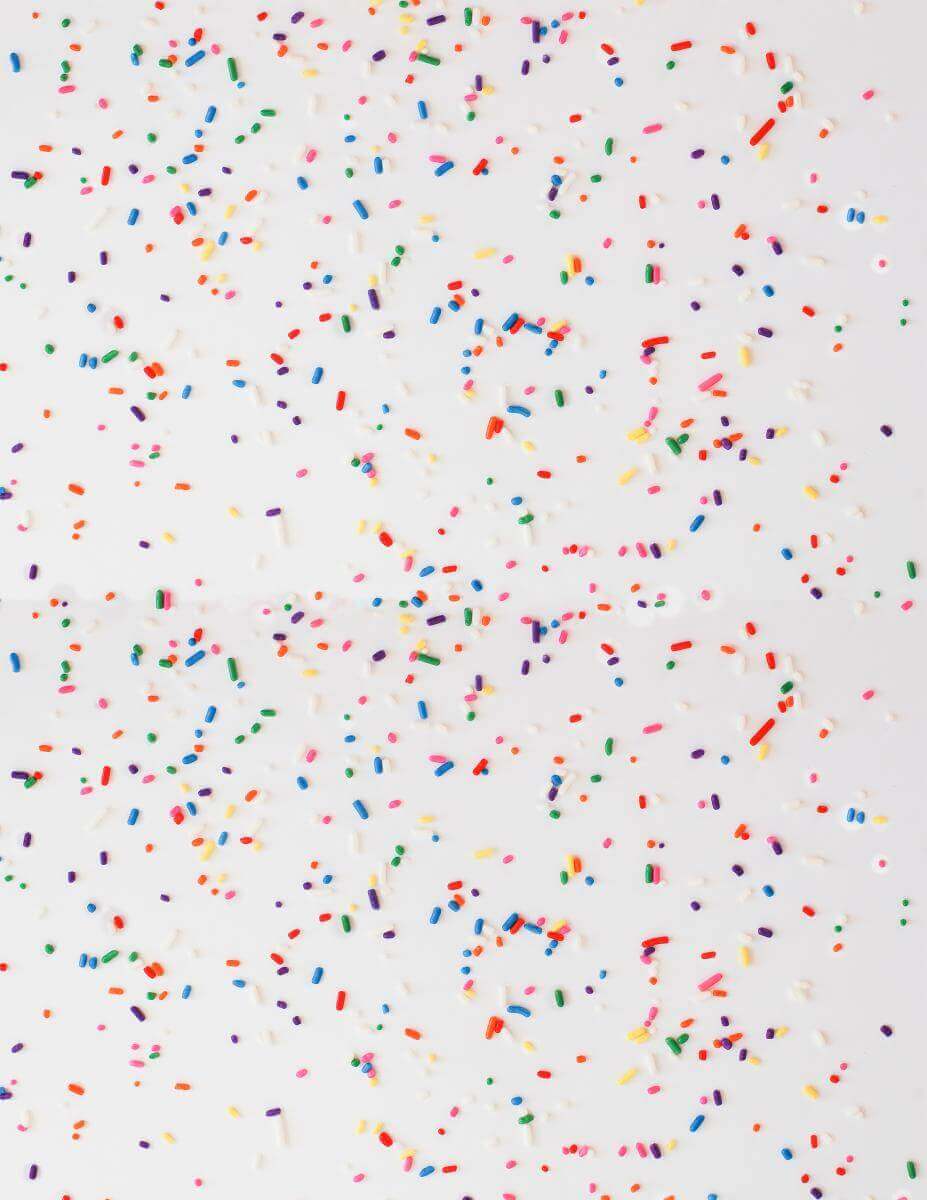
I did it by simply taking a photo of real sprinkles on white paper, and using that image several times until it was the right scale for printing out on 8.5" x 11" cardstock. A little cloning, a little healing brush tool, and I got it to an acceptable level for my purposes. If it's good enough for yours, too, feel free to download and use the full size image file here. Just right-click and save the sprinkles image to your desktop.

Making the actual invitation cutouts was insanely easy, because I leveraged the die-cutting machines at my local scrapbook store. If you haven't tried a die-cut machine yet, do yourself a favor and check it out. For only $2.50/half hour (and it only took me a half hour) I had full access to their professional machines and their entire library of die cut shapes, including these adorable cupcakes, cupcake liners, and numbers. Including all of my materials and the time to use the die-cut machine, I spent less than $10 on the invitations. And that includes getting my sprinkles paper printed out at Staples because my super nice color printer doesn't work with Windows 7 (pbbbbbt Canon for not supporting your products!).

Once all the pieces were cut out, I took them home for assembly and embellishment. I inserted each sprinkle cupcake in its cupcake wrapper, and lightly traced the line where the top of the cupcake sticks out. Following that line, I then used a fine glue pen, and drew swirling lines that I then covered with glitter. I love Martha Stewart's super-fine glitters. Gorgeous colors, and the texture of the fine glitter is just delicious.
After that, it was simply a matter of printing out the time/date/rsvp information and gluing it on the bottom half of the cupcake.

Note: I tried using hot glue and regular school glue (like Elmer's) for the glittery icing swirls, but the glue pen turned out to be the easiest by far. It gave the most control and ease of application than either other method, and dried a lot faster than the school glue.
If you use the free sprinkles scrapbook paper for any of your projects, I'd love to hear about it. Come back and post about it--or better yet, post a link so I can see your creativity myself!

.png)