I love color. Bright, bold, beautiful color. But there's an exquisite beauty to tone-on-tone palettes that get their interest from playing with texture. That was part of the inspiration behind the whole Secret Garden baby shower I styled last year.

(That paper flower backdrop looks completely awesome hanging in my bedroom now, by the way.)
One element of this party that didn't get much press was the layered silver leaf tablecloth I made for this party, and used on the savory food display.
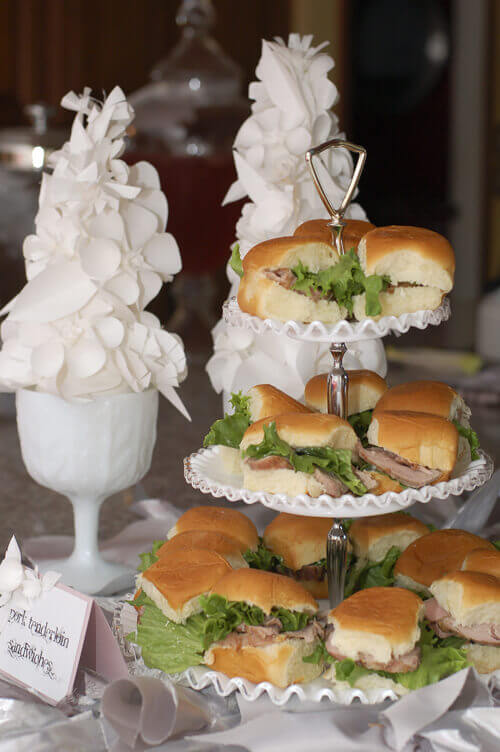
Mostly because I didn't get any good pictures that show it in its entirety. But it was so dramatic and fun that the mother-to-be did end up wearing it as a cape by the end of the party. ;-)
You'll need:
- A piece of muslin the size you want the tablecloth to be. Mine was a 2 yard (6 feet) length of muslin.
- Different fabrics, all different textures, in the same color family. I used 1/2 to 1 yard of each different silver fabric, for a total of 4 yards of fabric.
- Sewing machine (or hot glue gun, I suppose)
- Rotary cutter and self-healing mat
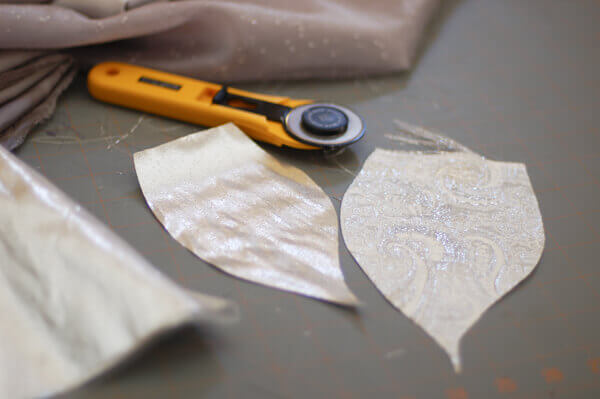
Use the rotary cutter to cut out rough leaf shapes from the silver fabrics. Make one end flat, both to conserve fabric, and so you'll have to do less sewing.
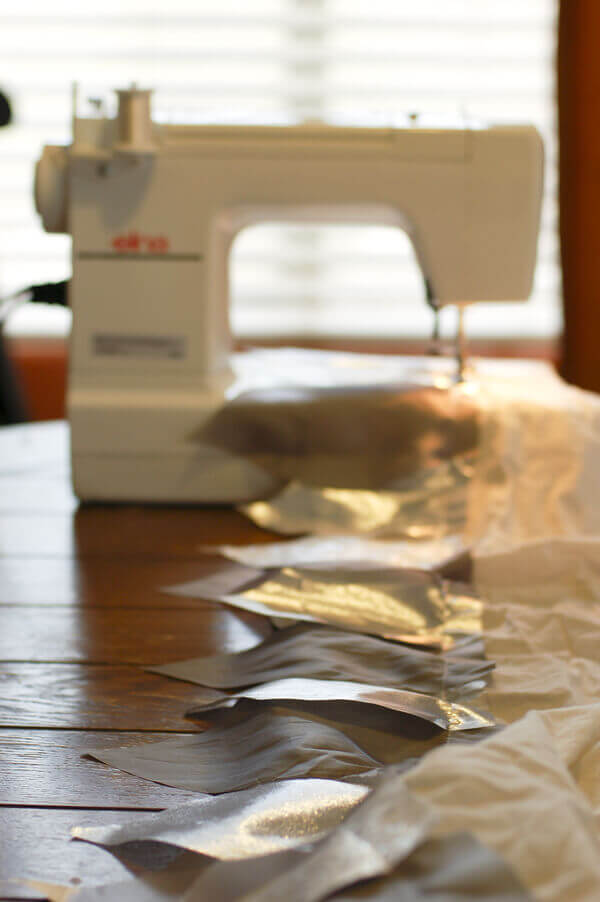
Use the sewing machine or glue gun to attach the silver leaves to the muslin base, overlapping as you go so none of the muslin shows through.
Please note: you do NOT have to be a gifted seamstress to undertake this project. Or be able to sew a straight line. This is very, very forgiving.
I just love the subtle play of pattern and colors within the same family. It's dramatic, it's detailed, without being overwhelming. (And, as a side note, this technique also made a really awesome fairy skirt for a Halloween costume a couple years ago.)


.png)