I have the most awesome neighbors ever, so when my friend Kim started planning her son's 5th birthday--with a carnival theme--I was incredibly excited to help out however I could. Who can resist a carnival?
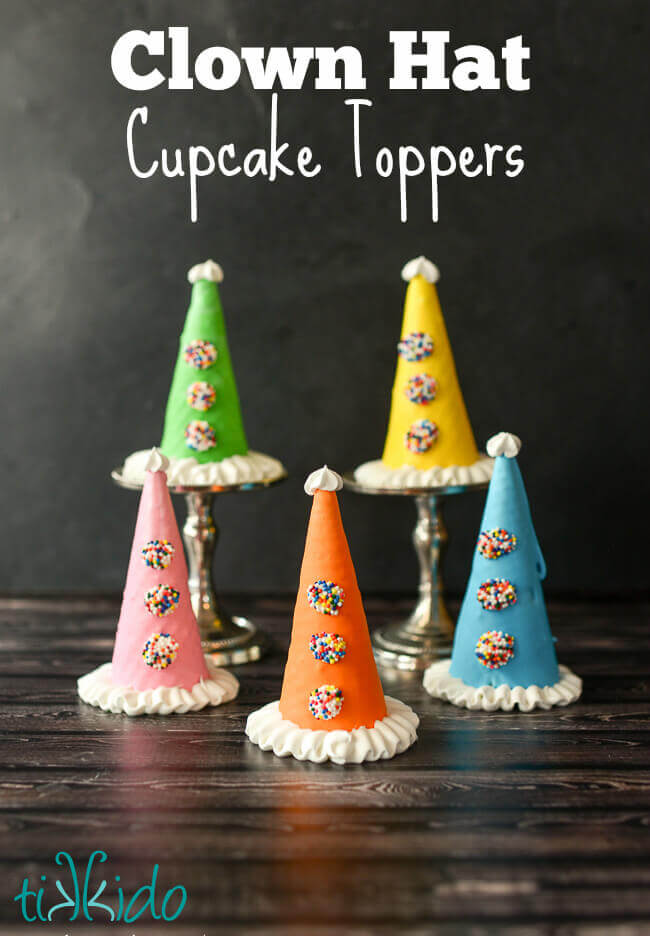
Kim had seen a picture of clown hat cupcake toppers online, and I was immediately on board. I could envision exactly how I wanted to do it (and, luckily, it actually worked out the way it did in my imagination).
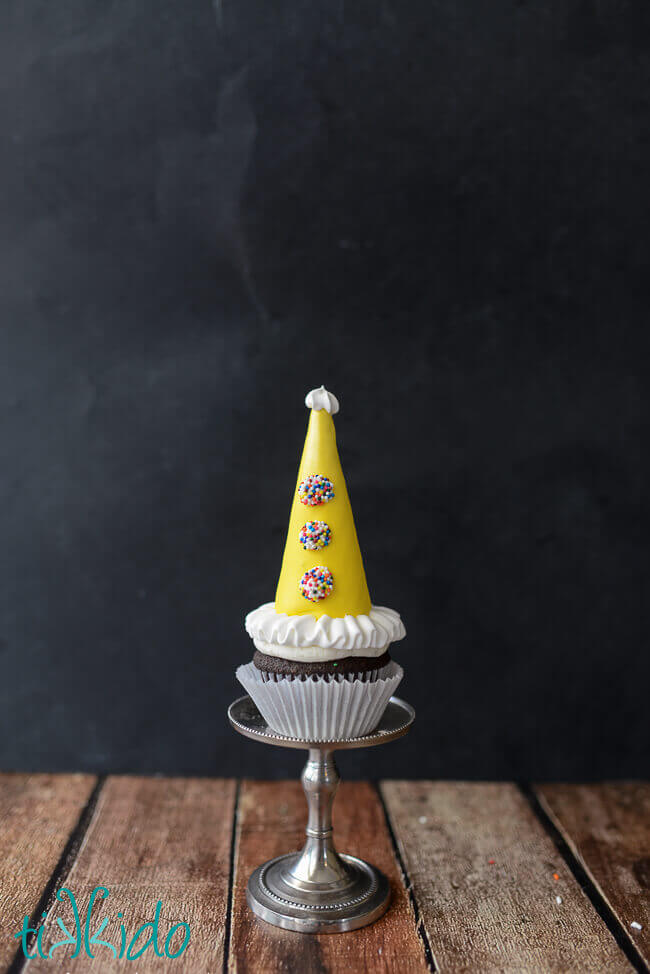
Edible Clown Hat Cupcake Topper Ingredients and Materials:
- sugar cone ice cream cones
- royal icing
- sprinkles
- luster dust spray (optional)
- disco dust (optional)
- gel food coloring
- disposable icing bags
- Wilton 104 rose/ruffle tip
- Wilton 21 star tip
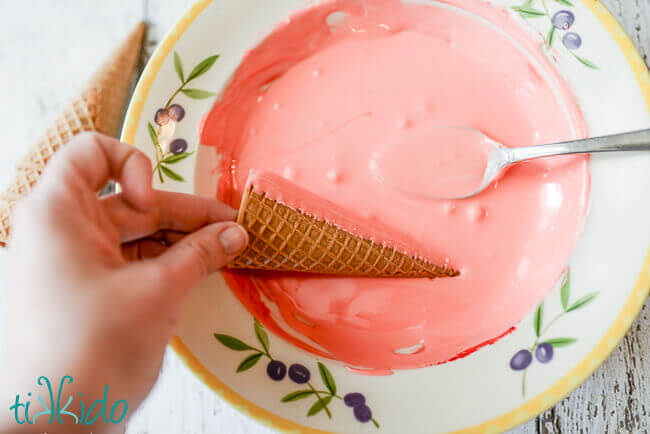
Make a batch of royal icing (I usually use meringue powder, and just use the recipe that comes with the can). Use food coloring (Americolor gel food colorings are my favorite) to color a small portion of the icing. Thin the icing with water until it's flooding consistancy--in other words, kind of runny, but not too runny. Roll the ice cream cone in the thinned royal icing and set on waxed paper to dry.
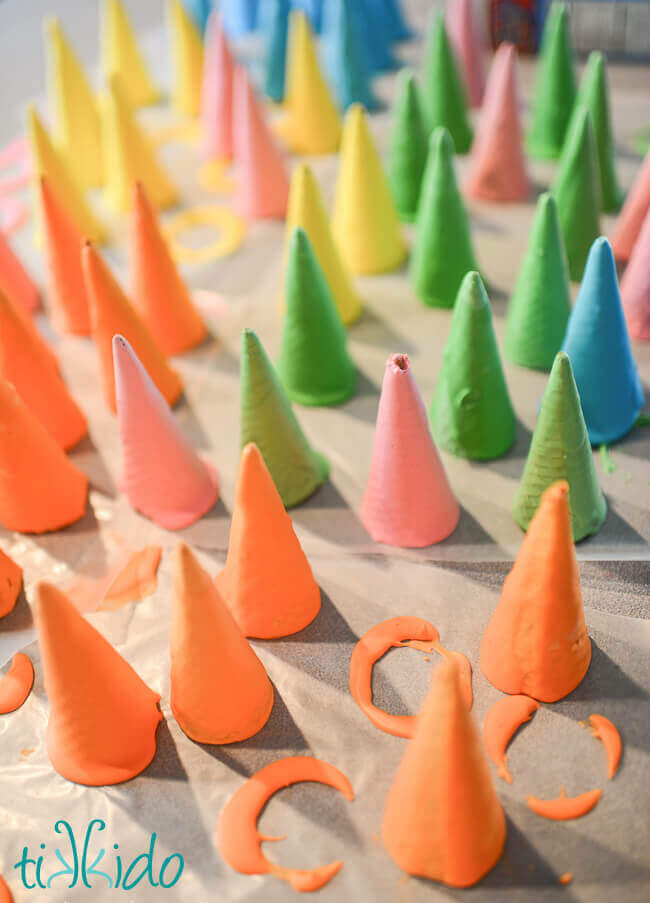
After a few minutes, you may notice that some of your cones had more icing on them than others, and the excess icing has started to puddle at the base of the cone. A bit of puddling is fine, but you don't want a whole bunch, so if you see a puddle, simply lift the cone up and place it in a new spot on the waxed paper, leaving the puddle behind. I grabbed the cones from the tippy top, and didn't worry if that meant I messed up the icing at the pinnacle, because I knew I'd be covering up the tip with an icing pom pom later.
Let the covered icing cones dry completely.
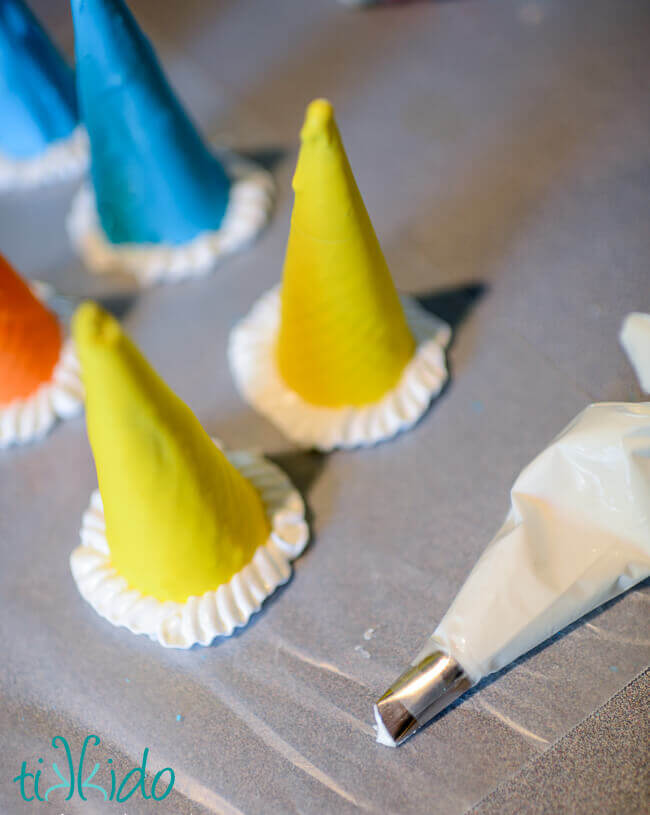
Once the base coat of icing has dried, it's time to add the ruffle. A Wilton 104 petal tip made excellent ruffles, just the right size for our ice cream cone hats, and I used a stiff royal icing to make the ruffles.
Let the ruffles dry completely.
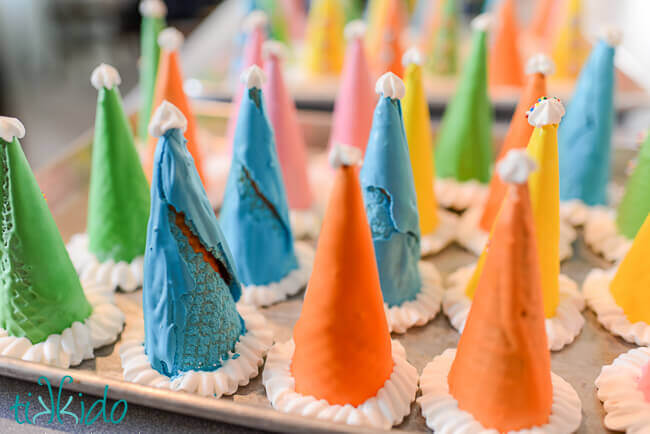
I got some strange cracking on some of the cones. The blue color, especially, seemed prone to this strange separation and breakage. I honestly have no clue why it happened, but when it did, I took solace in my favorite phrase in cake decorating: "Every cake has a back." So does every cupcake, and cupcake topper. All of the cones had at least one good side, despite some cracks, and that's the side I faced to the front.
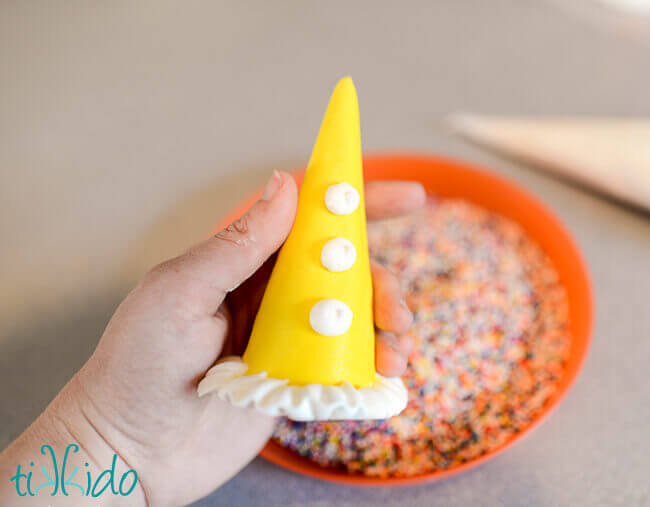
After letting the royal icing ruffles dry, add the sprinkle buttons by piping three dots of royal icing and covering the wet icing with sprinkles.
Use a Wilton 21 star tip and more stiff royal icing to add a little poof to the top of the hat. Embellish with PME Pearl luster spray and some disco dust if you'd like (and really, who doesn't like?).
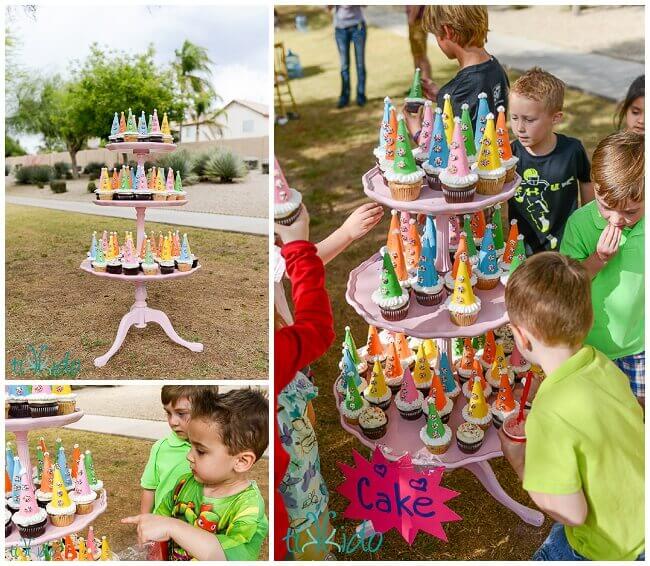
The kids went nuts for the cupcakes, and I finally realized my dream of using my tiered pie crust table as a giant cupcake stand.
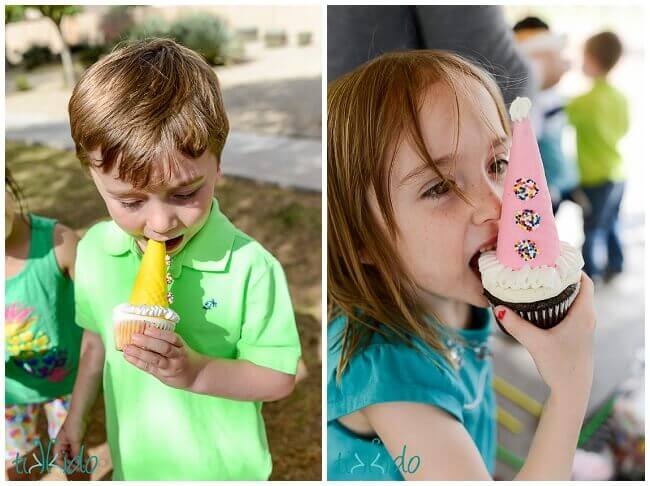
Eating the cupcakes was a bit of a challenge, but everyone managed just fine. The sugar was worth the effort.
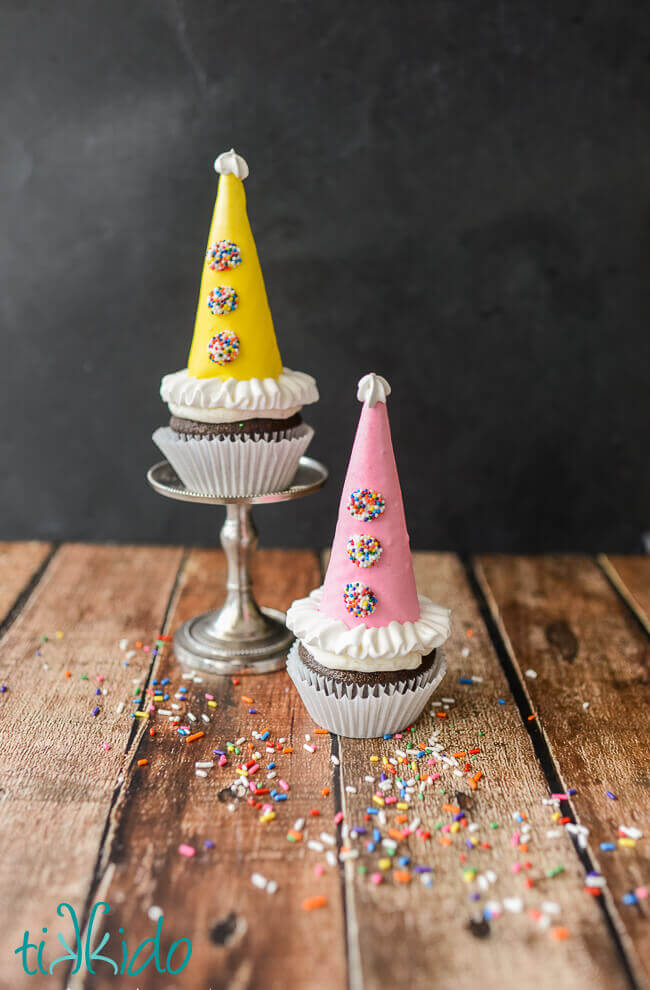
I just love how these sweet treats turned out!


.png)