When we moved into our current house about four and a half years ago, we bought a new kitchen table off Craigslist. The chairs were great (aside from theupholstery, which I finally fixed in the last post), but the finish on the top of the table wasn't in the best shape. Still, it was solid wood, the perfect size and shape for our new kitchen, and a great deal.
The years betweenpurchaseof the table and now haven't been kind tothetable. Years full of craft projects and kids, and kids with craft projects.
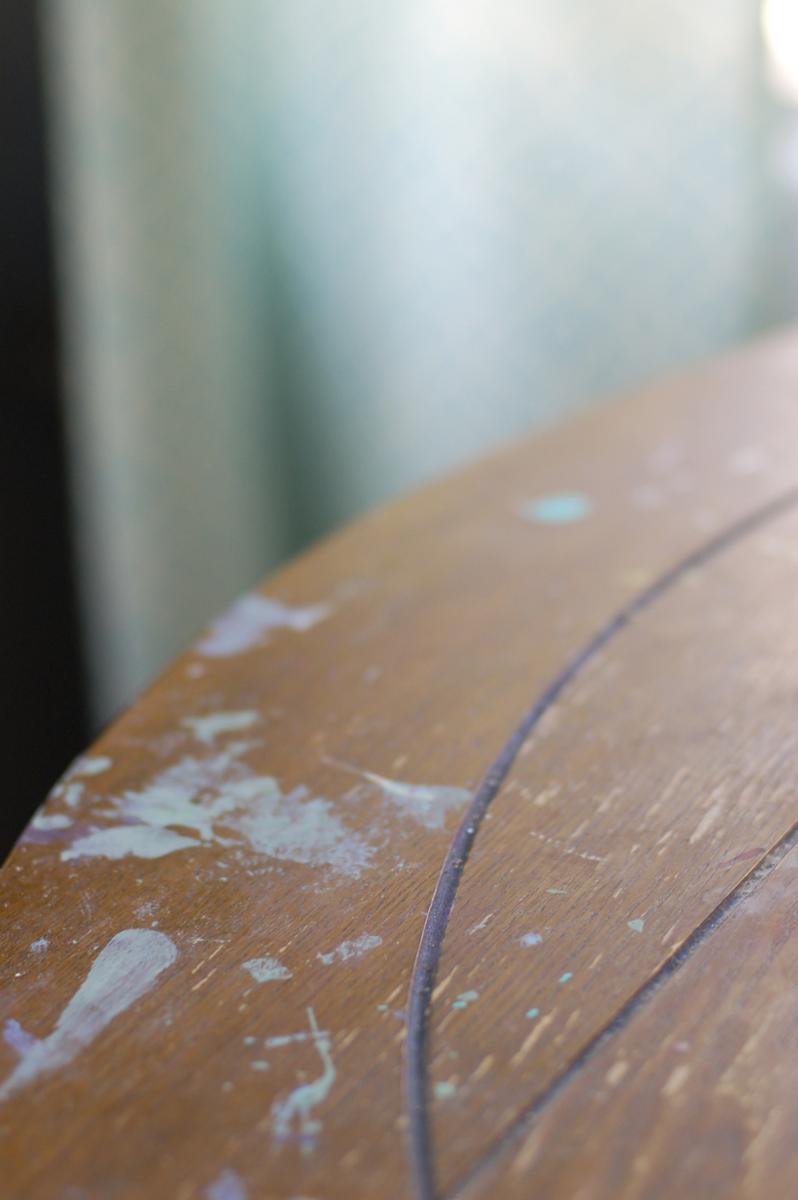
I never took particularly good care of the surface, because I always intended to refinish it. Someday.
With the whole kitchen getting a makeover, this felt like the right time to do it! We're just waiting for the granite to get installed at this point, so I had a bit of a lull in projects, and decided it was time to tackle the table.
The first step was to fill in those awful grooves. I liked the look when we bought the table, but I quickly realized that they were beast to clean. They capture every crumb and glimmer of glitter. They make it impossible for my daughter to do her homework on the table without placing a book beneath her paper.
First, I had to clean out those nasty channels.
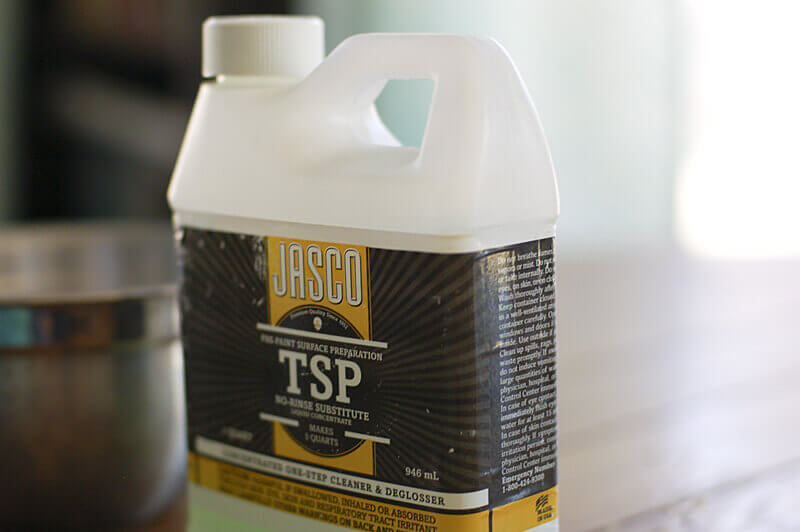
TSP and a green scrubby and elbow grease got the job done.
Next, it was time to fill in the grooves.
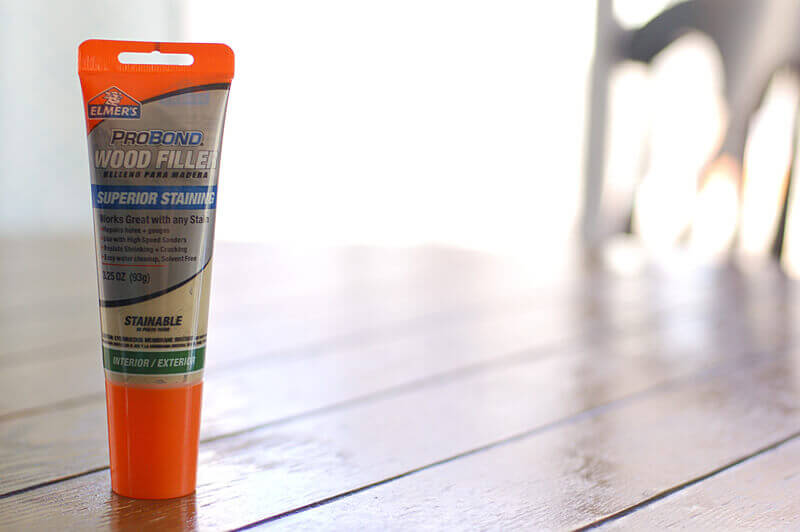
Sandable, stainable wood putty turned out to be an easy, inexpensive solution.
Once the putty was dry, it was time to sand off the old finish.
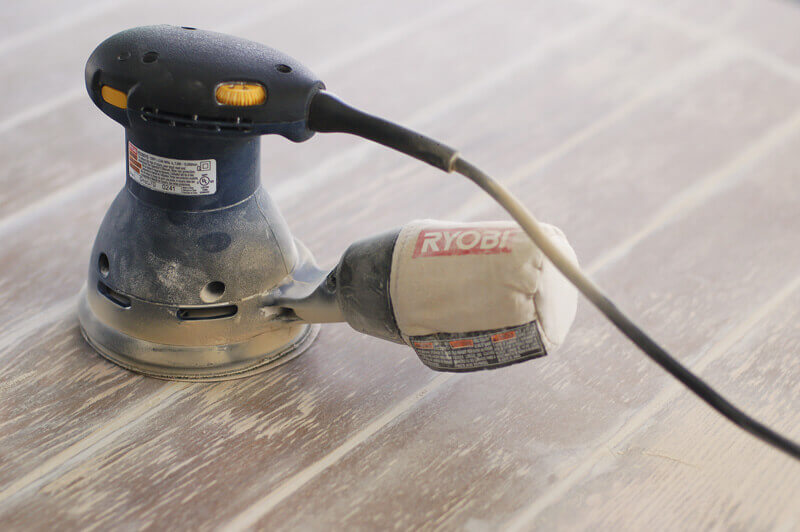
Coarse sandpaper made pretty quick work of this step, and fine sandpaper at the end made the surface fabulously smooth and ready for staining.
I used some stain we had left over from the pergola we built in May, and the deep espresso color worked perfectly with the rest of our decor.
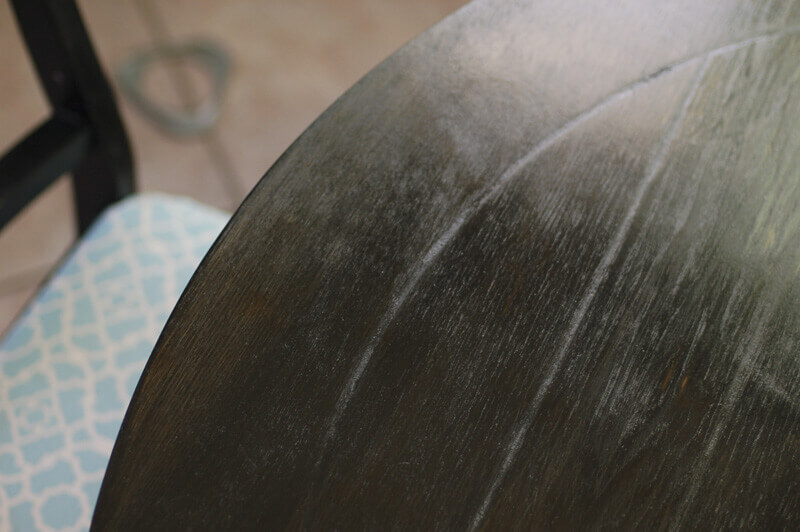
You can still see the where the grooves were, but it's nice and smooth, and so much better! Since I already had the stain, the only cost for this project was the $3.67 for the wood putty.
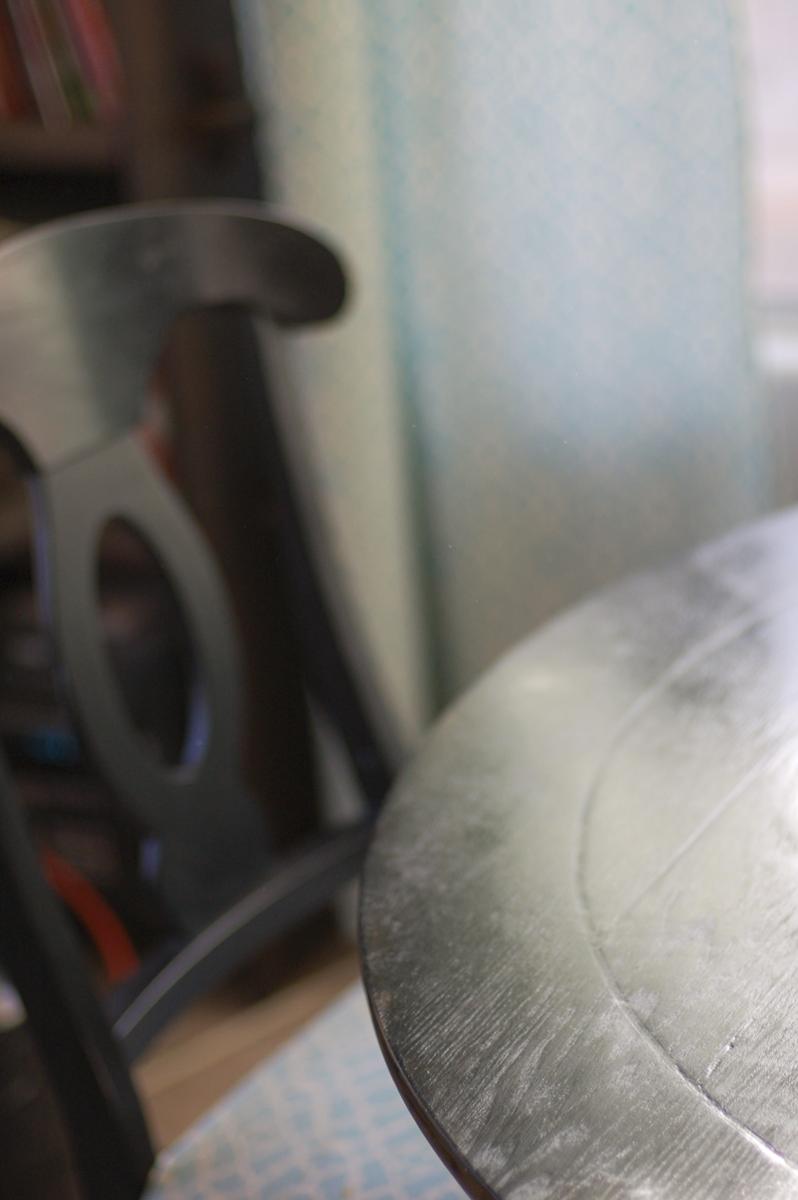
Ready for more years of service!
.png)


Comments
Looks gorgeous!!!!!!!!!!!!!!!! Paula
Wow, Nicole! I love the new look!