This was such a last minute project. It was the morning of the Star Wars party. I'd completed all my planned projects, and had a little time and a lot of sparkling paper scraps. An ideaoccurredto me--and not just any idea, but a super easy, super fast idea for a glittery garland that would compliment my space theme perfectly.
10 minutes later, I'd whipped up three 8 ft. long garlands. I wasn't sure where I would use them at the party, but I knew I'd find a good use for them.
How to Make Glittery Garlands
- Paper
- string
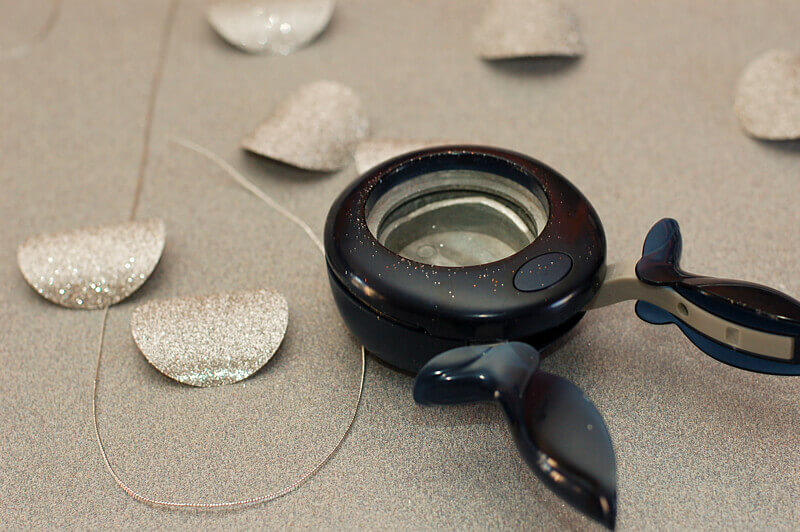
- paper punch
- hot glue gun
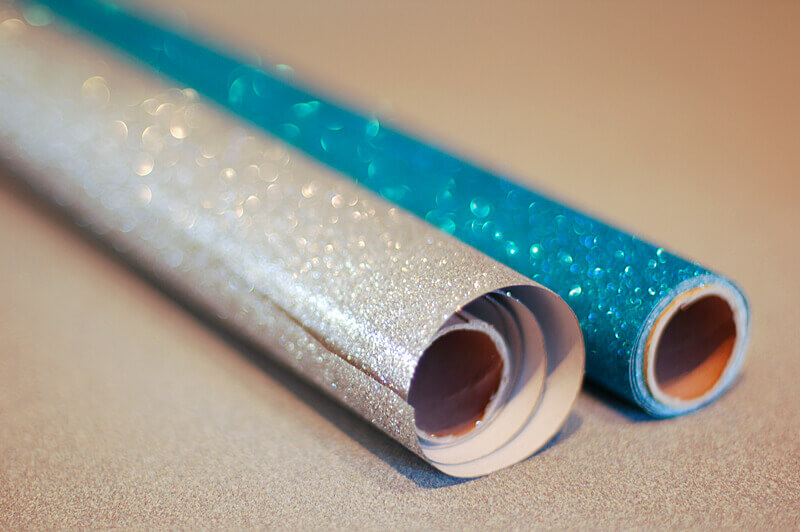
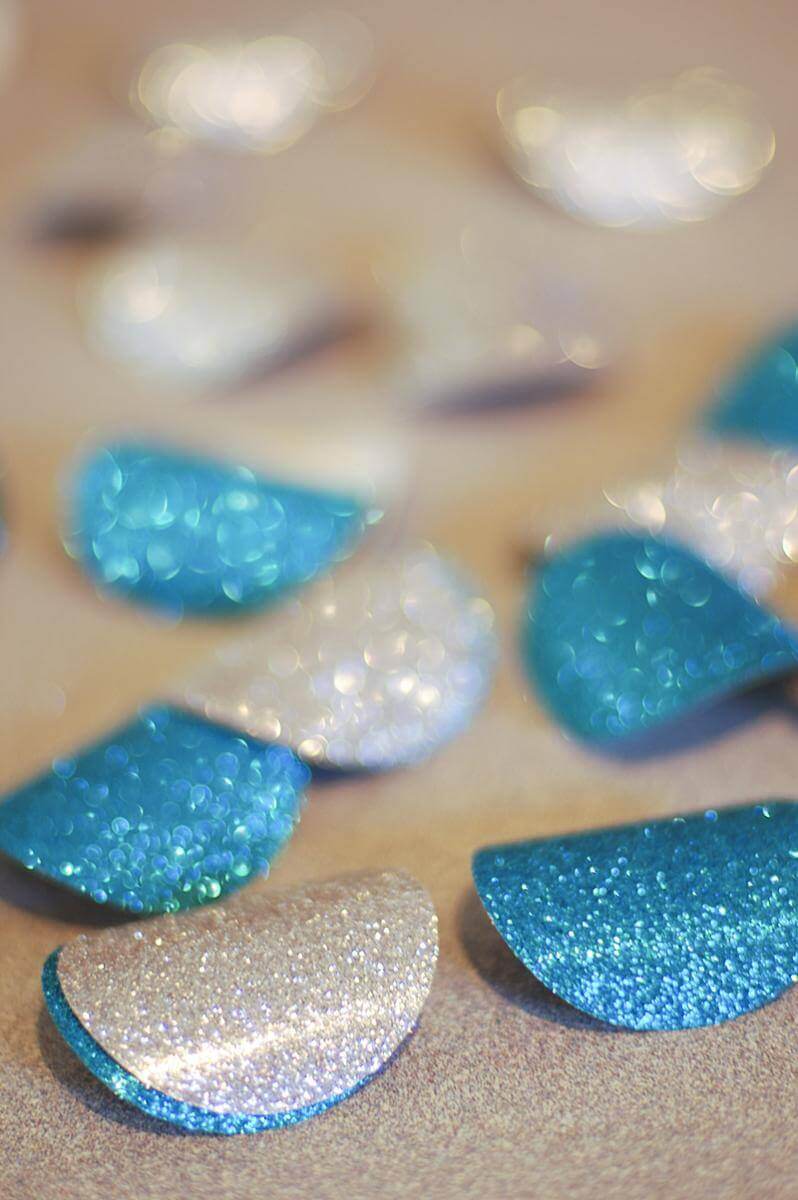
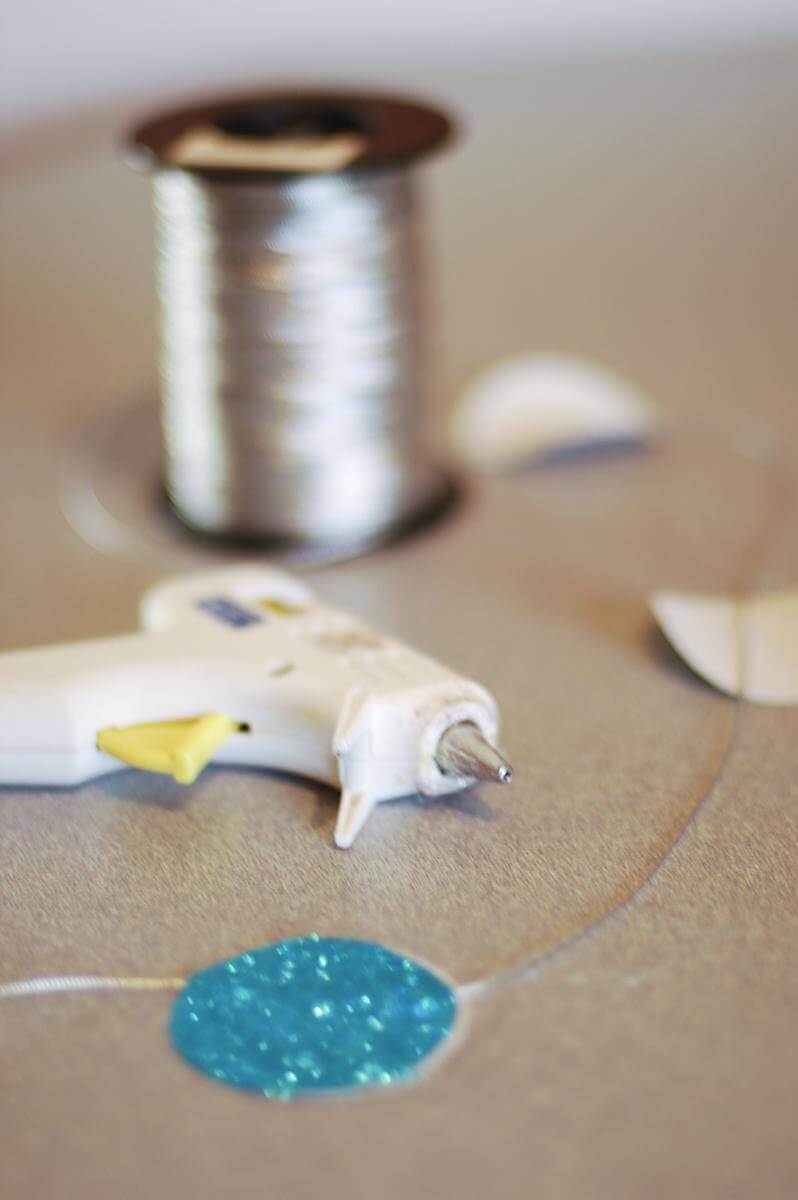
1) Use your punch to cut out piles of circles out of your paper. I used glittery wrapping paper (so much less expensive and more sparkly than the glitter scrapbook papers out there!) and a 2" circle punch. But really, you could use any kind of paper and any punch shape you want.
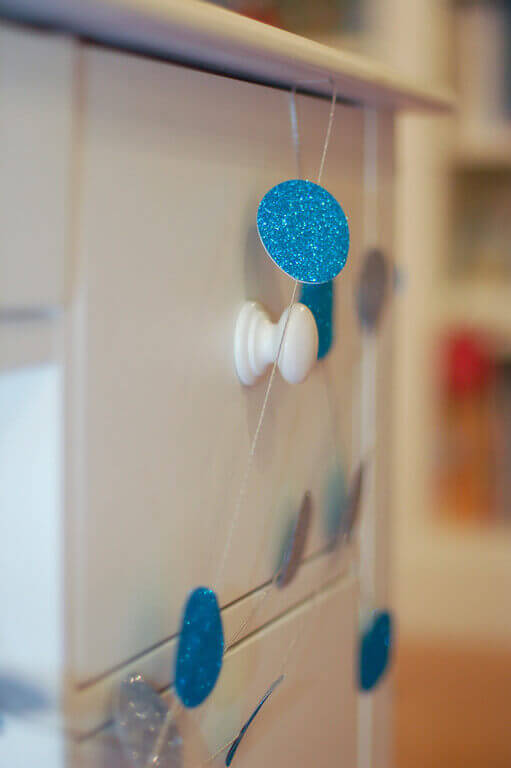
2) Cut a length of string (I used silver cord I had on hand, but any type of string or yarn would work--even clear fishing line). My strands were approximately 8 feet long each. Use the glue gun to glue the paper circles to the string. Glue a second circle to the back side of each first circle, sandwiching the stringin betweenthe two shapes, so that it will be beautiful from any angle.
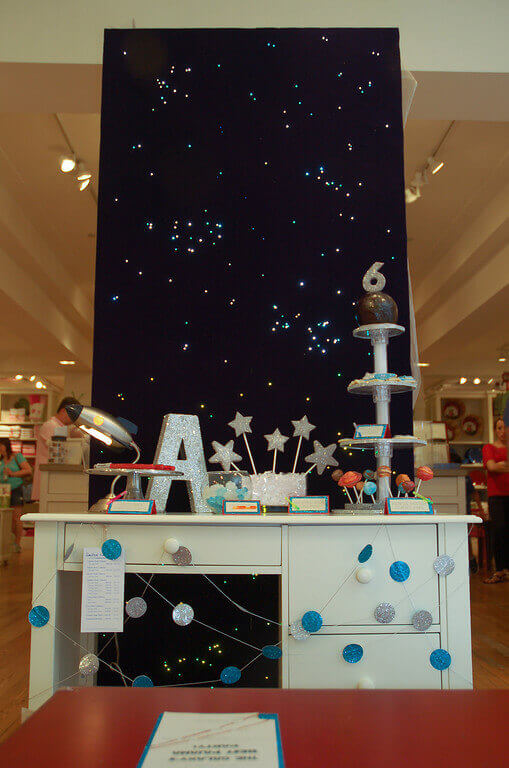
These looked fabulous on the Astronomy party setup, and my eldest daughter already called dibs on them for her Christmas tree in a couple months. These could be done in any shape for any kind of event. Can you imagine raindrop shapes cascading down from a ceiling? Leaves in fall colors? A flurry of snowflakes for the holidays? Hearts at Valentine's day?

.png)
Comments
You always make it look so effortless. Thanks for ...
I love this sparkly idea! Your Star Wars event tur...