Let me preface this tutorial by saying I am not a seamstress. Whenever I spend time at the sewing machine, I spend more time cursing and pleading for cooperation than actually sewing. My straight lines are never actually straight. I stopped my one attempt at quilting when I figured out I can't even cut a straight line. So if I can do this project, anyone can. Really.
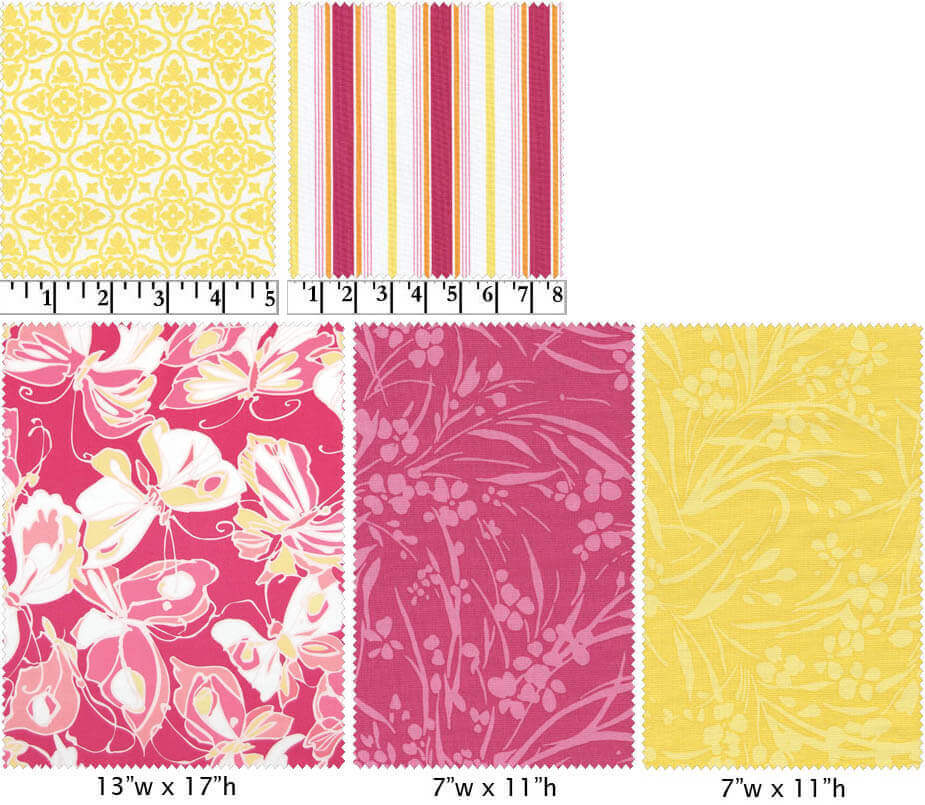
The entire style of the Tykki-dyw butterfly party took shape when I found the Dab of Jazz line of fabrics.
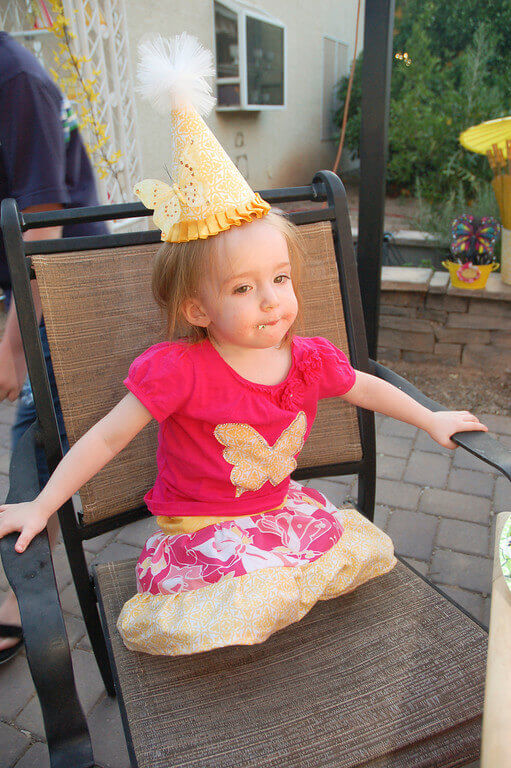
I was completely inspired, and wanted to use the fabrics wherever possible, including on the birthday girl's outfit. I sewed a cute little tiered skirt (the one pattern I have and use again and again, because I actually know how to do it, and it doesn't require actual straight lines to look cute), but I needed a top to finish off the outfit. I love those adorableappliquédshirts you can buy from Etsy, but of course I'd waited until too close to the party to be able to order one using the Dab of Jazz fabrics. Panic! I would need to sew.
I turned to my tremendously talented friend Eva, of Bijoux Baby Crafts: Sew forth and Sew On. She gave me the perfect tips--using materials I already had in my house--to be able to pull off a beautiful butterflyappliquédshirt that matched the rest of the party decor perfectly.
To make anappliquéd shirt, you'll need:
- a blank t-shirt
- scissors
- freezer paper
- pencil or pen
- decorativefabric
- iron
- sewing machine or needle and thread
- rhinestones and glue (optional)

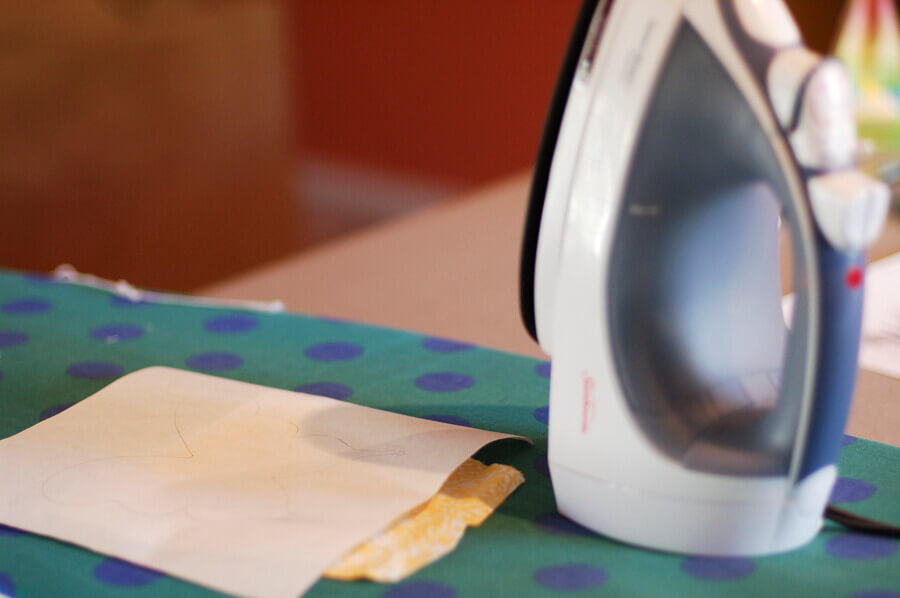
3) Iron the freezer paper on your decorative fabric. The shiny side of the freezer paper should be touching the right side of the fabric.
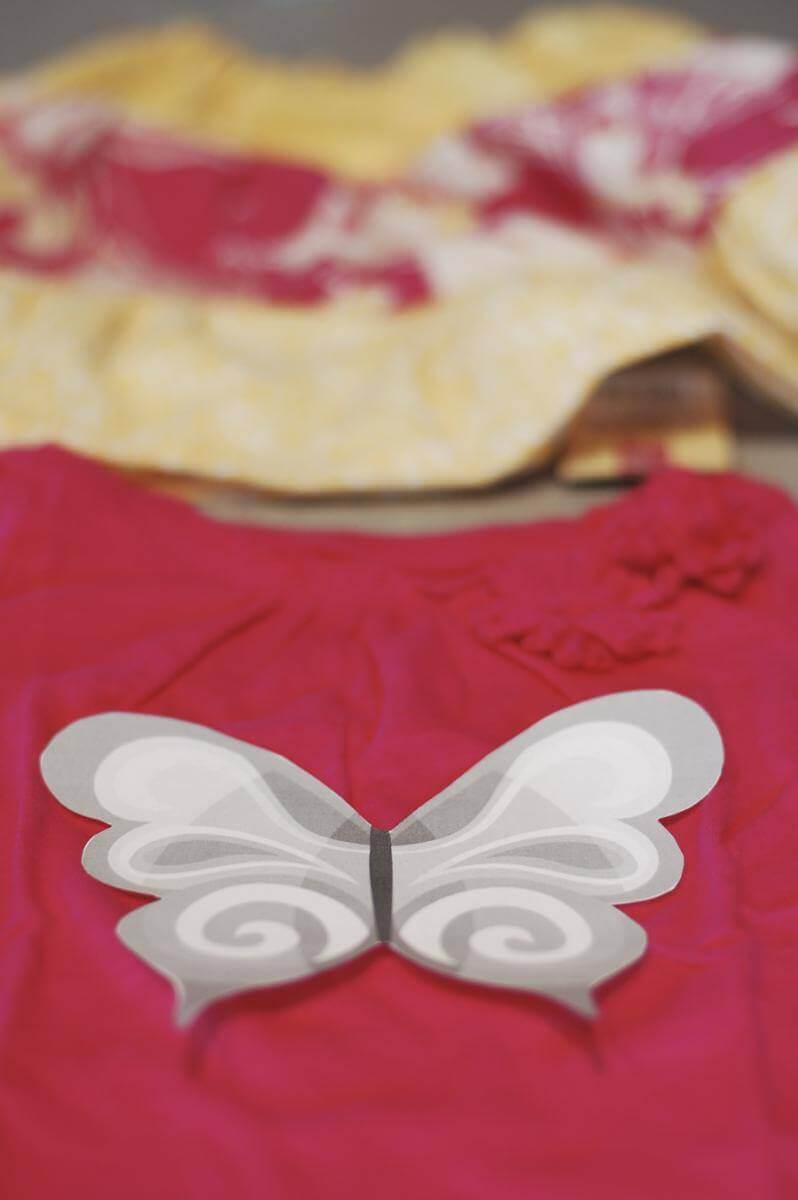
4) Now that the fabric has been beautifully stabilized, cut out the butterfly shape. Don't remove the paper yet.
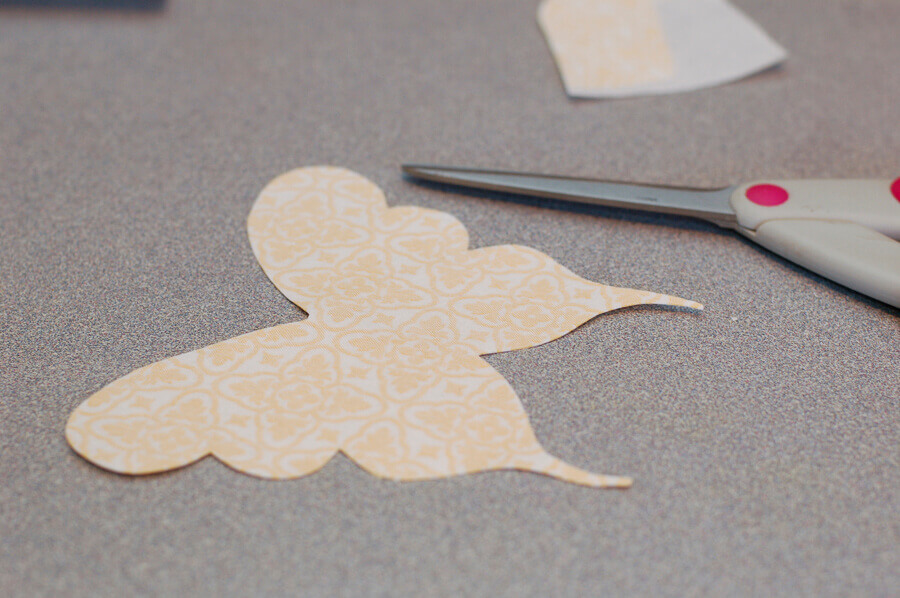
Look how perfectly the shape can be cut! I was seriously impressed with myself at this point.
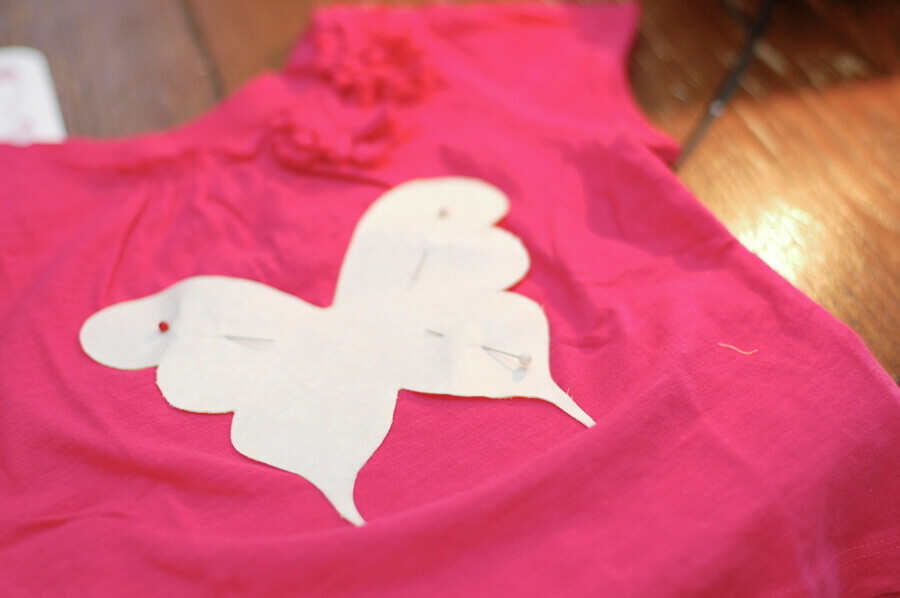
5) Pin the fabric shape to the shirt, so it won't wander while you sew it on. The paper is still on, and should be on top.
6) Now sew that bug on! I used a sewing machine...badly. That machine is not my friend. Maybe because I never gave it a name.

I didn't dare try a button stitch or even a tight zig zag right at the edge. I know my limitations. Instead, I just used a straight stitch and figured my kid will outgrow this thing before the edges become an issue. I'm all about "good enough" for this project.
7) Once the shape has been sewn on, tear off the freezer paper. To cover up my less-than-exceptional stitching, I glued on Swarovski rhinestones.
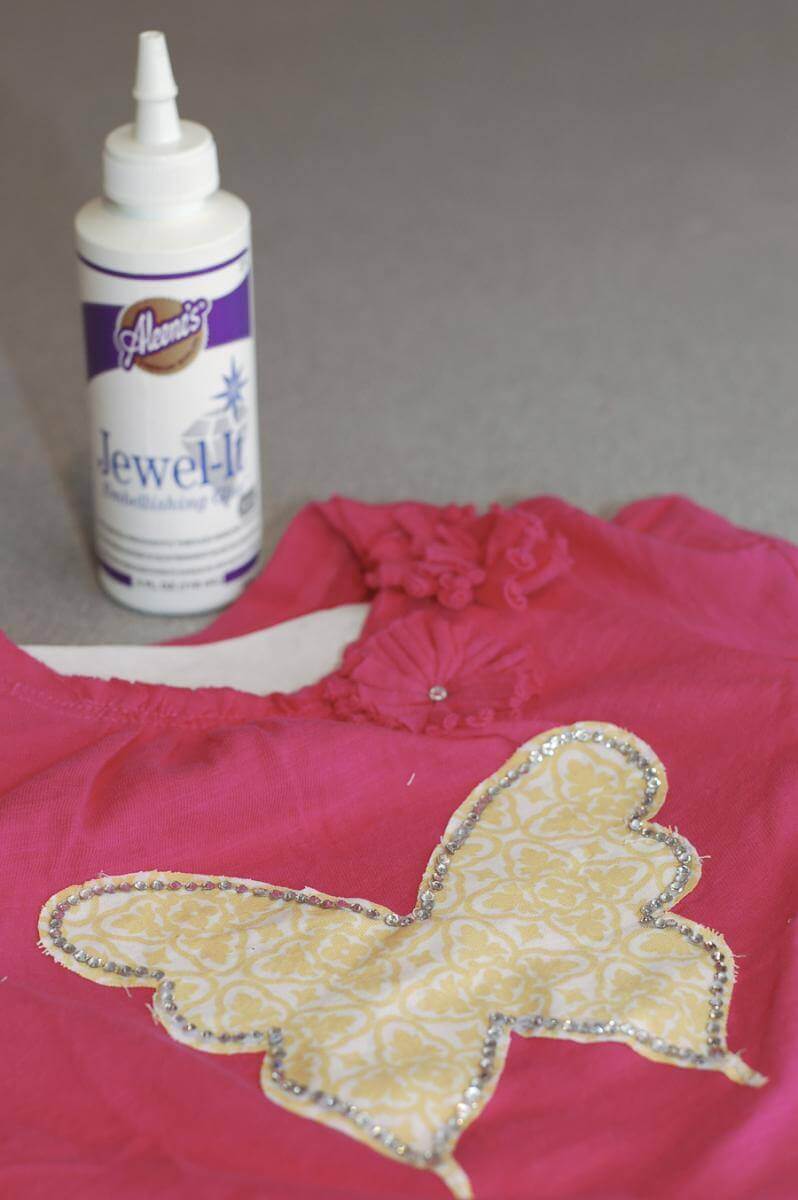
A little sparkle is always a good thing, anyway. Here's a little Tradewind Tiaras review as a bonus tip: A lot of people use E6000 glue for applying rhinestones, and it has its place, but I almost always choose Aleene's Jewel-It glue. It's much easier to apply, doesn't have that noxious smell, and glues very securely while remaining flexible. I get my Aleene's Jewel-It at Michael's, so it's probably available in any major craft store. Excellent product.
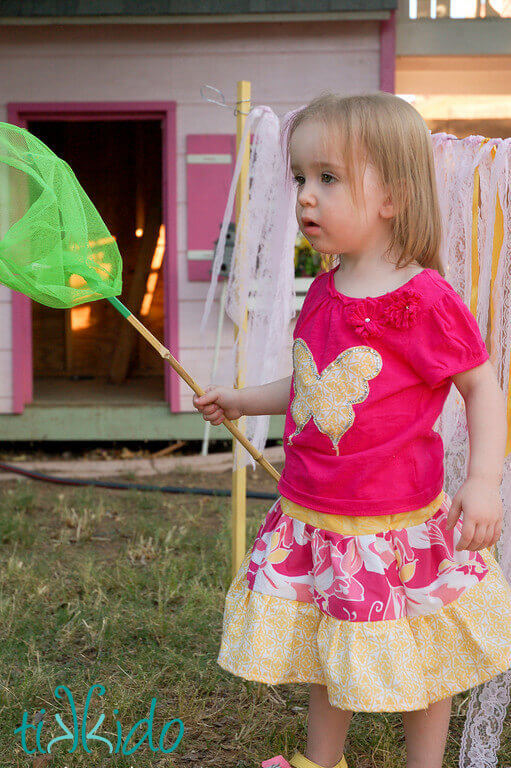
Thanks, Eva, for the fabulous freezer paper tip! You made my daughter's birthday ensemble possible, even with my extremely limited skills.

.png)
Comments
Thanks for the great post. I've never done ap...