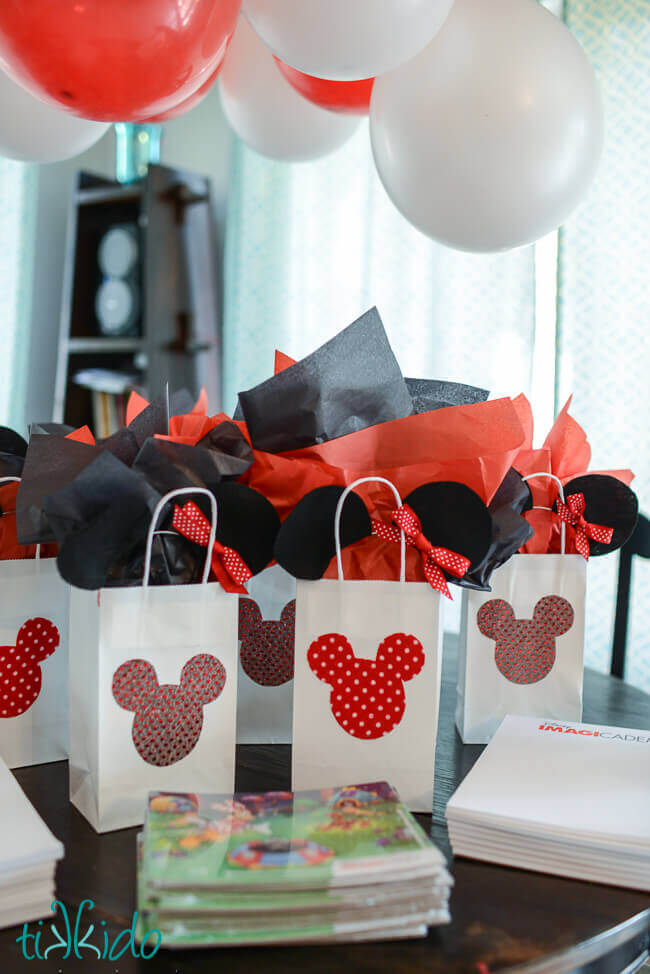
Is there anything that gets kids more excited at a party than a goodie bag?
I know some parents don't like giving favors at parties, and I totally understand why. Often, it's just some plastic junk that the kids will forget about in five minutes, but will somehow linger, cluttering the house, for five years. I, too, know that feeling. But the joy on my kid's face when she gets a little treat at the end of a party? The smiles and thank yous and hugs I get when I give out favors at a party I throw? They're genuine, and amazing. So I am a fan of the favor and the goodie bag. Totally cool if you don't want to do it at your party, but I really like to.
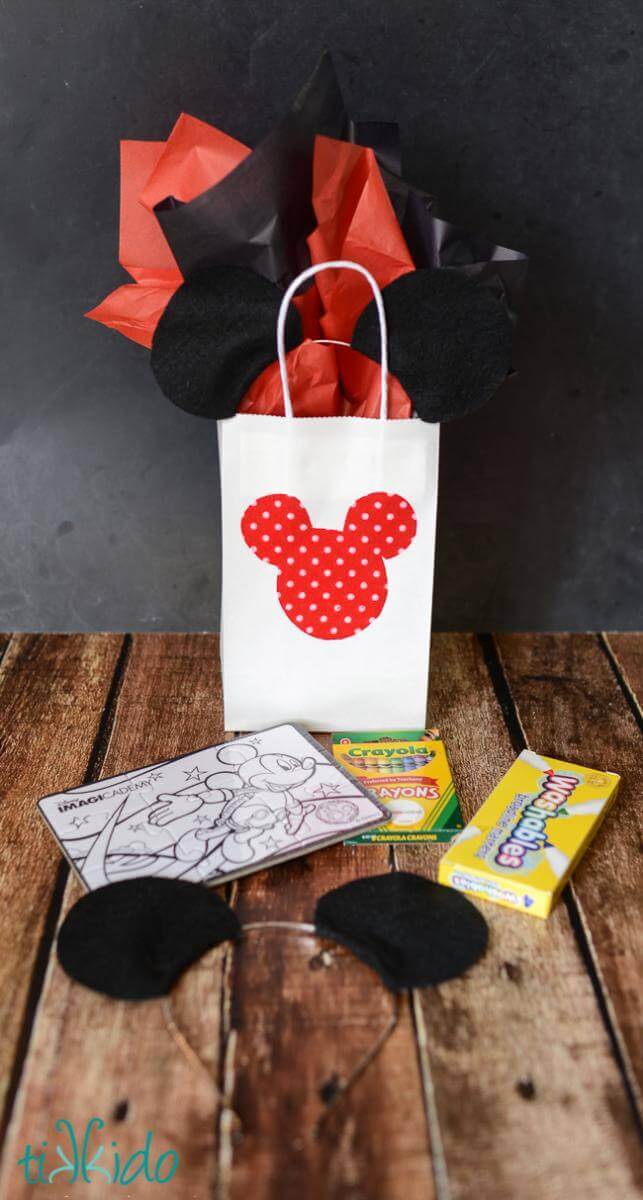
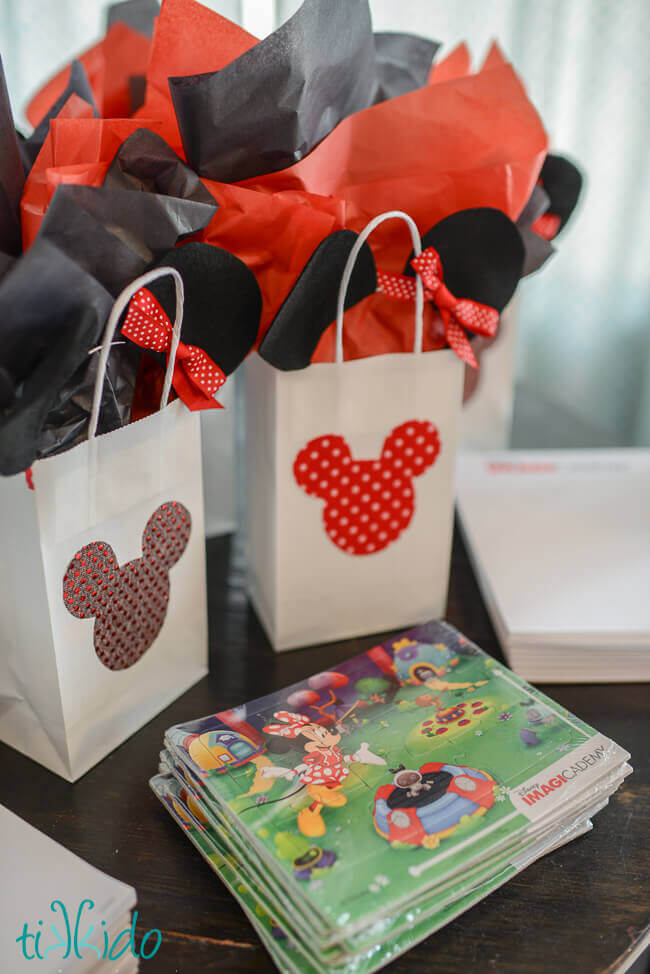
I do, however, like good goodie bags. Stuff the kids (and the parents) will appreciate and use. Like the crayons, markers, puzzles, and Mickey Mouse ears for the Disney Imagicademy party. My kids go through art supplies like crazy, and we can pretty much never have enough!
If you've been following this blog for a while, you probably know that I love creative gift wrap, and also love not having to store a huge supply of gift wrapping papers and such. I have some very basic plain papers and gift bags, and like to embellish. It's fun, it's perfect to customize to any theme, and it's way less expensive than buying fancy gift wrapping supplies. Win win.
Materials to make Mickey Mouse silhouette gift bags:
- plain white paper gift bags
- Wonder Under fusible fabric interfacing
- decorative fabric
- clothes iron
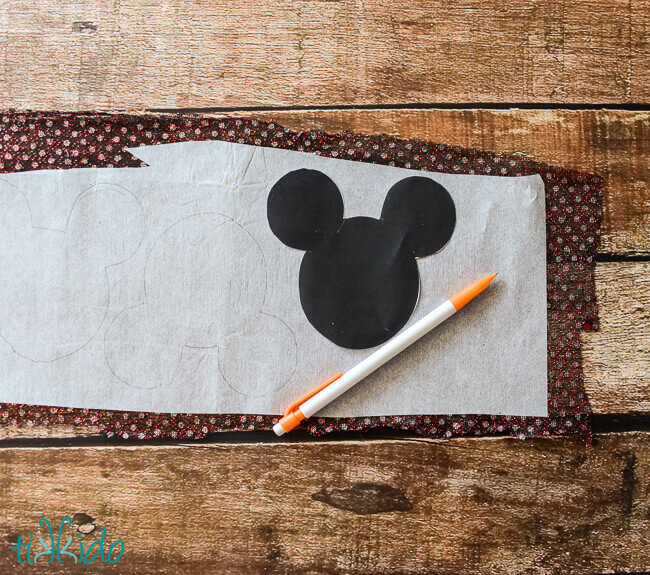
Fusible interfacing is some cool stuff, and I like using it for more than just fabric. It's basically a heat-activated sticker in any size or shape you could possibly want. I like using Pellon brand Wonder Under, which you can get online, or at any fabric store. It's usually stored at the cutting station at my local Joann Fabrics, and you have to ask for it. Took me an embarrassingly long time to figure that out.
To make the Mickey Mouse silhouette gift bags, print out a Mickey silhouette in the size you need (Google it, you'll find a bajillion). Iron the non-papery side of the Wonder Under to the backside of your fabric. Trace around the silhouette on the paper (now stuck to the back of the fabric), and cut out.
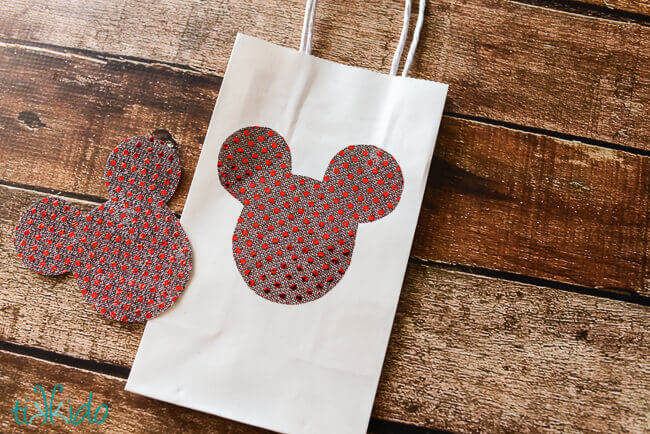
Once the shape has been cut, peel the paper backing from the fabric shape. Place the fabric Mickey silhouette on the gift bag, and iron one more time. The heat from the iron, now that the paper backing has been removed, will fuse the fabric to the paper gift bag.
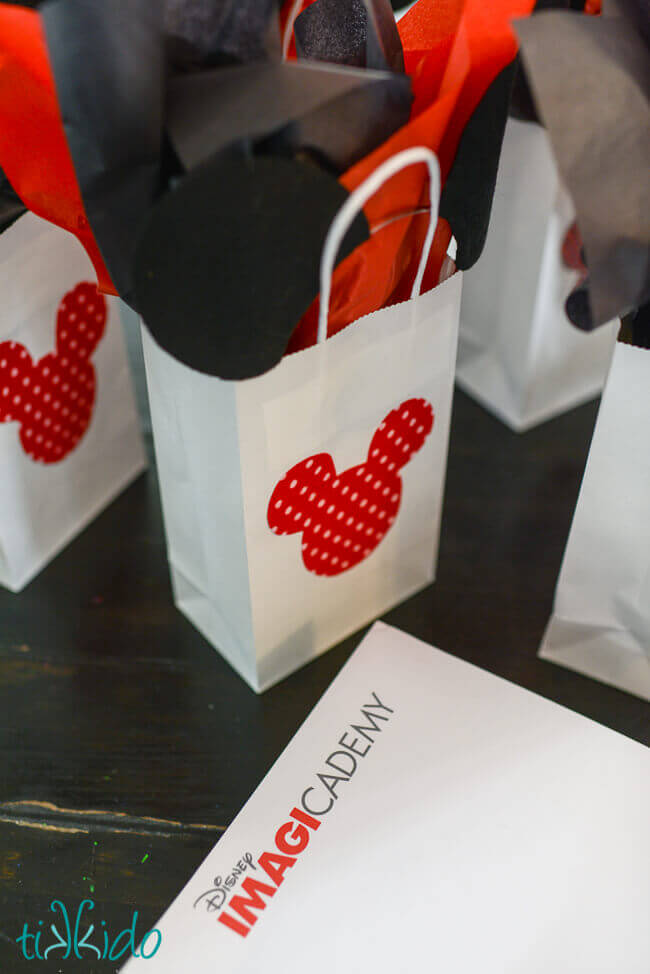
Super easy, right? The iron doesn't burn the paper, since it only takes a few seconds to fuse the fabric to the bag. I think these would have looked absolutely adorable done with black fabric, and a 3 dimensional ribbon bow glued on top, Minnie Mouse style. Oh--brainstorm! You could figure out a way for that bow on the bag to be a hair clip! So it would be a decoration for the bag AND an extra little gift! Now why didn't I think of that two weeks ago?
Other Disney Party Ideas You Might Like:

.png)