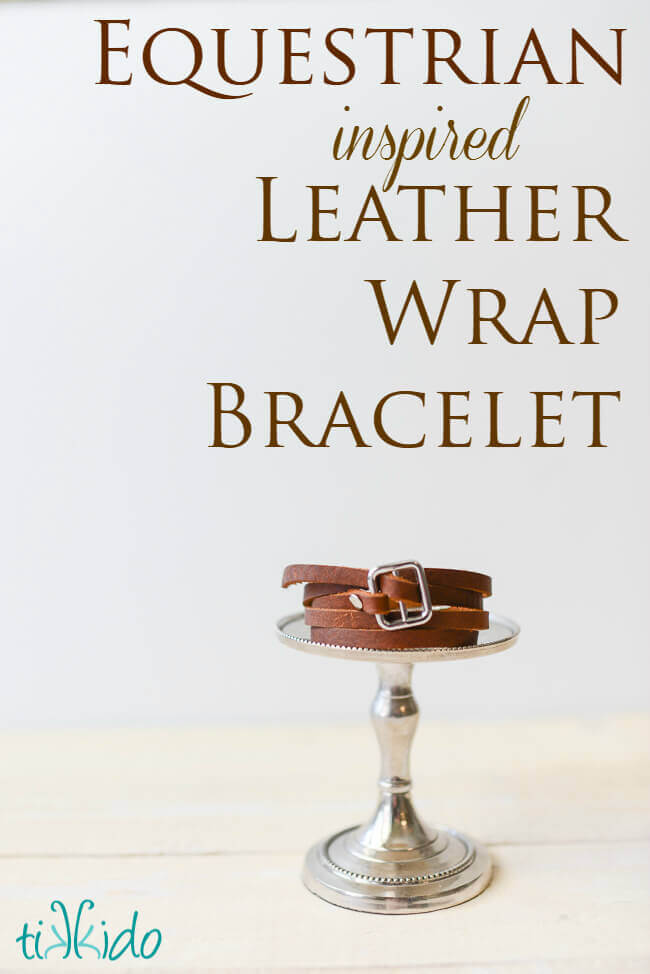
I made these chic leather wrap bracelets to give as favors for the Equestrian Tea Party birthday party last week. I was inspired by classic English riding tack--the rich leather and the sleek metal buckles. Once I got the right tools, it was insanely easy to make these bracelets, and both kids and adults have gone nuts for them.
How to Make an English Equestrian Leather Wrap Bracelet:
- Leather punch
- Leather rivet and setting tool
- leather lacing
- silver slide buckle
- scissors
- mallet or hammer
You do need some specific tools to do this craft. Ones that I--even with my extensive, broad selection of craft tools and supplies--didn't have. Luckily, they're not expensive tools.
You'll need a mini leather punch set to make nice holes in the leather. There are other leather punch tools, but the extremely helpful woman at my local Tandy Leather store recommended the set linked in the list above, and it worked gorgeously. You'll also need a metal rivet and rivet setting tool. Some leather lacing too, of course. You could choose any width, but I went with 1/4" leather lacing. The final bit of hardware you'll need is a small strap slide. The one I used for my project is no longer available from the manufacturer, but if I were making these again, I'd totally use rhinestone ribbon sliders!. There are other, more decorative styles available, but I wanted clean, classic lines for my bracelet.
Cut a length of leather lacing. I ended up cutting segments about 30" long, so that it could wrap around my wrist several times, but it's honestly not all that important how long it is, because it'll fit differently on every single person, wrap around big wrists and little wrists and everything in between.
Punch two holes close to one end of the leather lace. Punch the holes so that, once the rivet is in place, it will wrap around the slide buckle relatively snugly. To use the punch to make the hole, all you need to do is place the punch, tip down, in the spot where you want the hole to be, then tap with a hammer or rubber mallet to push the punch through the leather, creating a clean, round cut. Do this on a self-healing cutting mat or a piece of scrap wood that you don't care about, because you will make marks on the surface below.
Leather rivets come in two parts, and work kind of like a snap that doesn't come apart. One half of the rivet looks kind of like a mushroom. Push the stem of the mushroom through the two holes in the leather, securing the metal slide in place. Put the other half of the rivet set on top of the mushroom stem sticking up through the leather, and tap into place using a hammer and a rivet setting tool. You'll feel it snap into place.
You'd think, just by looking at the relative size of the buckle and the leather cord, that the bracelet might fall off. Nope. Friction keeps this SUPER securely in place.
It's a great gift to give no matter how it's wrapped, but I'm completely in love with how my equestrian gift box wrapping came out.
Ainsley and her friends love their bracelets, but I loved it so much that I made one for myself, too. And I have friends who have requested them, too. It's a fabulous, stylish accessory that doesn't dangle and jangle and annoy me when I wear it, which is a rare thing. I usually end up taking off my bracelets a few minutes after I put them on.


.png)
Add new comment