I had so much fun designing this birthday party for my daughter's best friend, Kaitlyn. She initially thought she wanted a Snowflake Fairy party (this announced to me during my daughter's Cornish Fairy party), but as we later talked about the theme, it evolved into a Sugar Plum Fairy party. That way we got to have snowflake fairies, ballerinas, plus lots of candy (the Sugar Plum Fairy rules the Land of Sweets). Yes! What an ideal theme for a little girl's December birthday!
I have a ton of pictures, so I'm just going to run through them the way a guest would have when arriving at the party.
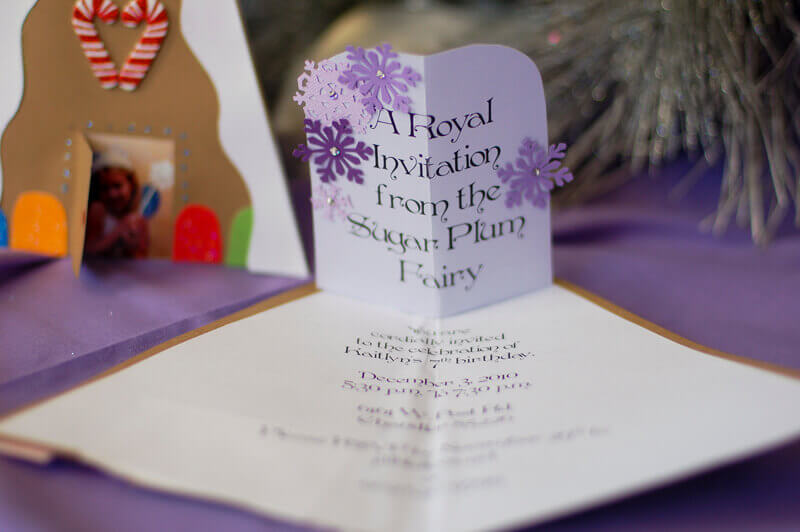
The magic began with the invitation. I've loved making pop-up books and cards since I was in middle school, when my mom bought me a how-to book. This technique is the most simple, basic one out there, but never fails to amuse and impress:
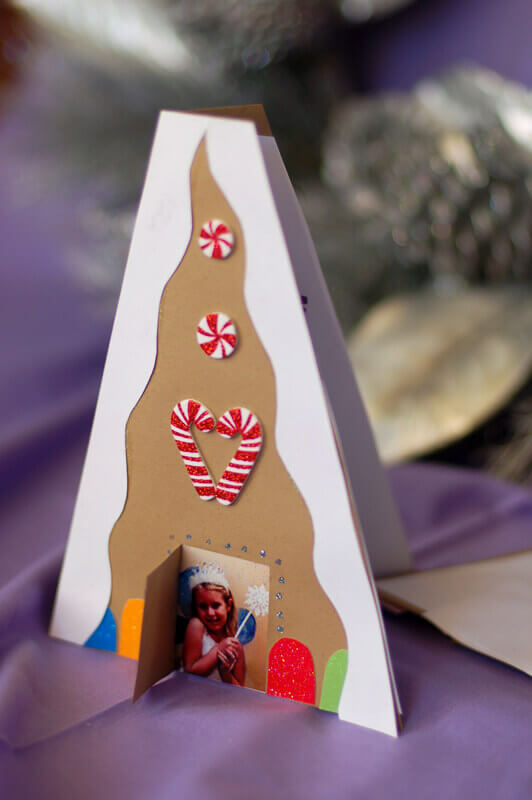
I made the invitation in the shape of one of the gingerbread houses the guests would be decorating, and glued a tiny picture of the birthday girl dressed up as the Sugar Plum Fairy in the doorway.
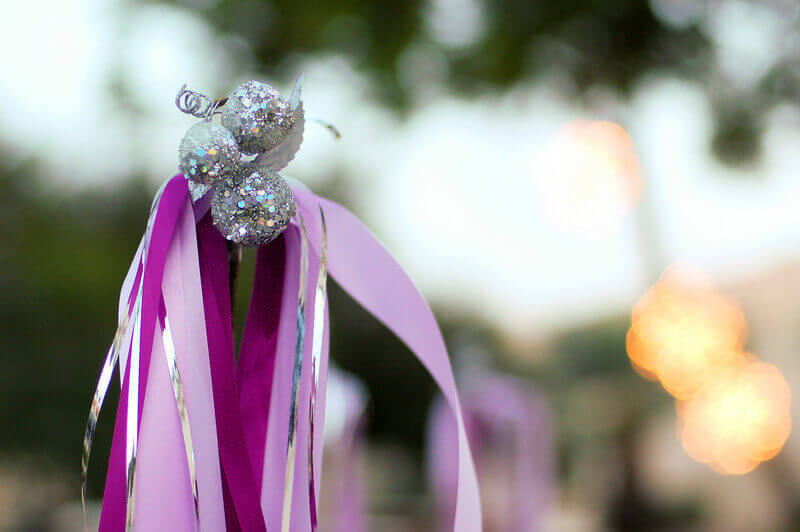
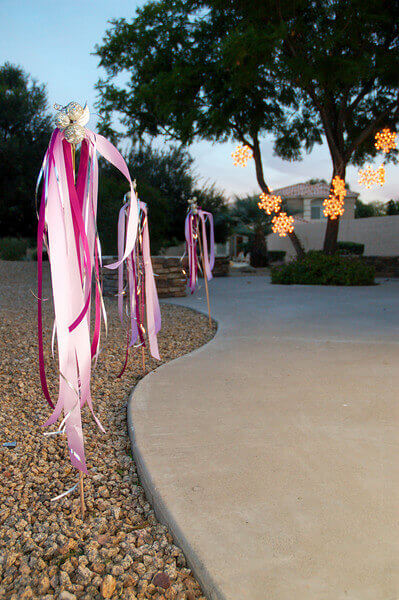
When the guests first arrived, they saw the ribbon streamers staked along the front walk:
Our colors were silver and purples, and this inexpensive craft set the scene for what was to come. Once again I found hundreds of yards of ribbon on clearance at my local Ribbons and Lace store, so ribbons were incorporated into a lot of the decor.
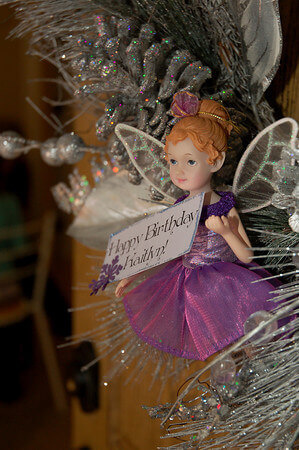
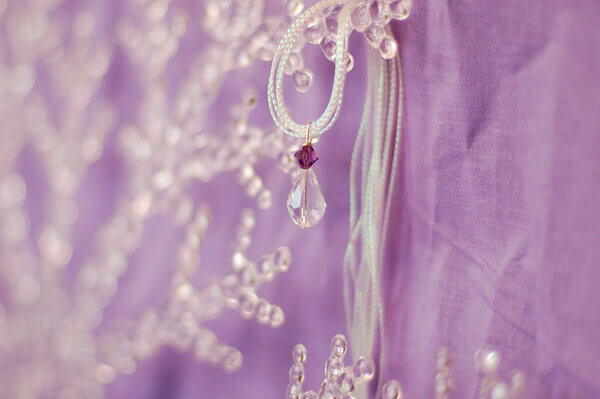
At the front door, guests were greeted by a silver wreath in which I'd tucked a tiny plum fairy bearing a birthday wish:
Kaitlyn can easily remove the fairy after the party and hang it on her Christmas tree each year.
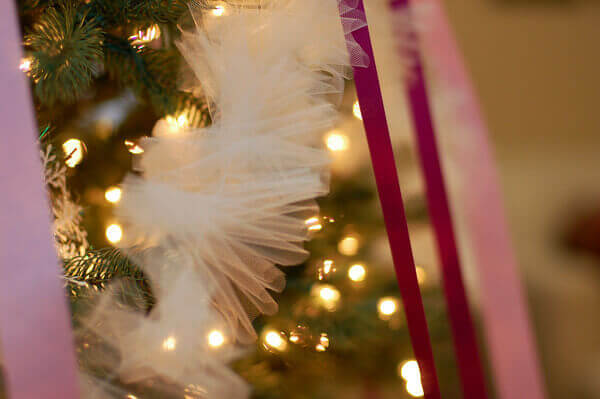
Once inside, guests saw a winter wonderland of silver and lavender! We decorated the family's Christmas tree with tulle garland I'd made (tutorial coming up), lots of snowflake ornaments, and more of the lavender and plum ribbons:
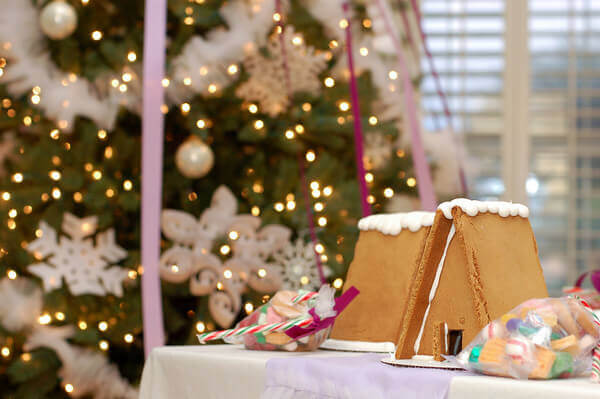
The guests were also greeted by the vision (and delicious scent!) of homemade gingerbread houses set out for each child to decorate:
I made a simple tulle-ruffled lavender runner for each table, and further brought in the color scheme on the tables by displaying the aprons I'd made for each girl. Lavender, of course, with Swarovski rhinestone snowflakes!
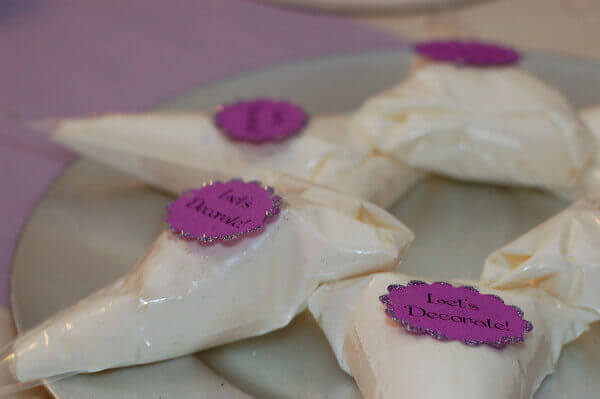
The centerpiece of each table was a silver charger filled with icing bags, ready for fun!
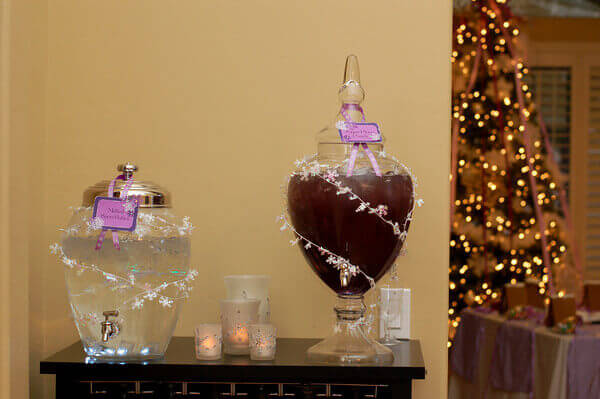
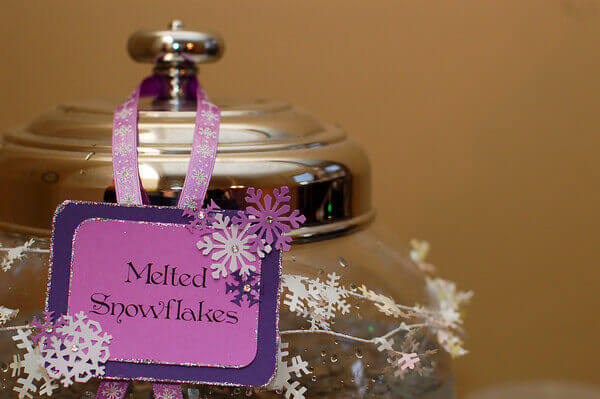
The beverage station served melted snowflakes and sugar plum punch. Of course, I used my
trick using floral lights to make the punch glow and twinkle.
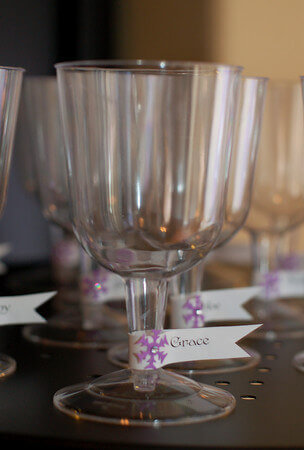
Kaitlyn's big sister came up with the idea of using plastic goblets for the kids--so fancy, so grown up! I loved it and ran with it. Since we only had one goblet for each child (and a few extras), and I know how quickly kids lose cups at parties, I decided to make nametags for each goblet. More opportunity for pretty, purply, snowy prettiness! The kids
loved them, and most ended up taking them home as favors.
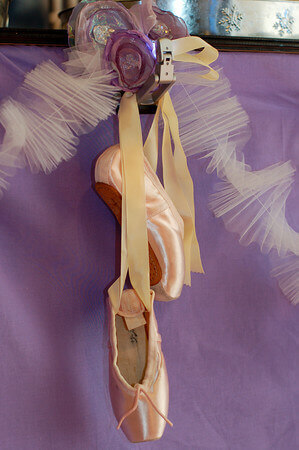
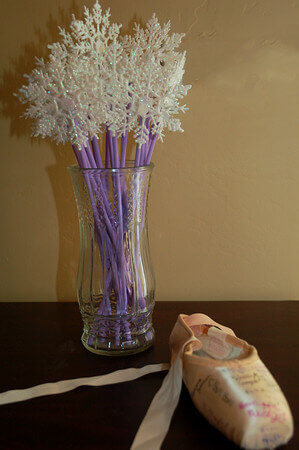
Ballet touches were everywhere, of course. I bought these actual point shoes for $5
including shipping off ebay!
My daughter had also recently been to a Nutcracker Sweet Tea put on by Ballet Etudes here in the Phoenix area (highly recommended for any locals, by the way!). While there, she was able to meet about 20 of the real ballerinas from this year's production of The Nutcracker, and have them autograph an actual pointe shoe used by the Sugar Plum Fairy! My daughter graciously allowed me to use it as a prop near our snowflake wands:
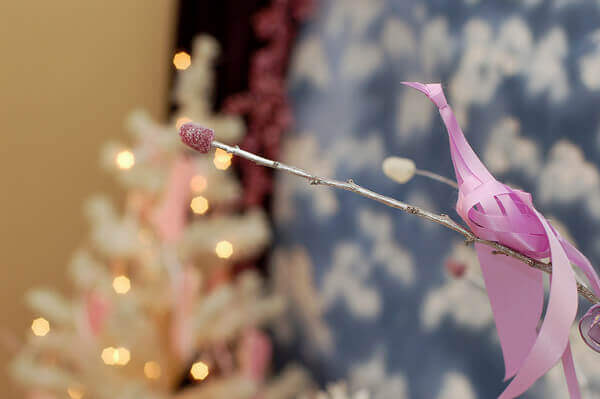
Simple winter centerpieces were scattered around the house, made from branches spray-painted silver and tipped with purple and white gumdrops. Some featured birds made out of the ribbon I'd bought, too:
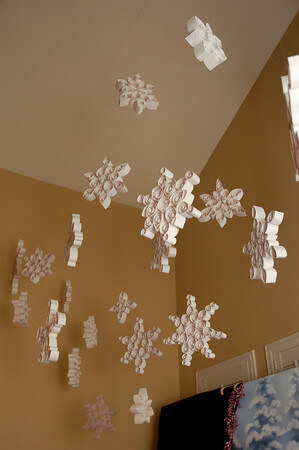
My favorite decorative element was the giant quilled snowflakes I hung from the ceiling. Usually, quilling is done on a very small scale. A large quilled snowflake might be three inches across. I changed the scale completely, and to fabulous, dramatic effect. My snowflakes were more like 12 to 18 inches in diameter. One thing I loved, and hadn't anticipated, was the fact that the lacy shadows the snowflakes cast on the walls were as much a decorative element as the snowflakes themselves! I'll be writing a tutorial on how to make these easy, inexpensive, marvelous snowflakes in a few days, so check back soon!
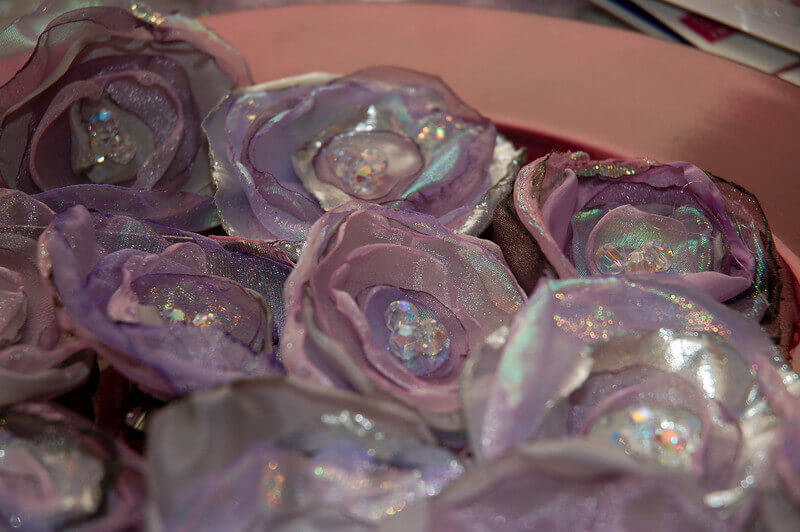
I made these sweet flower hair clips for each girl at the party. I loved how they turned out. Such an easy, inexpensive thing to make! And I loved the whimsical, magical, non-literal style this type of flower has, and how they reminded me of classic tutus. Once I stumbled into the idea, I knew it was perfect for this party! I loved the flowers so much, I must confess I stole one for myself and wore it all night.
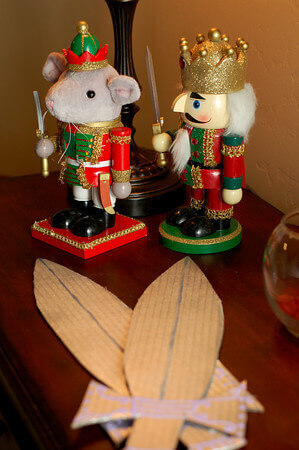
We did have a couple boys at the party whom we didn't want to feel left out. I made a couple Fritz swords for the boys, which ended up being an astounding hit. I'm so glad I made these simple little props for them!
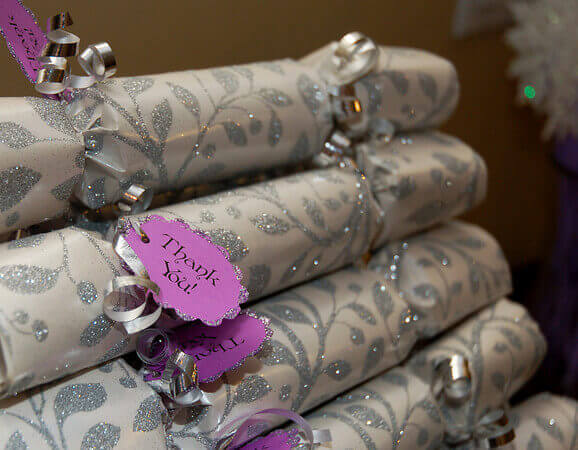
At the end of the night, each child got to take home a traditional Christmas cracker. I've loved Christmas crackers for years, but always grumbled about the price, and the fact that the prize inside (save for the fabulous tissue crown, of course) was something I never wanted. Ever. By making my own crackers, I solved both problems!
I got to make them in my perfect color palette:
And I got to fill them with chocolates and Swarovski crystal necklaces, something the little girls would love!
I think that's enough pictures to load in one post for today! Come back on Monday for the post on the centerpiece of the party, the dessert table! I had
so much fun putting this one together! And, of course, in the coming week I'll be posting lots of tutorials for the projects I created for this party. Lots of excitement coming up!


.png)
Comments
This is a terrific party! Can you share some abou...
Yes, the smaller snowflakes were punches, too. I ...
Amazing party - love the simple silver branches wi...
Gorgeous party! Love it!