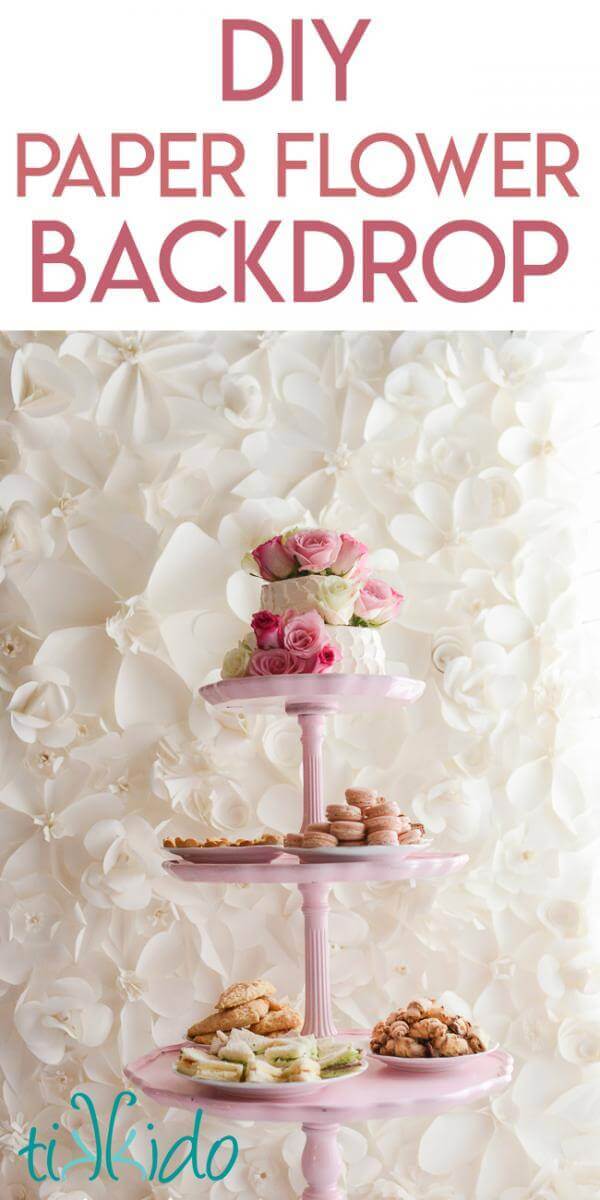
This tutorial for how to make paper roses is part of my series for making a giant paper flower backdrop like the one I made for the Secret Garden shower.
In case you missed yesterday's post, Part 1 of making the paper flower backdrop, this is what we're making:
.jpg)
You'll need the same materials as yesterday: the same roll of paper, scissors, and a glue gun.
I'm talking about these:
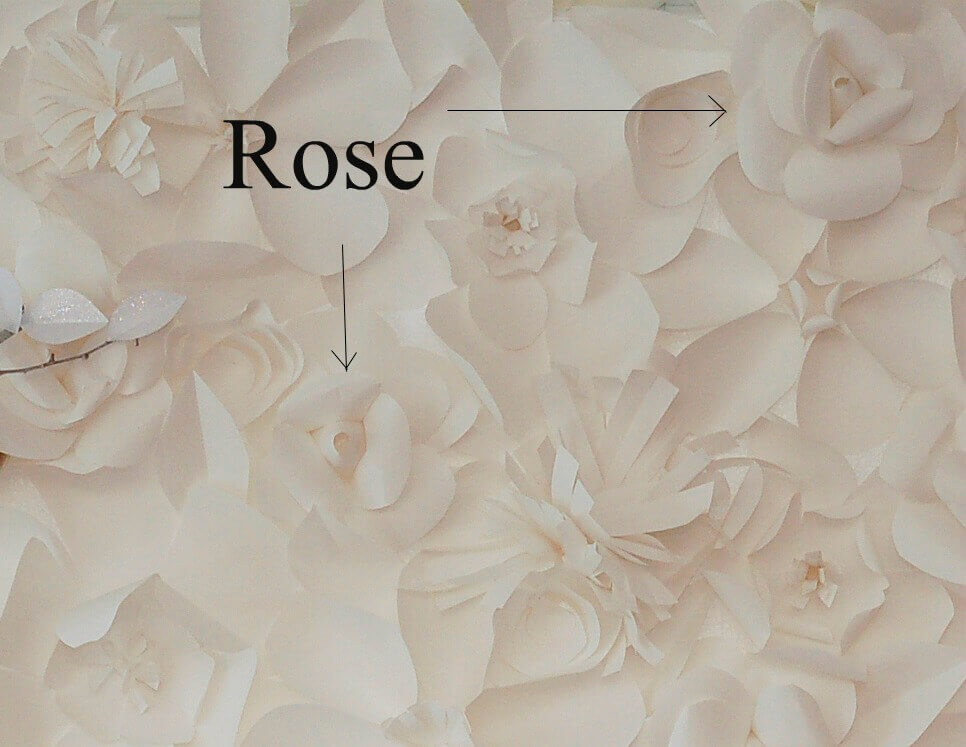
How to Make a Giant Paper Rose
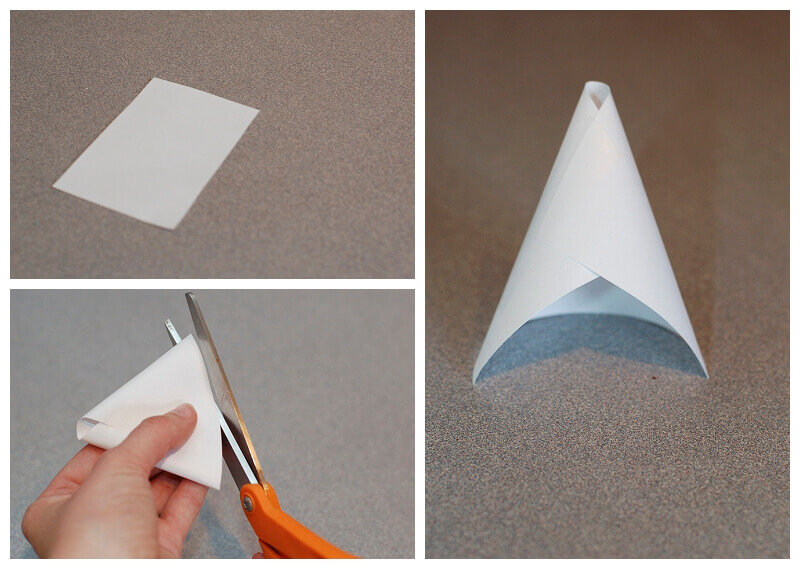
Cut a rectangle of paper (top left image above). Roll it into a cone (image on the right above). I left a gap at the tip, because that looked like the center of a rose, and was easy. Tape or glue the cone shape in place. Then gently squish the cone flatish (bottom left image above--don't crease it, just squish it enough to trim both sides at once) and trim an arc on the bottom. You'll be left with a perfect cone. Or perfect enough. Remember from yesterday, this project is not about perfection. As long as the cone kind of sits reasonably on a flat surface, it'll be great.
Next, cut the petals. You want shapes that are roughly teardrop shaped, and about the same height as the cone, or a little bit taller.
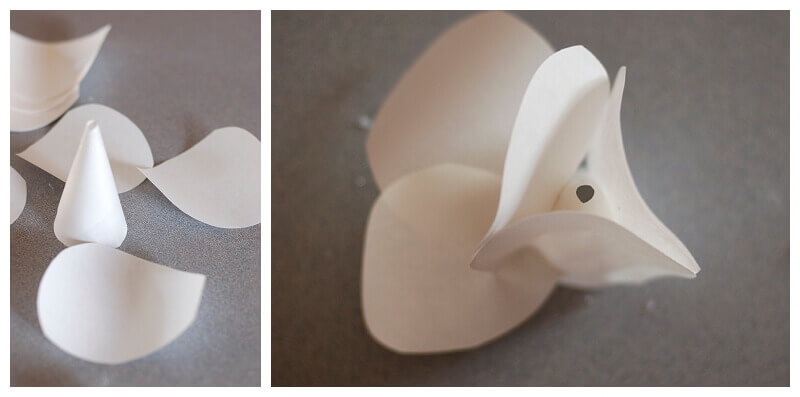
Then simply glue the petals around the cone. Place three petals directly on the cone. Five petals on the next layer. Seven petals on the next layer (if you want a rose that big). Once the petals are glued in place, you can gently curl the tops of the petals down, which makes the rose look even more fabulous.
How to Make a Giant Spiral Paper Rose:
As much as I love the look of the regular roses, they were the most time consuming flower to make on the backdrop. The spiral roses were a great filler flower, because they were so darn simple and fast. I'm talking about these guys:
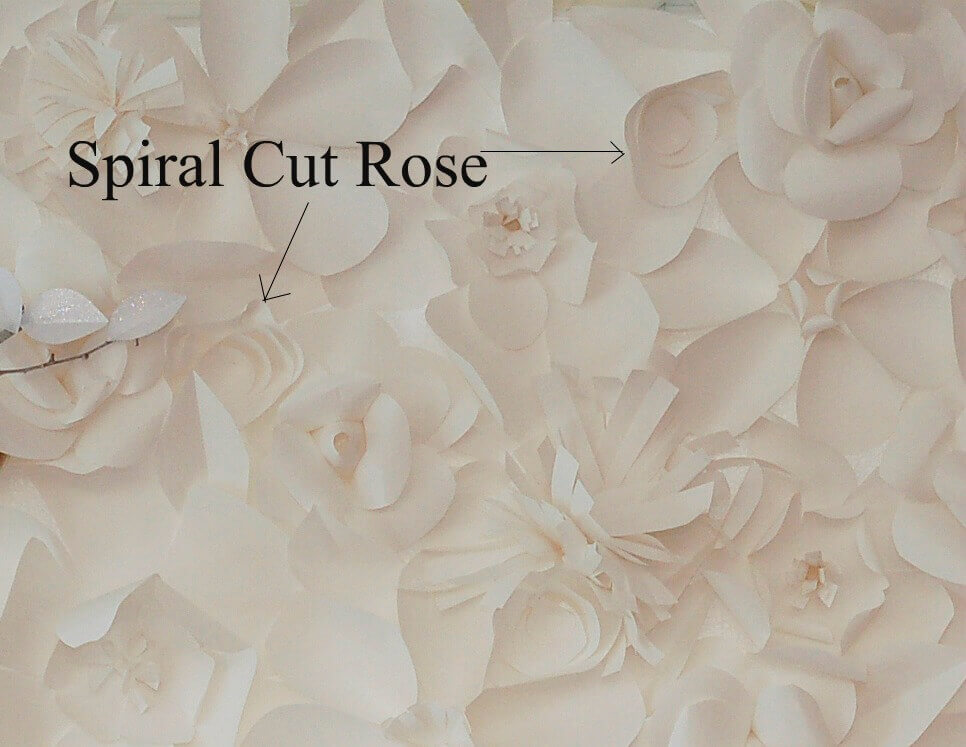
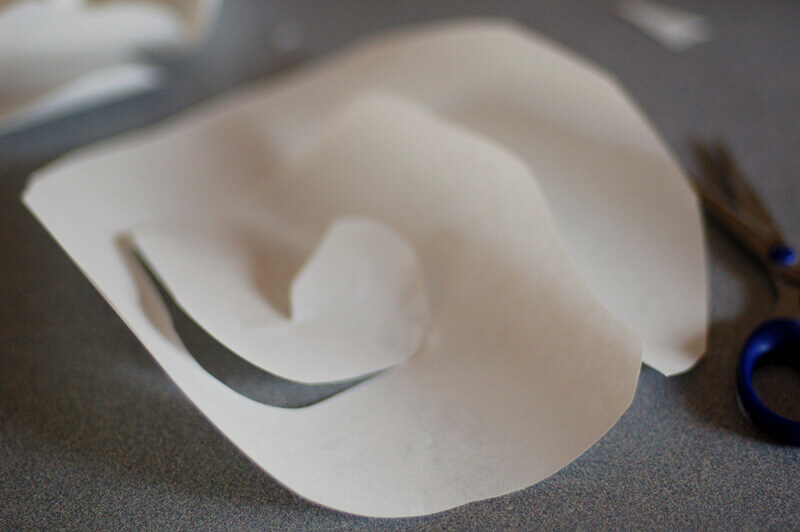
Then just start rolling up the flower, starting on the outside of the spiral. Once it's all rolled up, a dab of glue will stick it all together. Did that make sense? If not, watch the video at the top of the page.
I want to mention one tip for making this project a lot faster: cut more than one item at a time. Cutting petals? Cut strips of paper and cut four or five at a time. They'll all be exactly the same size, and you'll be done that much more quickly. I spent about four or five hours on this project all together, but it would have been far more tedious if I'd been cutting one element at a time.
Tomorrow we'll learn how to make the last few elements of the paper flower backdrop, and will see how easy it is to put it all together.
In case you missed it...
Paper Flower Backdrop Tutorial Part 1:
Paper Flower Backdrop Tutorial Part 3:
Do you love this look, but just aren't a crafty person? You can buy paper flower installations (like this one you can buy here).
Or if this is going to be for a photo backdrop, you can buy a vinyl photo backdrop that just looks like a paper flower wall! (buy it here) So affordable, too!



.png)
Comments
Love it...Thank you!
OMG!!!!!!!. yo he estado buscando esto hace tiempo...
Love this but the video link did not work