Want to know how to make the easiest tissue paper tassel garland? And how to do it really inexpensively? I have the best shortcut for you: use colorful napkins to make the tassel garland!
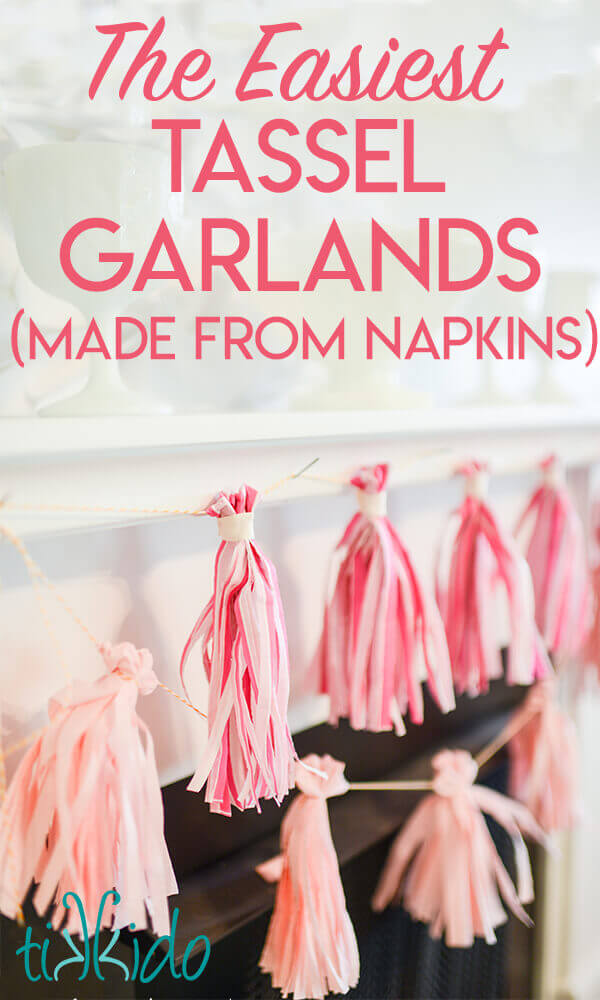
I wanted to make some tissue paper tassel garlands recently--you know, the ones you see all over the place made out of tissue paper. Who doesn't love those? But you know what I didn't love? How much tissue paper costs, and how little you get in each package. I've seen DIY tassels made with crepe paper, too, but while that would be less expensive, I really like the softer look of a tissue paper garland. You can make your own tassel garland for about a dollar with this cute DIY project.
(If you're looking for a yarn tassel garland tutorial, I have one of those, too! It uses yarn tassels and pom poms as well and is easy, colorful, and a lot of fun.)
And then, across the aisle, in party supplies, I saw them: striped pink napkins. A big package of them, already cut to the perfect size for making tassel garlands.
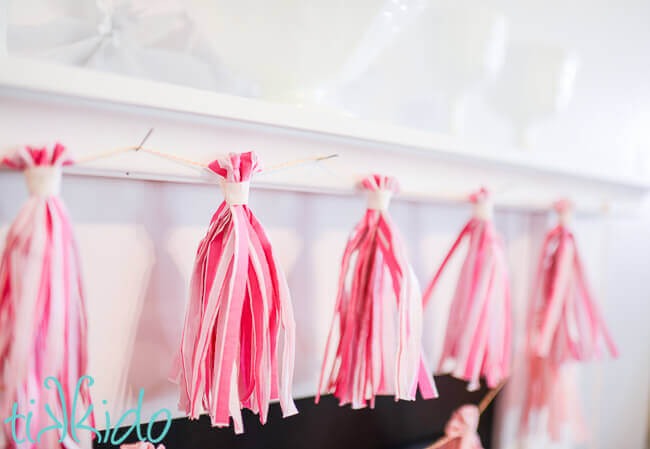
Easier AND it costs less than going the standard tissue paper route? Yes!
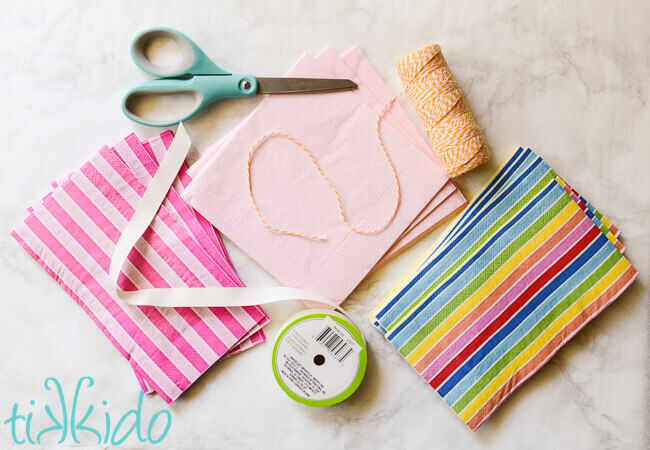
The Easiest DIY Tassel Garland Supply List:
- pretty paper napkins
- twine or string
- scissors
- ribbon (optional)
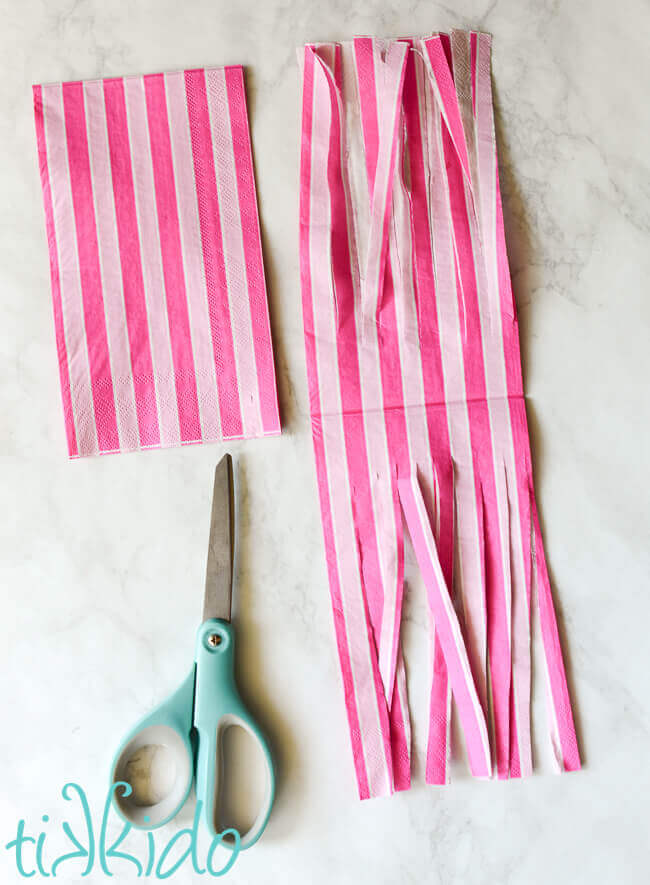
How to Make Tassel Garland
Identify where the napkin is folded before cutting the napkin into strips. You want the fold to remain intact. While the napkin is still folded, cut all of the layers into narrow ribbons with a pair of sharp scissors, stopping about an inch below the fold of the napkin.
Napkin Tissue Paper Tassel Tips:
- You can cut more than one napkin at a time. I could do up to three, but it started getting tricky at that point. Two napkins was easy to cut and provided reliably consistent results.
- You can also use a rotary cutter and self-healing mat to cut the unfolded ends of the napkin to make this easy DIY tassel garland.
- Printed napkins do work (as opposed to solid color napkins), but be sure it's a design that looks good with the white of the backside of the napkin visible in the tassel. The pink striped napkin turned into a prettier tassel than the rainbow striped one, for example. A floral pattern wouldn't usually work well. This isn't a hard-and-fast rule, however. I loved the way my napkin tassels for fall turned out (see the photo at the end of this post).
- If you want a thicker tassel, you can use two napkins per tassel.
- If you want different sizes of tassels, you can make a shorter tassel by trimming some of the length off of your napkin tissue tassel garland.
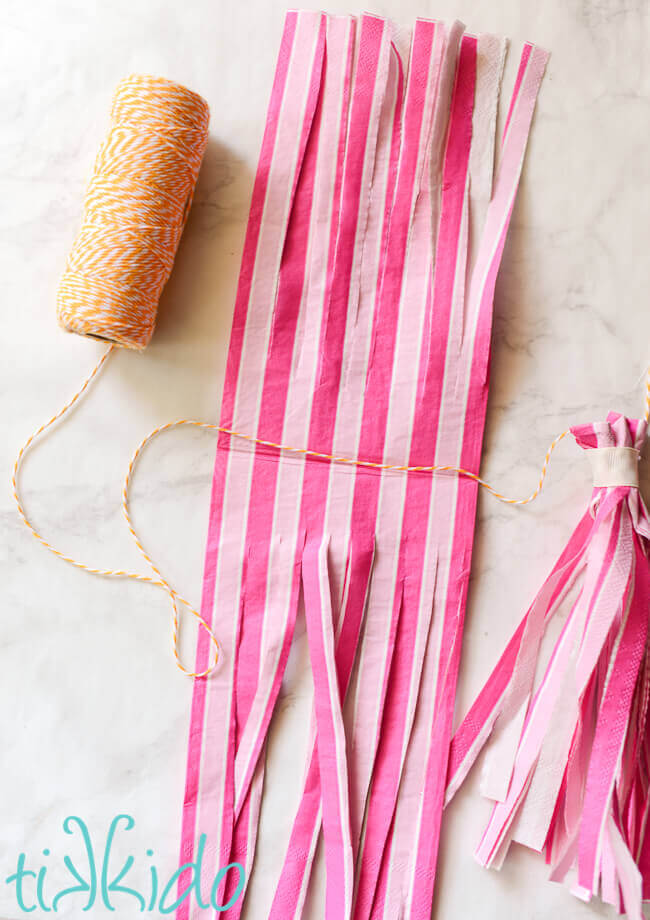
Unfold the napkin and rest the string in the inside crease of the napkin. (I used baker's twine because it's pretty.)
Other Ideas for Stringing your Tassel Garland
- You could also use a long piece of yarn for the main garland string.
- Use a thin ribbon for the string of your tissue tassel garland.
- String wooden beads between the tassels or add tassels to a wood bead garland for a boho look.
- Use a needle and strong thread (extra strong upholstery thread is perfect) as the main string, and thread trendy felt balls on the thread (I have a needle felted felt balls tutorial and a wet felting felt balls tutorial if you want to make them yourself).
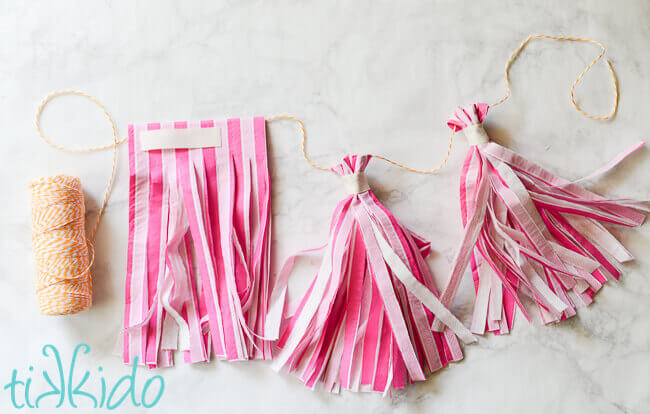
Fold the napkin over the string with the twine still in the inside fold of the napkin.
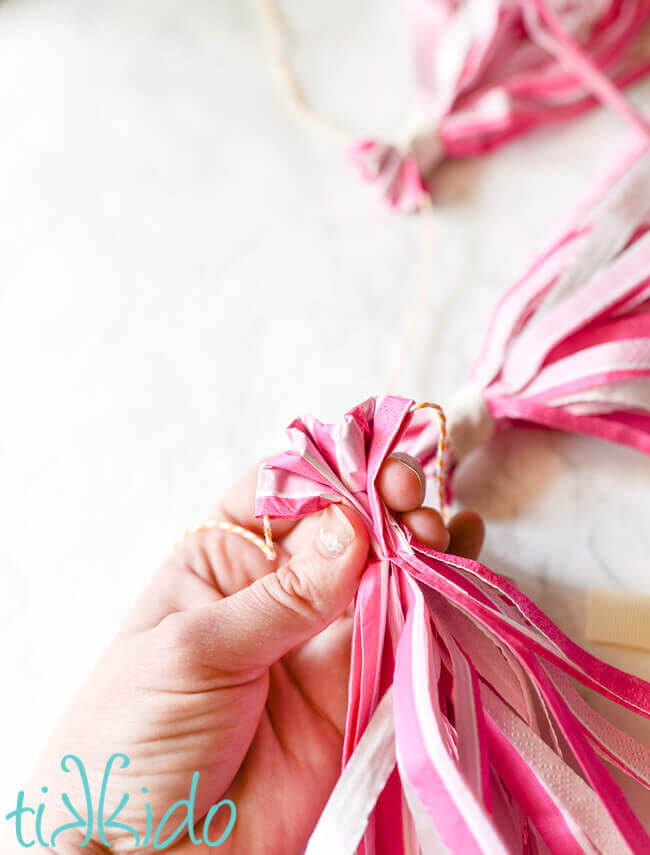
Gather the napkin about an inch from the top folded edge, with the main garland string trapped inside.
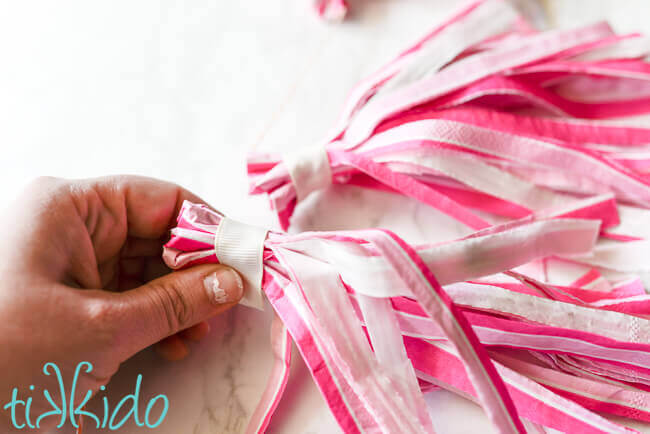
At this point, I used a low temperature glue gun and some white grosgrain ribbon to bind and secure the top section of the tassel with a small dot of hot glue.
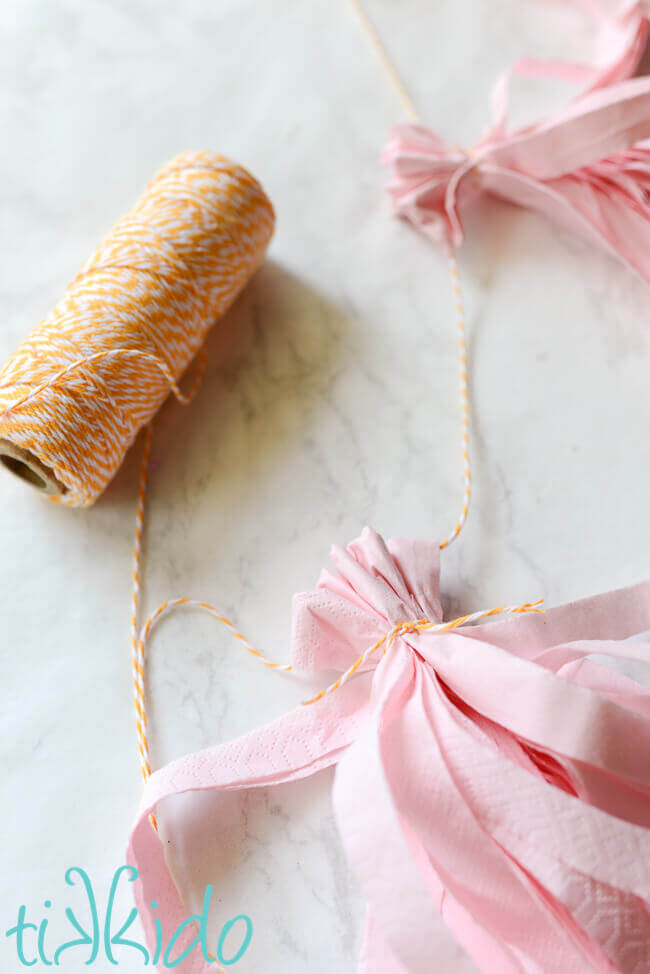
That's an entirely optional step, however. The napkin tassels look just as darling tied with baker's twine ties, too. You could also use a piece of tape (or even pretty washi tape) to gather the top of your tassel.
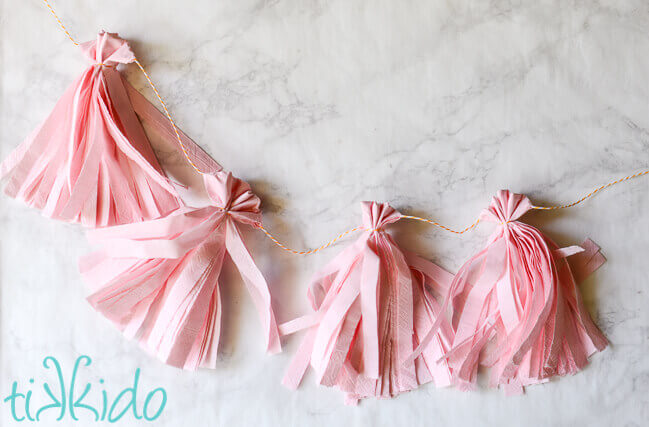
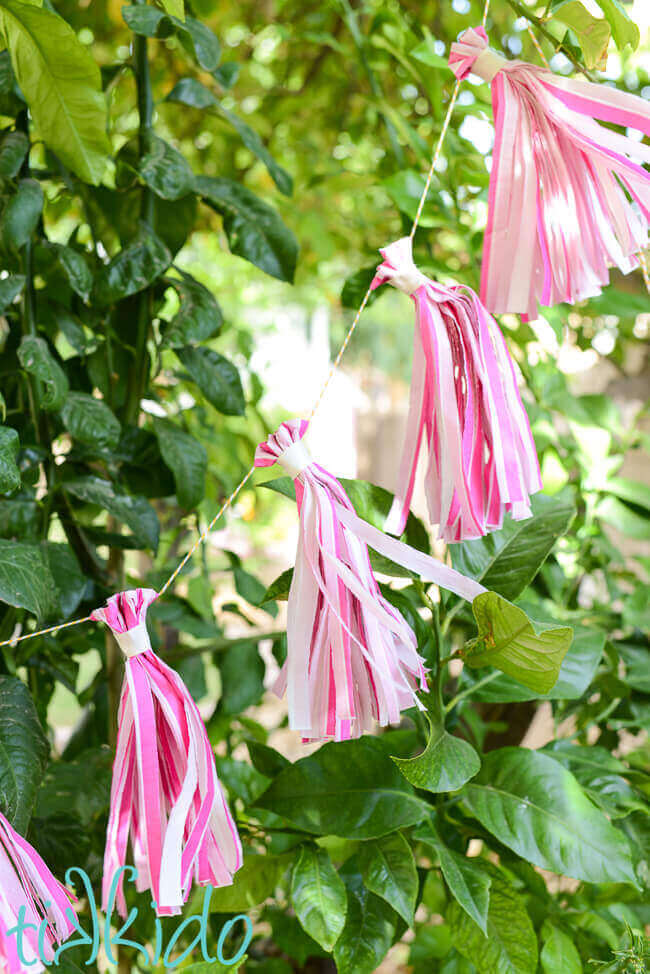
These tassels are made with classic, incredibly inexpensive, square paper dinner napkins. The kind that you can find at any party or dollar store. The fact that I only spent a dollar (I already had the twine) to make these fun garlands means that this is an incredibly inexpensive way to add pops of color to any party.
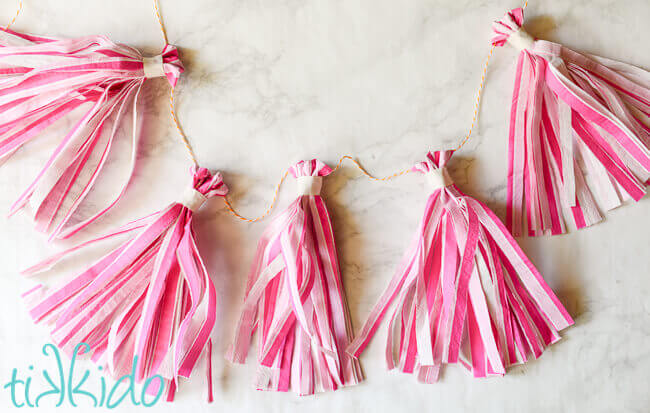
I found these adorable striped napkins at Michaels. I love the fact that when you make cute tassel garlands with this technique, you don't need to trim ends of the tassel to get a perfectly uniform look.
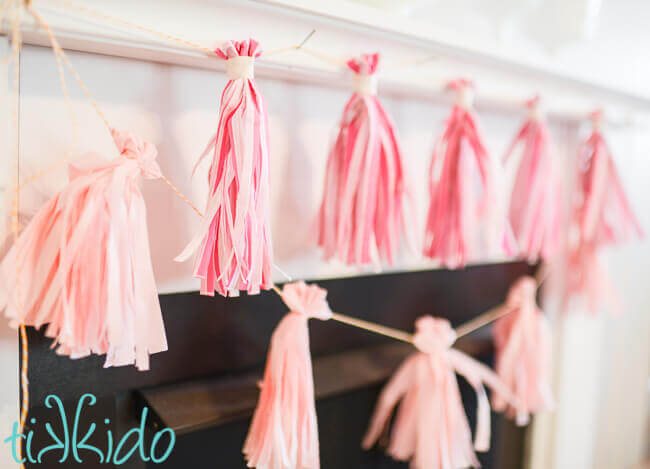
They look fabulous, right? And I didn't have to cut a single giant piece of tissue paper down to size, and I saved money!
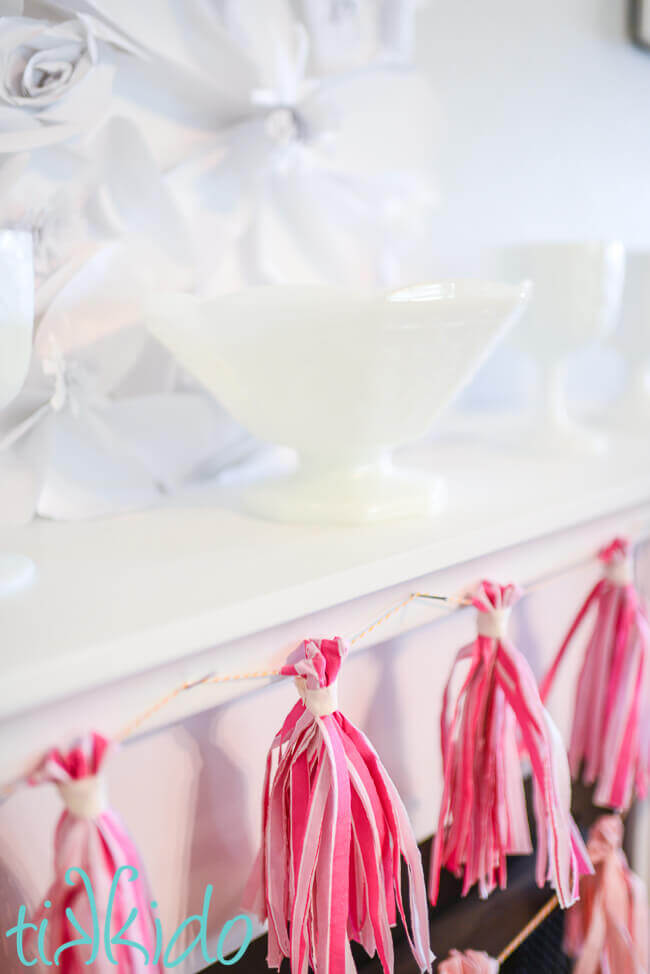
I love that the tassel garlands at my parties now will be such a perfect match with the napkins. I love little touches like that that pull a whole party together!
How to Use Tassel Garlands
- Decorate your home--these tissue tassel garland look fabulous on a fireplace mantel, decorating a child's bedroom, or even on Christmas trees.
- Create a gorgeous photo backdrop by layering multiple tissue tassel garlands in different colors.
- Dress up table cloths at your next party by pinning a tissue paper tassel garland to the corners (use a very small safety pin to anchor it) and drape along the front of the table.
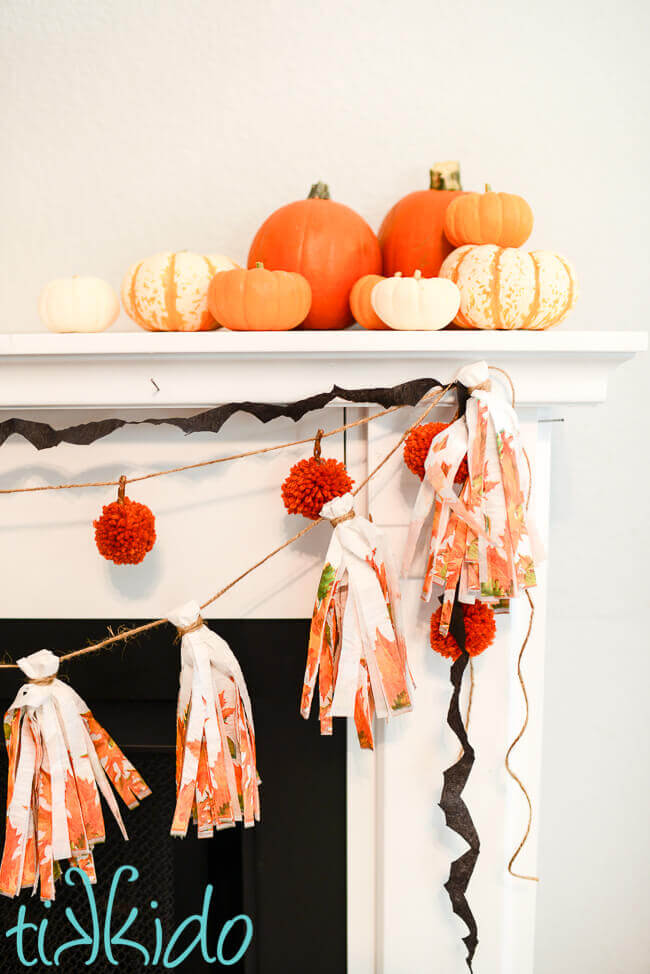
I love this technique so much that I made a fall version of this paper napkin tassel garland, too. Using napkins bought at the dollar store. It doesn't get much more budget friendly than that!


.png)