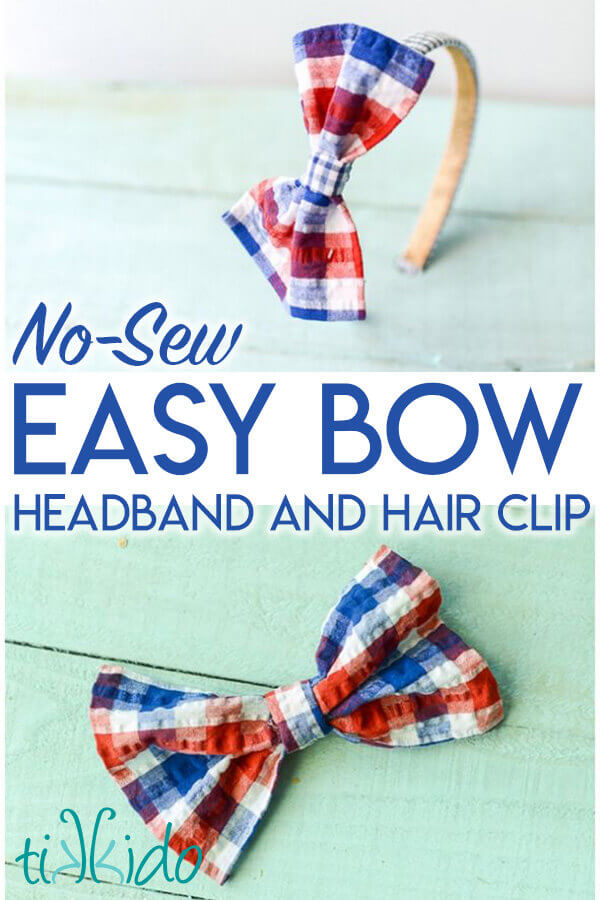
Learn how to make a hair bow without any sewing at all! These no sew bows are made with fabric and a glue gun, and can be used as DIY headbands or hair clips.

When I started planning the Rain Gutter Regatta party, I knew I wanted it to be full of preppy red, white, and blue plaids and prints. I don't know why, but I've always been a sucker for Madras plaid, especially when done patchwork quilt style. I wanted to play with that mix of fabrics and color families at the party.
.JPG)
If you've read this blog long, you'll know that I pretty much only bring out the sewing machine as a last resort. If I can use a glue gun instead, I will. And that's exactly what I did to make these adorable, preppy plaid oversized bows for hair clips and headbands.
No-Sew Bow and Headband Materials:
- Fabric
- light fusible interfacing
- low temperature hot glue gun
- plain, fabric-covered headband or hair clip
.JPG)
How to Make a Hair Bow:
Start by ironing on light interfacing to the wrong side of the fabric. This is just the one-sided type of interfacing, the kind to give lightweight fabric a little more body and structure (not the kind with sticky, heat-sensitive surfaces on both sides meant for applique work).
.JPG)
Once the interfacing has been ironed on, it will be a lot easier to cut the lightweight cotton fabric with precision. Cut two rectangles of fabric out of the interfaced fabric: one large, for the wings of the bow, one smaller and narrower, for the center of the bow. Honestly, I have no idea how big my fabric was. I just eyeballed it and cut the rectangle as big as I wanted the bow to be. I'm guessing it was about 5" x 4" in size.
I love crafts where I can be sloppy and imprecise and still have the thing turn out great. You know, that's probably exactly why I'm perfectly awful at sewing things. I always just want to wing it.
.JPG)
Use a trusty, handy-dandy glue gun to turn the raw edges under and glue to "hem" the fabric. Ah, so fast and easy.
.JPG)
Gather the big bow rectangle in the center, and wrap the narrow strip of fabric around the center. Glue the center strip of fabric together on the back side of the bow, where nobody will ever see it. I made my center strip quite a bit too long, so I just wrapped the bow as tightly as I wanted it to look, tacked it in place with the glue gun, and trimmed away the excess length.
.JPG)
At this point, it's a simple matter to glue the bow to a headband or a hair clip. For specifics on how to do that, check out yesterday's Nautical Knot Headband Tutorial.
I made some bows all in one fabric, and some in a mix of fabrics.
.JPG)
I have to say, I love the mix of fabrics the best, I think!


.png)