This may seem a little out of season, but as awesome as this project is for Halloween, Egyptology is never out of season!

As soon as my daughter requested an Egyptology party, I knew I wanted to make some fun large-scale props in general, and a sarcophagus in particular. Actually, my first idea was to rent some large-scale props from a local prop shop, but holy cow, that was expensive! Just renting the sarcophagus case would cost more than my entire party budget. And that's why I always come back to DIY projects--so much more bang for the buck!
Egyptian Sarcophagus Prop
You'll need:
- Styrofoam block
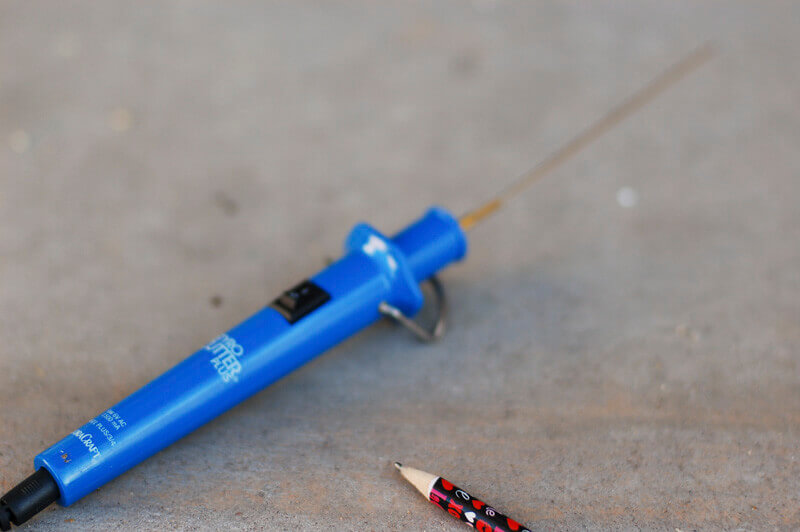
- various cutting devices (hand saw, EPS-cutting heat tool, electric kitchen carving knife, etc.)
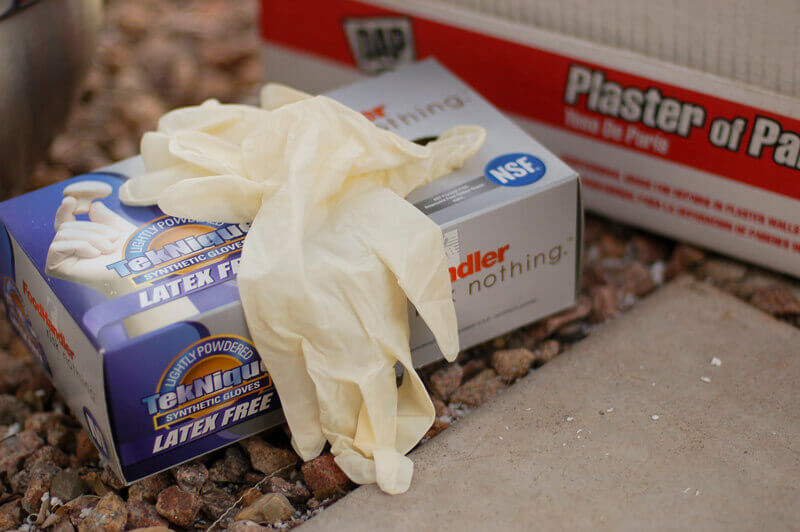
- plaster of paris
- protective gloves
- gold spray paint
- craft paints in chosen colors
- burlap, cut in strips
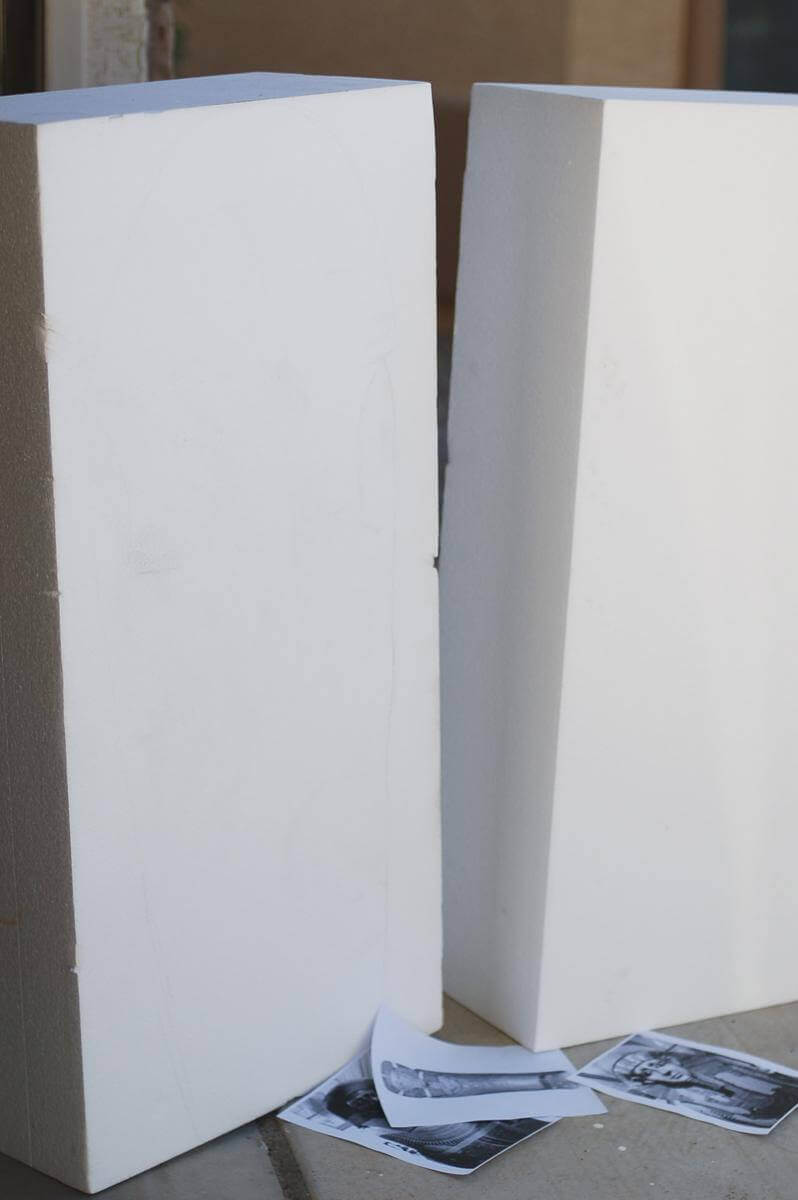
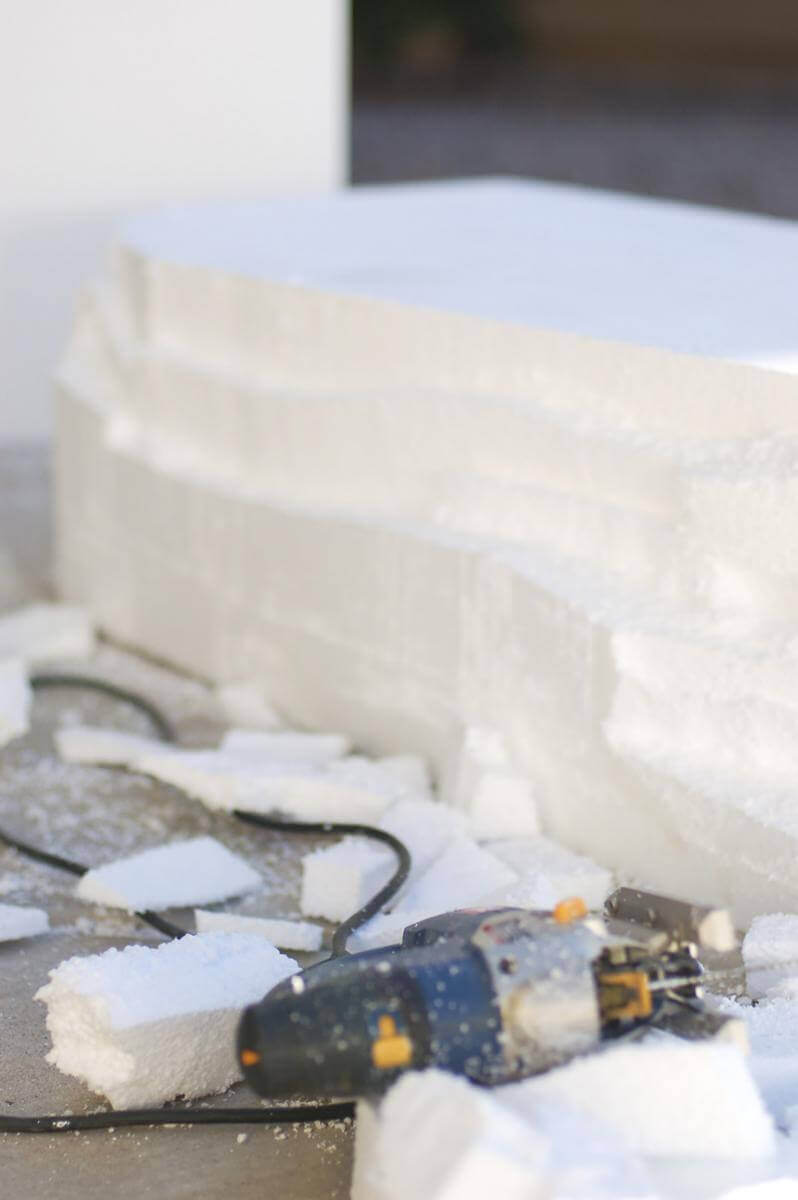
2) Use cutting tools to first cut a rough shape of a sarcophagus. I printed out photos of real sarcophagi from the right era to use as a reference when I was creating the shape. On this project I first used a hand saw and a jig saw for the basic rough shape. For the standing stone circle at last year's Cornish Fairy party I used an electric carving knife (you know, from the kitchen, the knife meant for carving turkey). They all work, but the next time I embark on a project like this, I'm driving up to my parents' house and borrowing my dad's reciprocating saw. Now that would have sped things up!
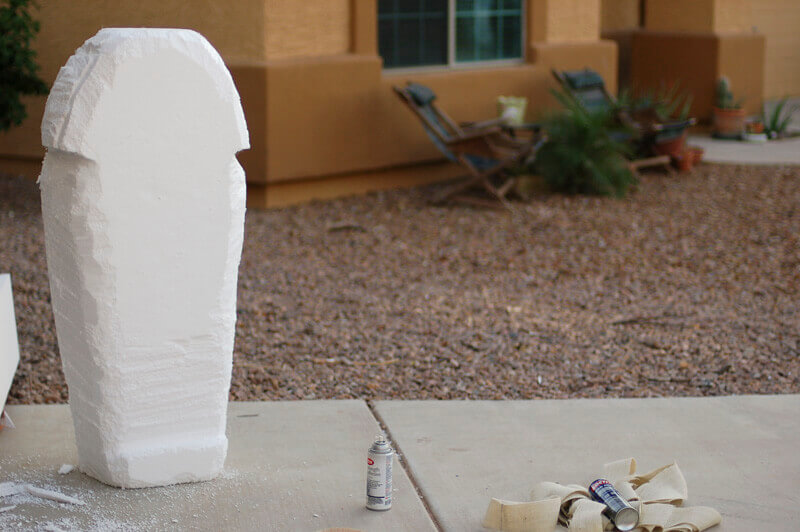
4) Once you've cut the shape, it's time for the fun--the decorative stuff that makes the sarcophagus come to life (figuratively ;-) ).
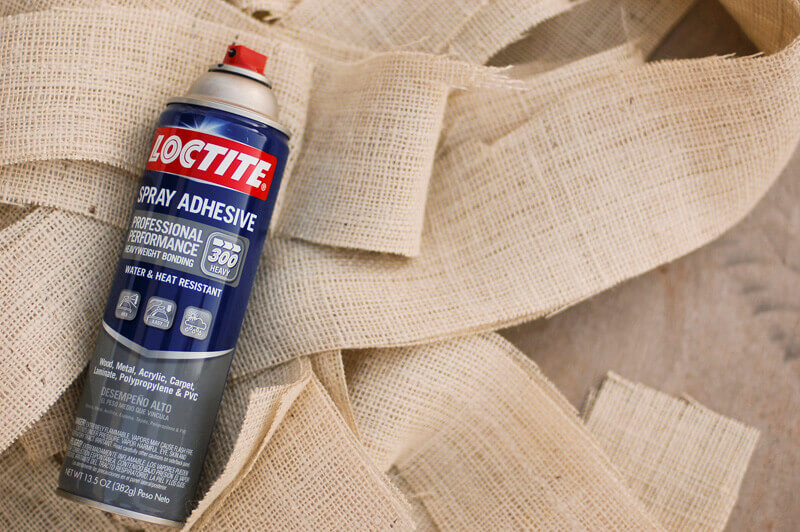
Spray the foam shape with spray adhesive, and glue the burlap strips to the sarcophagus to give it that linen texture.
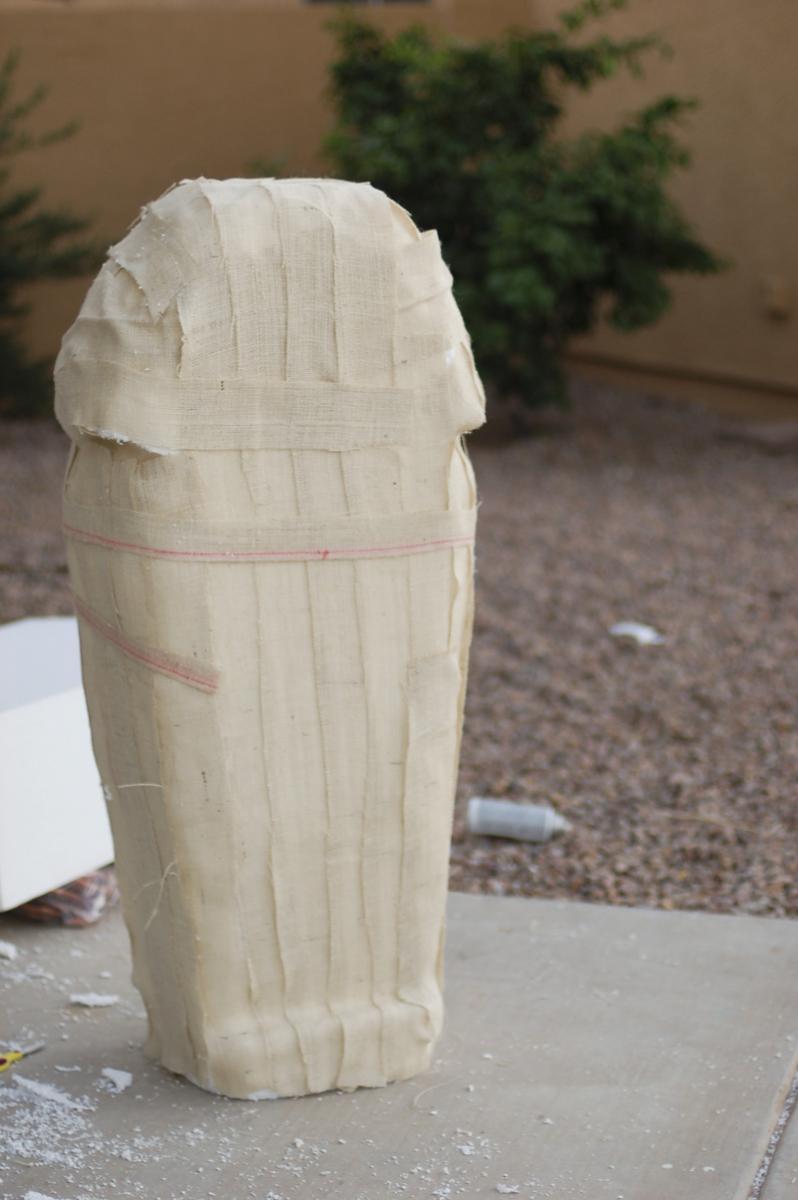
5) Don't worry about smoothing the edges down perfectly; the entire point of the burlap step was to give it some of that woven, wrapped texture.
Mix up plaster of paris. Remember to use gloves to protect your hands from the plaster. I always have food service gloves in my pantry, and use those for these kinds of art projects (and dying my hair) all the time.
The plaster dries quickly, so only mix up as much as you can use within a few minutes. I found an old 9x13 pan held just the right amount of plaster that I could use before it started to set. An old spatula made a darn fine plaster mixing tool, too.
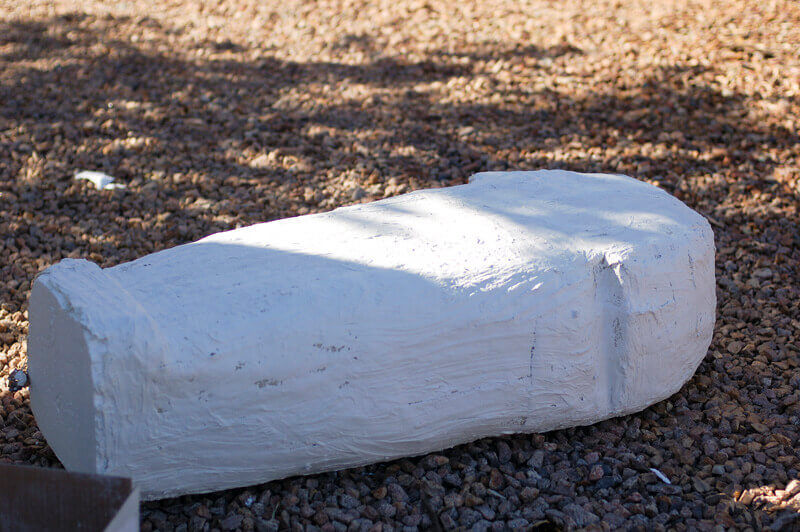
Smear the plaster all over your sarcophagus form and let dry completely.
6) Spray paint entire sarcophagus with gold spray paint for a base coat, then use craft paints to add extra details.
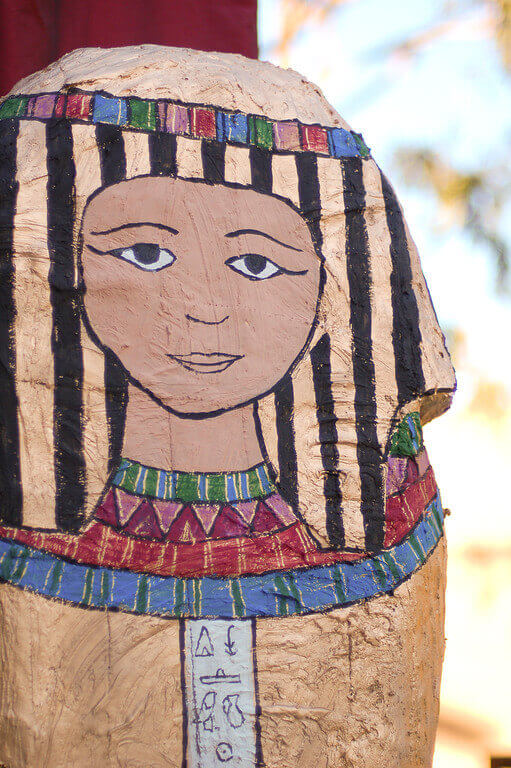
I painted the basic shapes, and then used a black Sharpie to outline and create extra definition. The sharpie was also just the right tool for copying the hieroglyphics on the stripe of white on the front of the sarcophagus.
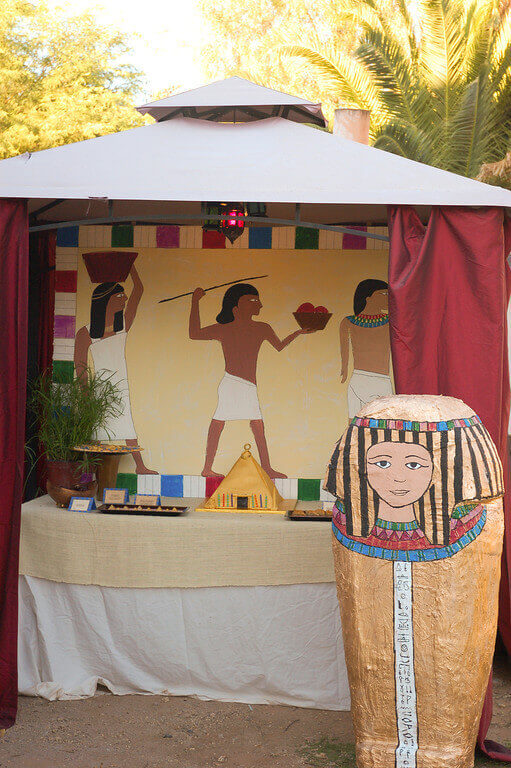
Yes, this project was a fair amount of work. I spent several hours on the driveway, making a snowy mess of foam shavings. That time, however, would have been cut down considerably had I been willing to drive the 15 minutes to my parents' house. And the end result was completely worth it, even if I did use inefficient methods to make my prop. There's just something marvelous about making something really big (or really, really tiny, for that matter). The size makes it completely marvelous and magical.
Not feeling up to carving it yourself? Here's a fun tip--a lot of the EPS suppliers will sell you cut out shapes, either from their stock collection or according to your design! Just imagine! City skylines! Giant monograms! Dinosaurs rampaging through your backyard! Those are more two dimensional shapes, but would still be absolutely brilliant at any celebration.

.png)
Comments
nice work, is this your first foam project? If you...