I've always loved capiz shells, even way before they became trendy again a few years ago. I was an Air Force kid, born in the Philippines (where most capiz shells come from, and where tons of things are made with capiz), and when I was a kid, I had a beautiful hanging capiz windchime that decorated my room, no matter where we moved. I saw some gorgeous capiz shell Christmas trees when I was out shopping this year, and thought that would be a perfect thing to try to make myself.
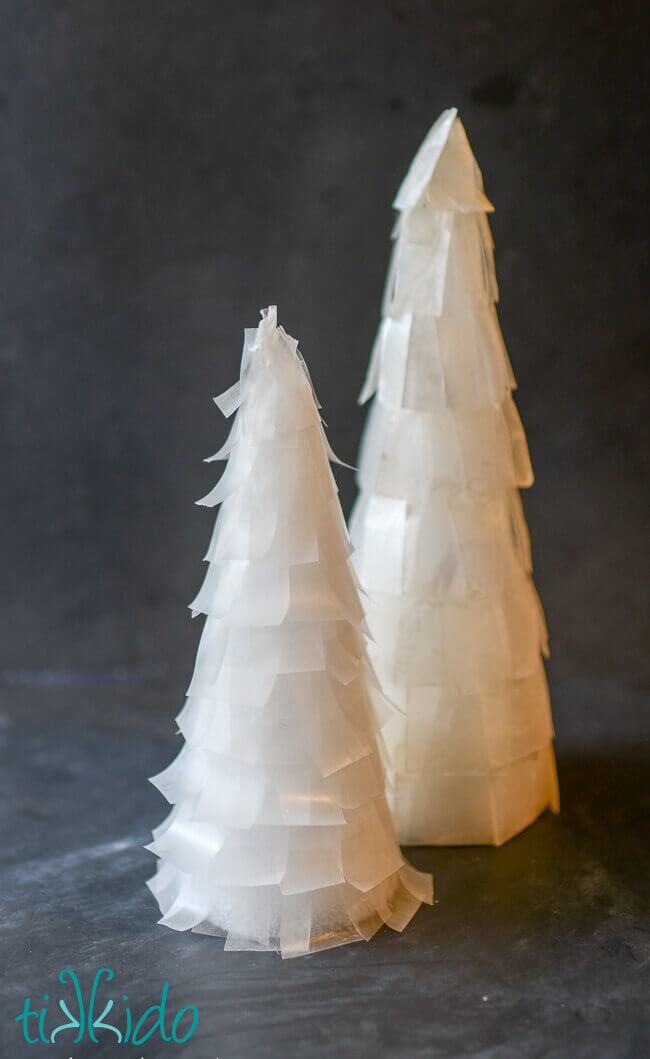
I happened to have a bunch of capiz shells I'd bought (for an abandoned headboard project), so making my own capiz Christmas tree centerpiece seemed like fate!
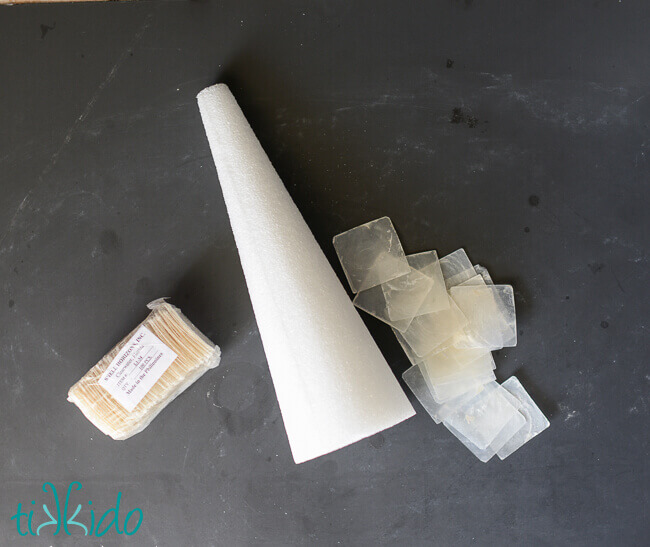
Materials for Capiz Shell Christmas Tree Centerpiece Tutorial:
- capiz shells
- scissors
- hot glue gun
- foam FloraCraft cone.
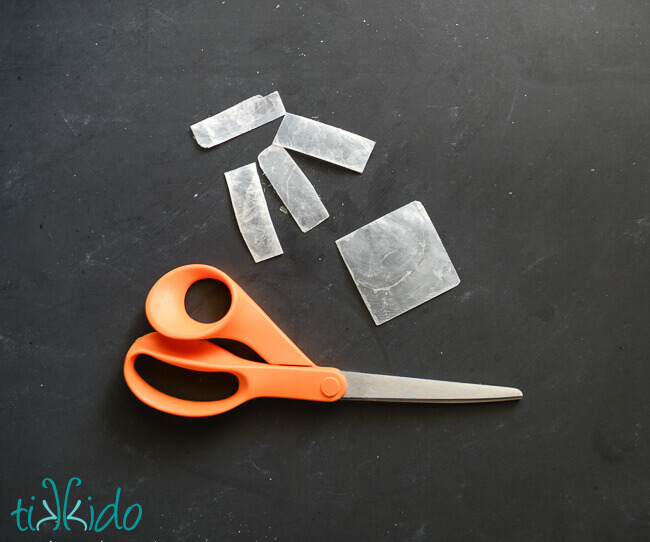
The capiz shells I had were a bit big for this craft, but I discovered that they actually cut quite easily with scissors. There was a bit of breakage, but for the most part, the shells cut cleanly and easily. At least with straight lines. I wouldn't try to cut intricate shapes or anything.
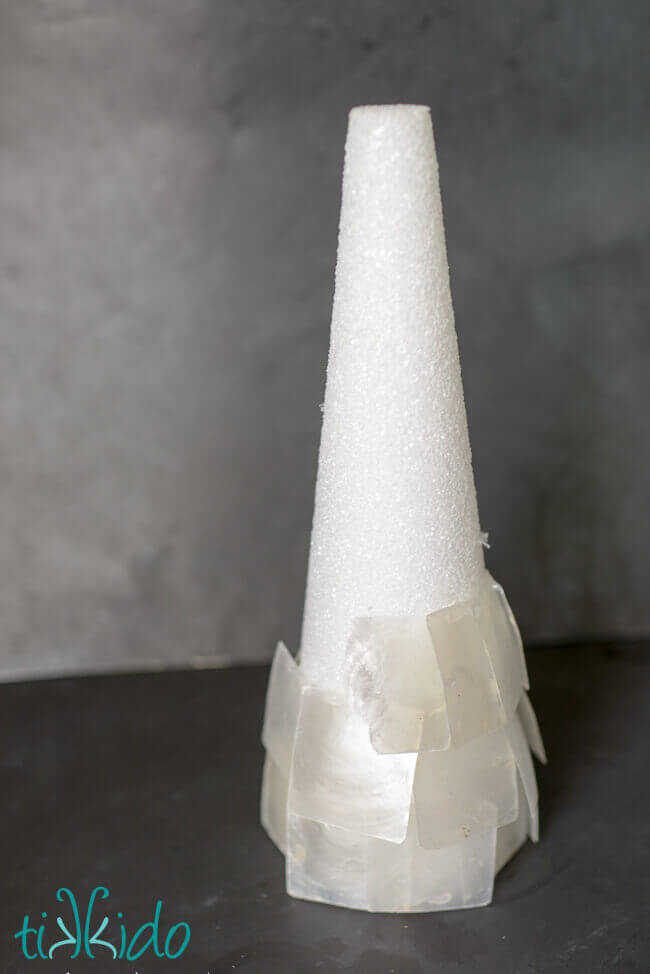
Just glue the capiz shells to the FloraCraft foam cone. They come in a selection of sizes, so you can pick something just right for your needs--or create your own shimmering capiz forest!
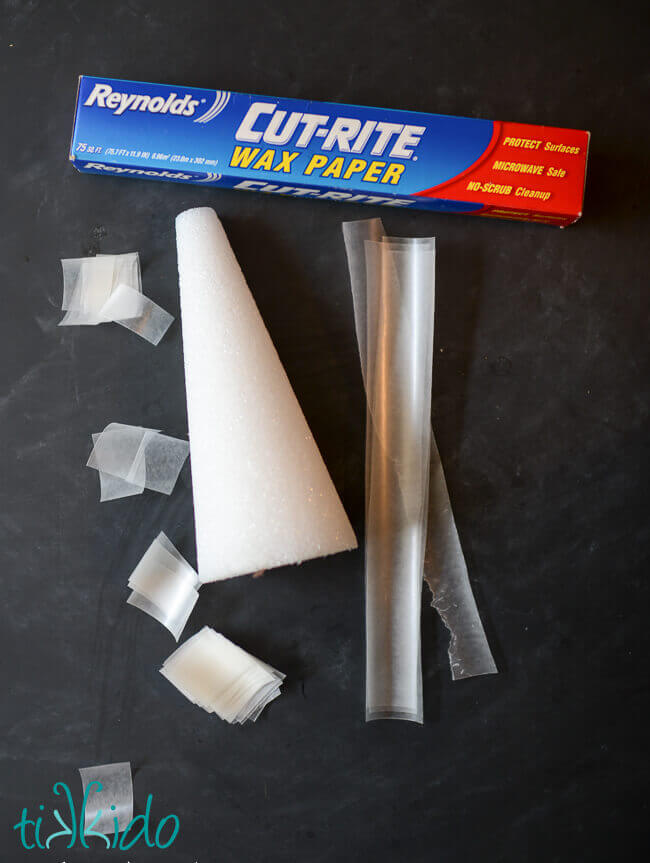
What, you don't just happen to have a stash of capiz shells sitting around like I do? Waxed paper actually makes a very good faux capiz shell! Plus, it's even easier to cut than the shells.
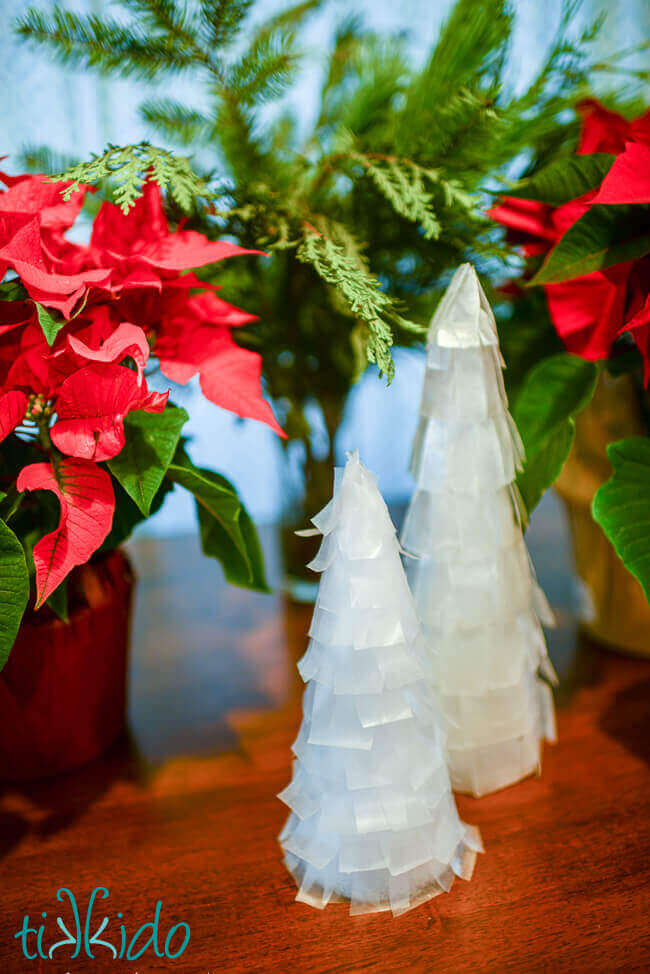
I love my shimmering Christmas tree centerpiece. I can't wait to set the trees out beside a few candles at night, and see the light dance off the surface. It's a winter wonderland look that reminds me of my own family history and memories--and that's one of my very favorite things about the holiday season!
Looking for more fun, crafty Christmas ideas? There's a whole free e-book of them available from FloraCraft® Make It: Fun® Foam!


.png)