Bunny ears are the perfect Easter accessory. Make this adorable bunny ears headband with felt, calico fabric, and silk flowers. You can even pose and bend the bunny ears!
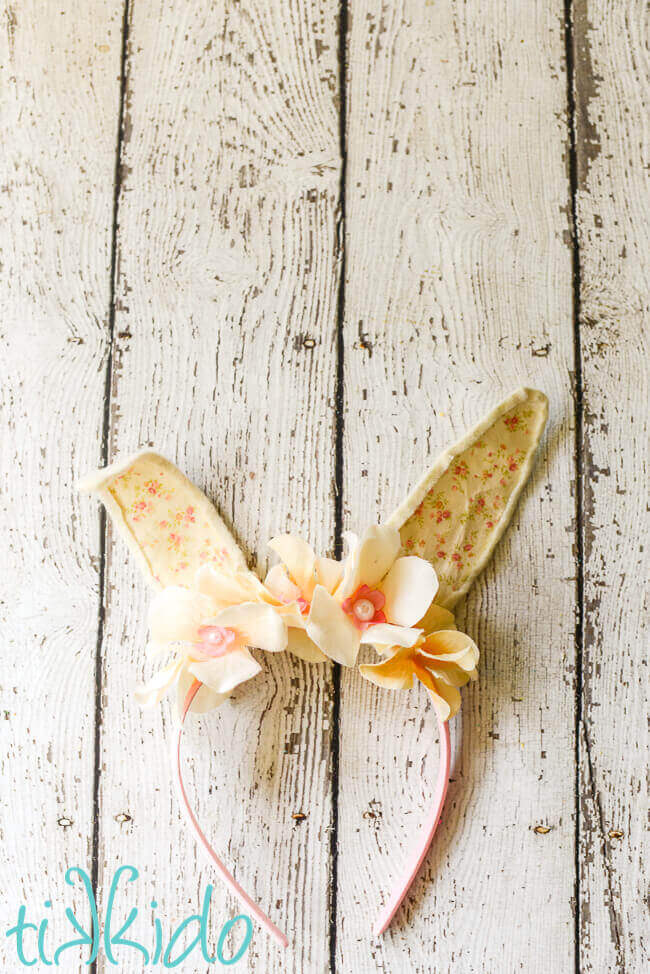
There's no sewing required for this project, just a little bit of cutting fabric and glue gun action.
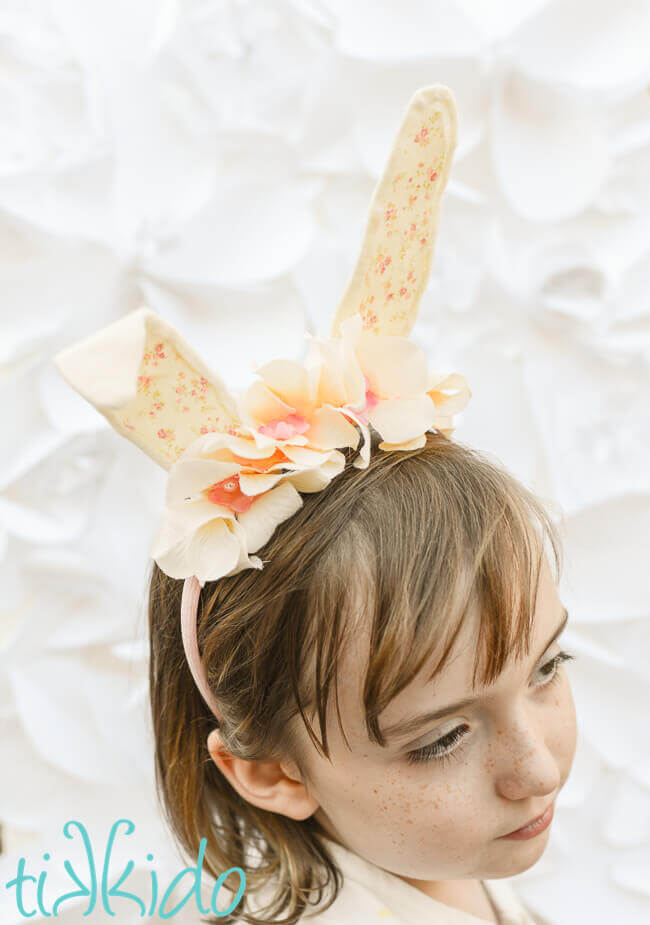
I've loved the peaches-and-cream calico fabric that I used as the center of the bunny ears for years. I originally bought it to make fabric covered party hats, but have pretty much been hoarding the fabric for a while and waiting for another opportunity to use it.
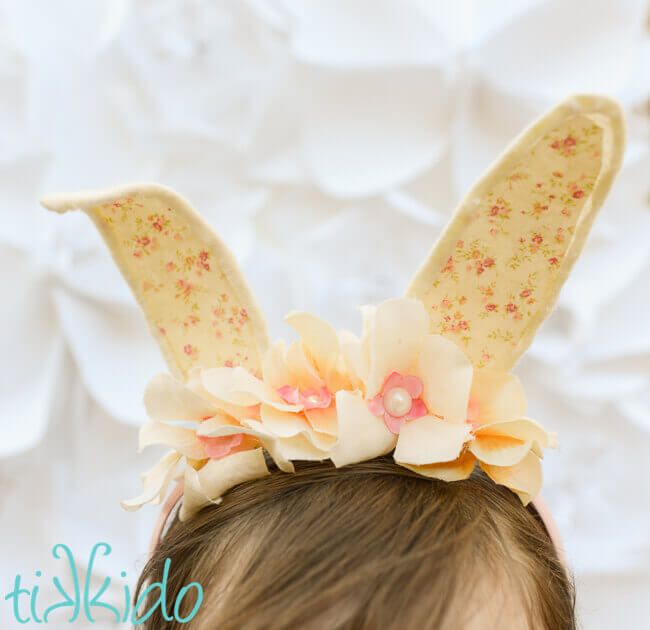
The fabric was absolutely perfect for this whimsical Easter bunny ears headband. I love the soft ivory and peach tones. So romantic and sweet.
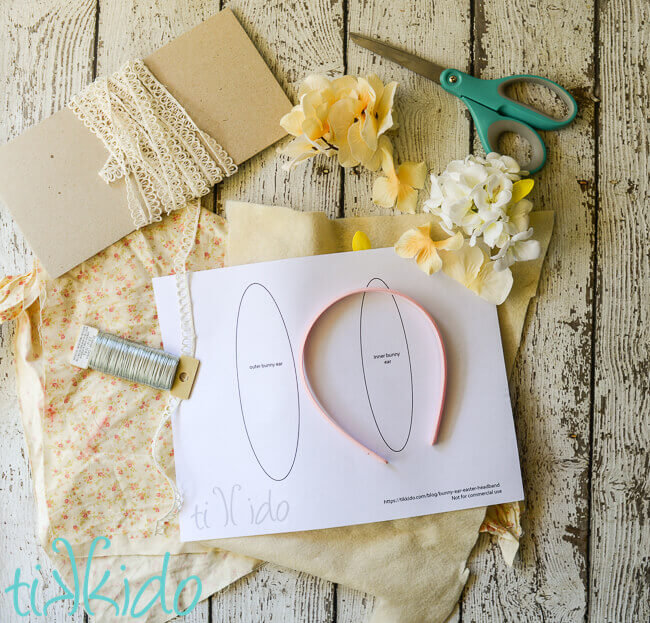
Bunny Ears Headband Materials:
- printable bunny ears template
- 22 gauge craft wire
- artificial flowers
- print fabric
- felt fabric
- fabric covered headband
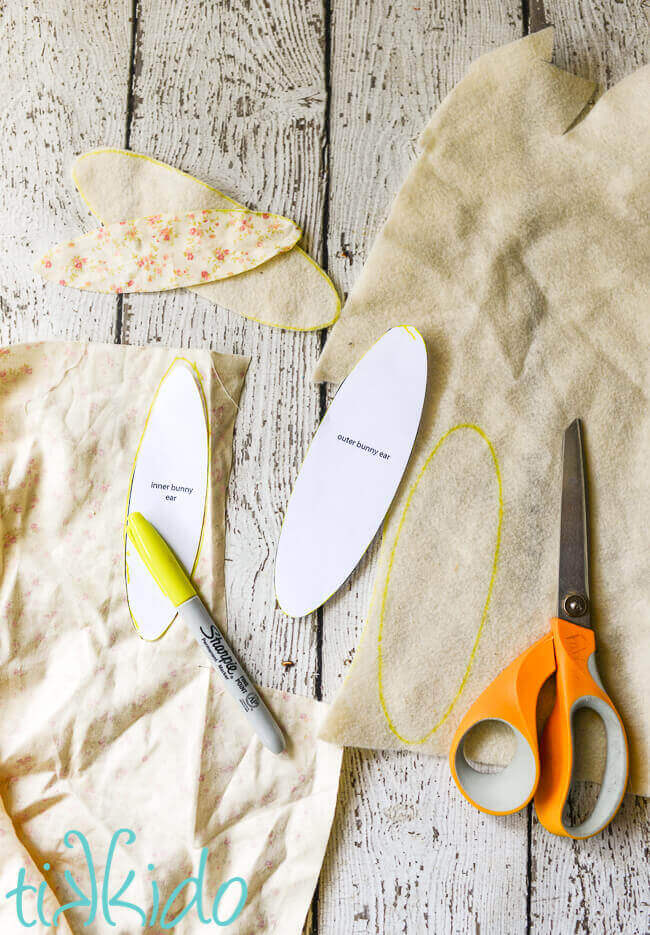
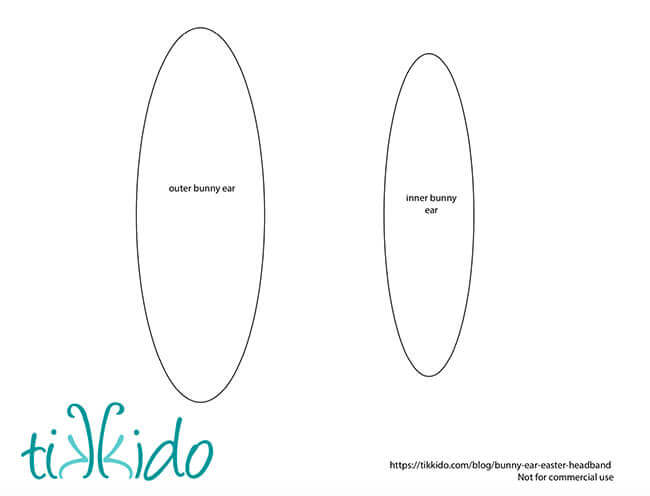
Print out the free printable bunny ear templates and cut them out. Trace around and cut out the large outer ear template on felt (two of them), and trace around and cut out the smaller inner ear from the calico fabric.
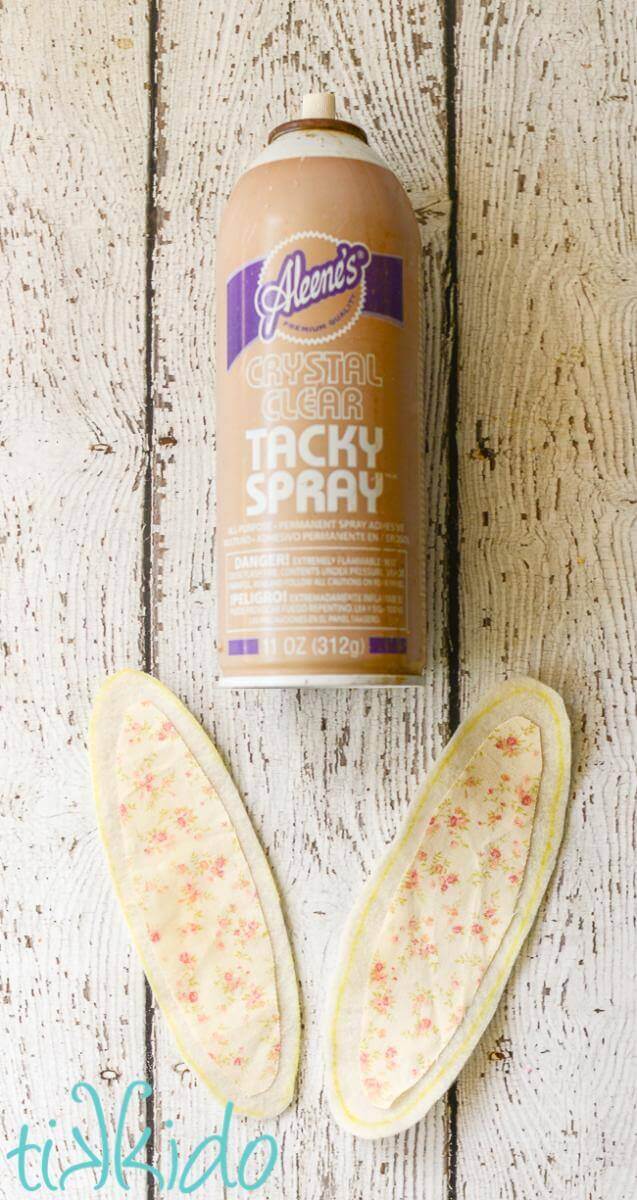
I used spray adhesive to glue my calico fabric inner ears to the felt outer ear pieces, but fusible webbing would be another great option.
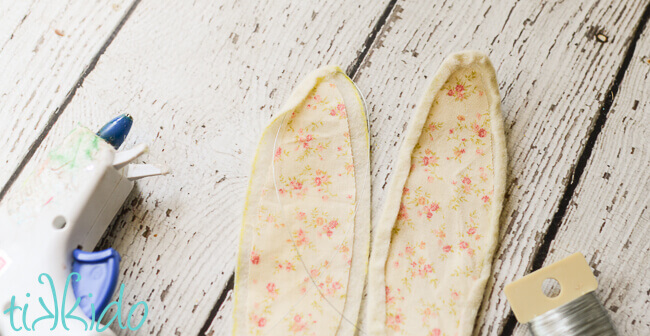
Cut a length of the craft wire (I used floral wire) longer than the perimeter of the outer ear. Glue the metal wire down just outside the line of the inner ear calico fabric, and fold the outer felt hear around the metal wire to cover it. Work in small sections, since the glue cools so quickly, and be sure to use a low temperature hot glue gun, because you will end up getting glue on your fingers.
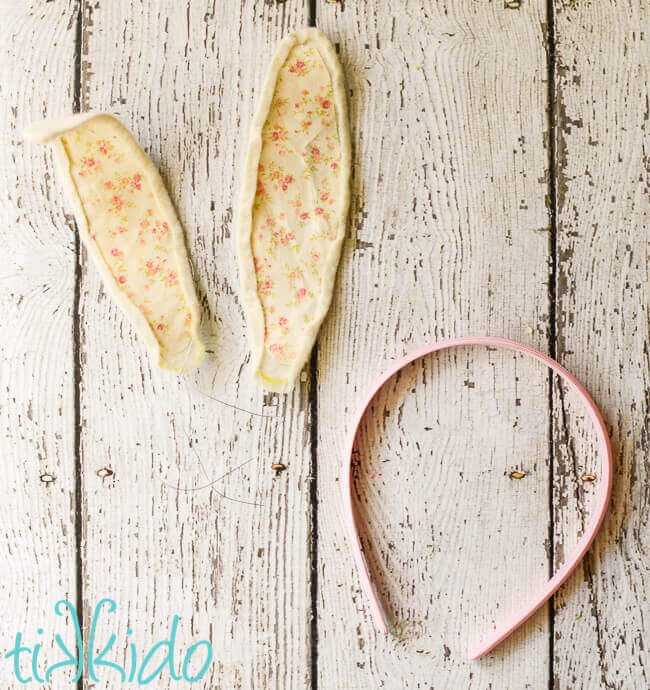
Trim off excess wire. Congratulations, you've made posable bunny ears!
Tips for Making Amazing DIY Headbands:
- Use fabric covered headbands, not plain plastic headbands. Hot glue gun glue does not like to stick to slick plastic or metal headbands. But it loves fabric covered headbands.
-
The dollar store is a brilliant place to get fabric covered headbands! They always carry some. Always. And it's a multi-pack for a dollar. Sometimes you get three, sometimes you get six--but no matter how you cut it, it's a deal.
-
But if you'd rather buy from Amazon and have it delivered to your door, this is also a very good deal.
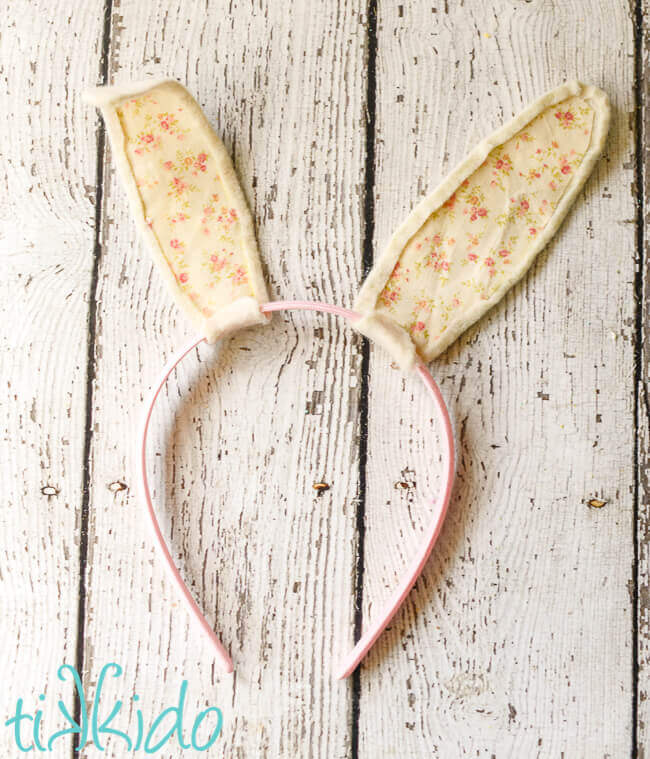
Use a hot glue gun to wrap the bottom of the bunny ears around the headband and glue in place.
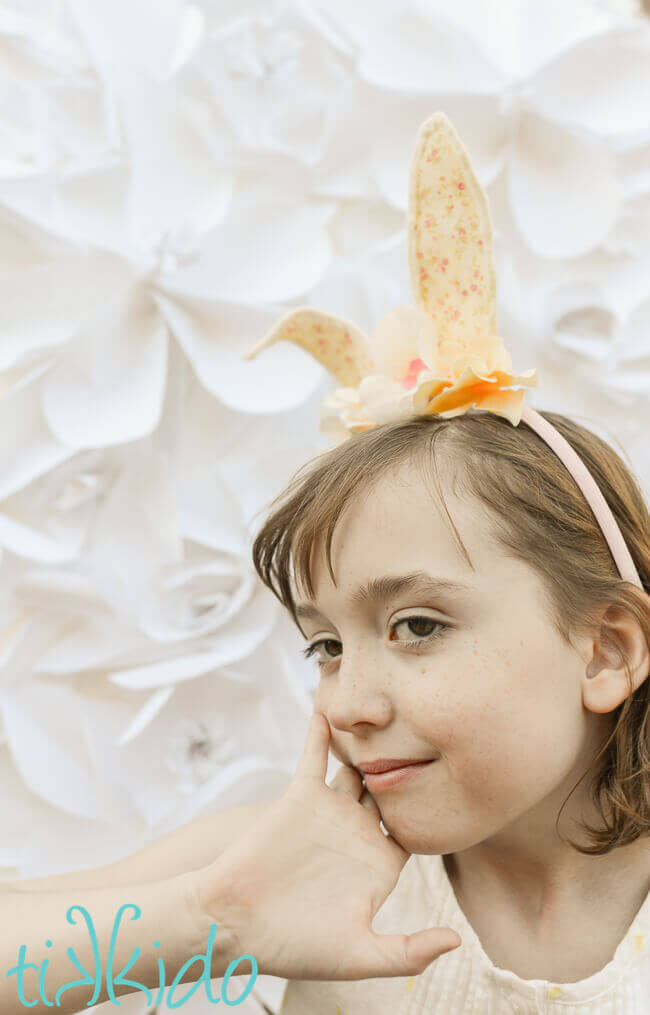
If you had big hair, you probably wouldn't even need the flowers on the headband. I did not give my daughter the gift of thick, glorious hair. I did, evidently, give her the gift of hamming it up for the camera. You should see some of the shots from the outtakes for this post!
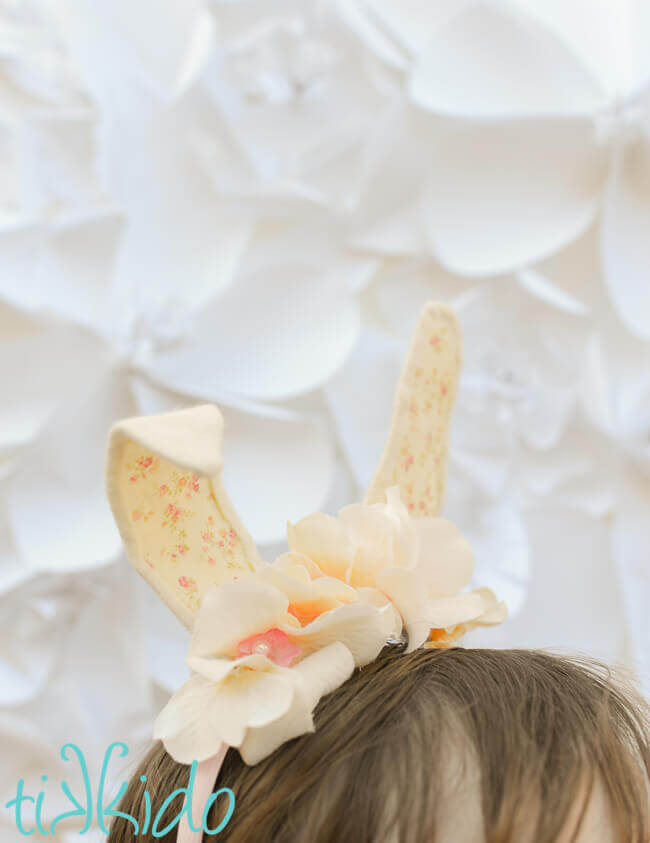
But I added some silk flowers to the headband to cover where the ears are attached, and I love the end result.
Bunny Ears Template:
Click on the template image or click here to download and print the PDF printable bunny ear templates to make this headband.


.png)