Do you want to know how to make a unicorn headband? These were a huge hit at the My Little Pony birthday party. The felt unicorn horns and felt flowers are no-sew, plus I've included a free printable unicorn horn template to help you make these unicorn horn headbands!
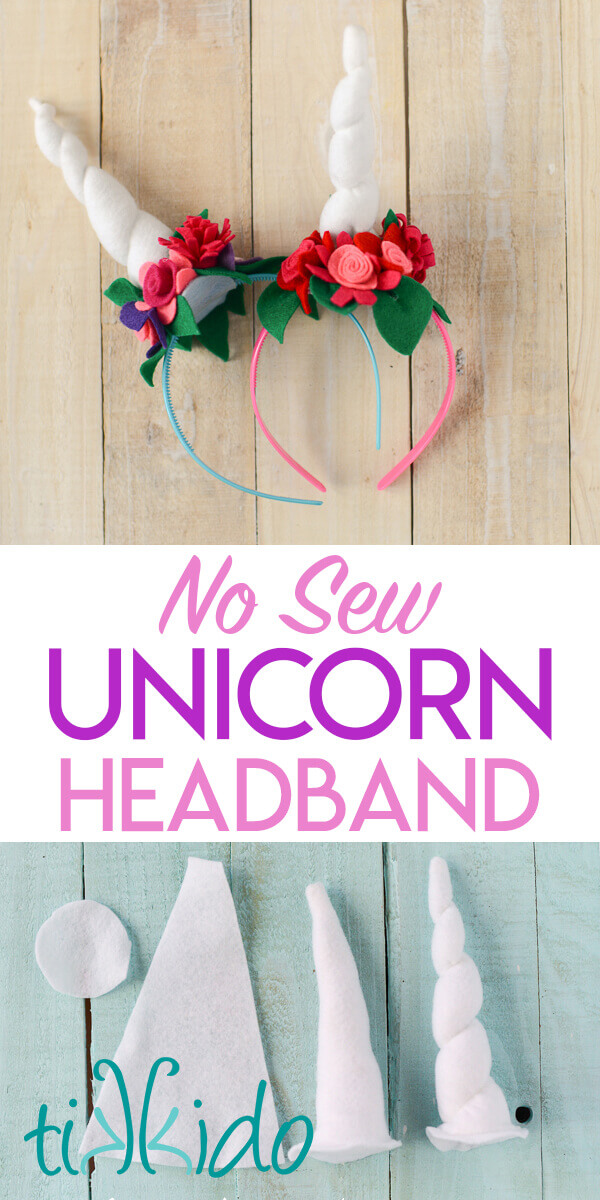
Adorable, right? I totally wore one all day at the party (and so did a lot of the other parents there!).
(1).JPG)
But of course, the unicorn headbands were technically meant for the kids.
(1).JPG)
But I made extras, just in case--because I know I have awesome friends. ;-)
(1).JPG)
The boys liked wearing the unicorn horns as much as the girls did.
.JPG)
And the kids were absolutely delighted that they got to take them home. Each of these probably cost less than $.50 for me to make. Great favors don't have to take a lot of money, just a little bit of busy work while you're watching TV one night.
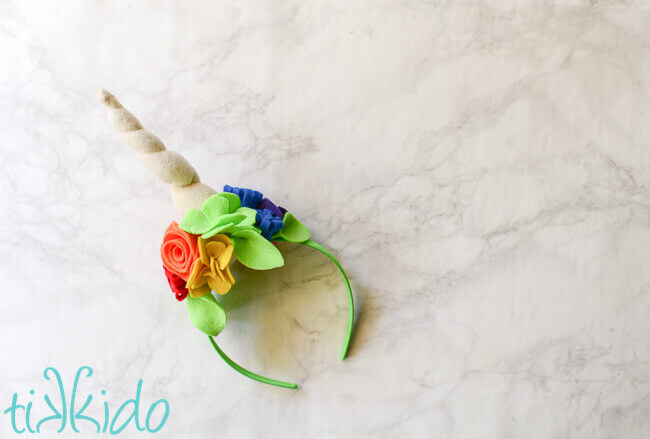
Ready for all the DIY unicorn headband details?
DIY Felt Unicorn Headband Tutorial
(1).JPG)
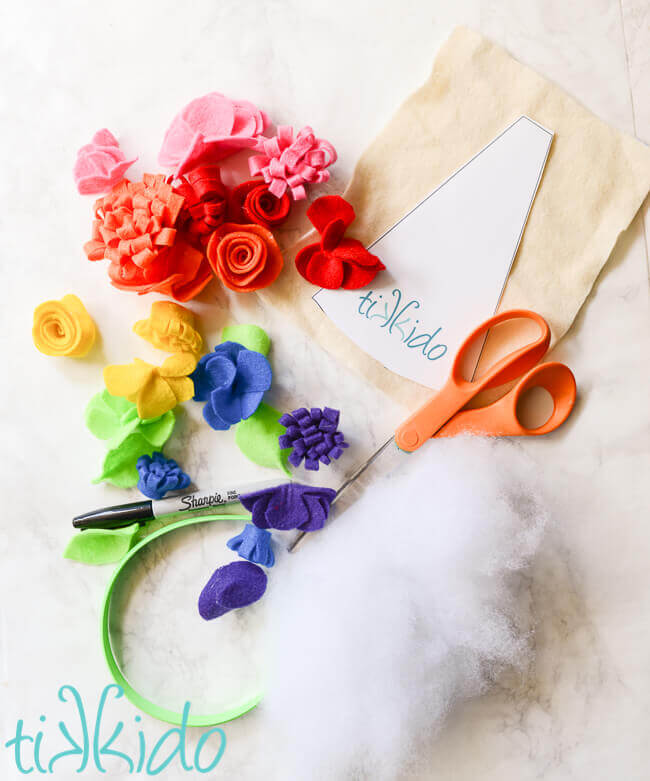
Start by making a bunch of felt flowers (see yesterday's post for three different felt flower tutorials). Or you could pull apart inexpensive silk flowers (the dollar store is a great place to get them).
.JPG)
Materials for Unicorn Horn Headband:
- white felt
- stuffing (like for stuffed animals or pillows)
- artificial flowers (I used DIY felt flowers)
- strong button thread and needle
- low temperature hot glue gun
- printable unicorn horn template
- Inexpensive headbands (fabric covered headbands work best, but plain plastic work, too)
Next, we need to make the horn. This is almost a no sew project. And I hesitate to call what is done with needle and thread really sewing. It's easy, and mostly involves a glue gun.
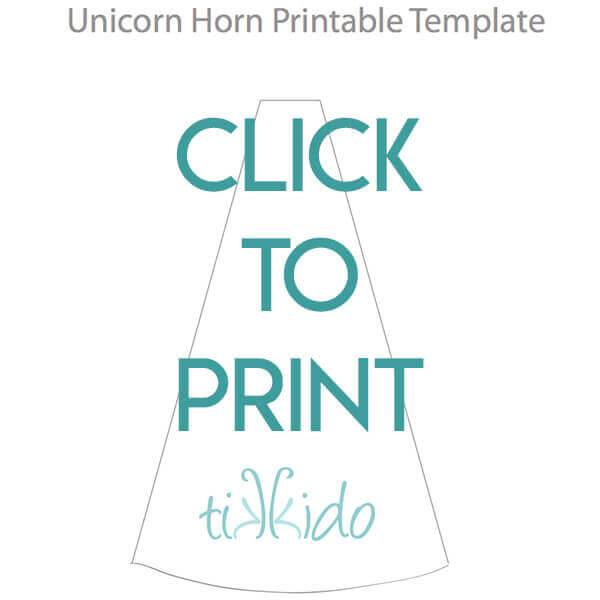
Cut out a triangle of felt with the tip snipped off. I played around and hand-drew my own template, but lucky you, I've figured out what works, and have created a free printable unicorn horn template!
Unicorn Horn Template
DIY Unicorn Horn
Fold the triangle of felt in half, and use a glue gun to glue the long edges together (leave the bottom open for now). You certainly could sew it for this step, but using the glue gun worked really well.
Turn the cone of felt inside out, so you don't see the glued (or sewn) seam, and stuff with fluffy Fiber Fill (found at any craft or fabric store). Glue a rough circle of felt to the bottom of the cone to keep the stuffing inside.
.JPG)
Thread some STRONG white thread (I like using thick button thread) on a needle, and knot the thread. Secure the knotted thread at the tip of the horn, then, wind the thread tightly around felt cone toward the base. Hold the thread securely, keeping it tight, as you knot the thread in the felt at the base of the horn. This simple step is what transforms a pretty lame looking unicorn horn into a completely awesome one. A little bit of crafty magic.
.JPG)
Glue the horn to the top of an inexpensive headband (these came 4 to a pack at the dollar store, or you can easily get the headbands online). Cut another circle of felt and glue it to the underside of the horn, sandwiching the headband between the felt horn and felt circle.
Use the hot glue gun to cover the base of the unicorn horn (the ugly bit where it's glued to the headband) with the felt flowers and leaves you've made.
Have fun with the colors! Add some rhinestones! Whatever you want.
.JPG)
I love the thought of these unicorn horns becoming a fun addition to a chest of dress up clothes in Niamh's friends houses. I hope they remember the My Little Pony party and their dear preschool friends every time they play with the unicorn horn headbands for years to come!
Not feeling crafty, but still really want a unicorn horn headband of your own?
This is a pretty darn good deal on Amazon (buy here). I love that it comes with different colors and styles.
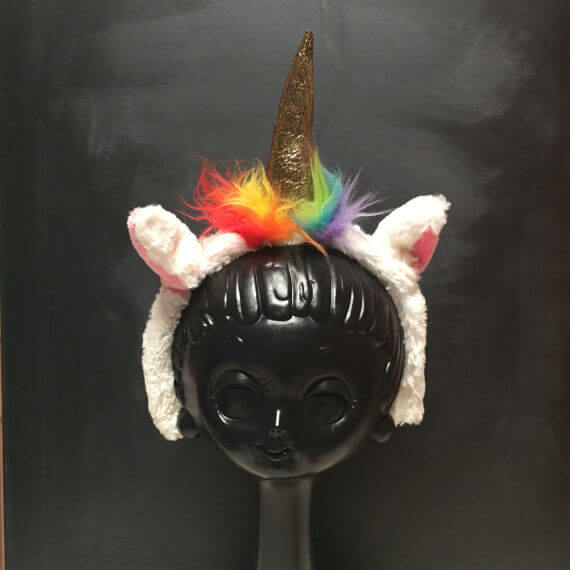
And this one from Puppet Pie on Etsy (buy here).


.png)