Need to make a quick and easy (but completely enchanting) felt Peter Pan/Robin Hood hat? This tutorial will step you through the simple process. This Peter Pan (or Robin Hood) felt hat tutorial uses some sewing, but it would be easy to adapt to make a no-sew peter pan hat, too, just using a hot glue gun.
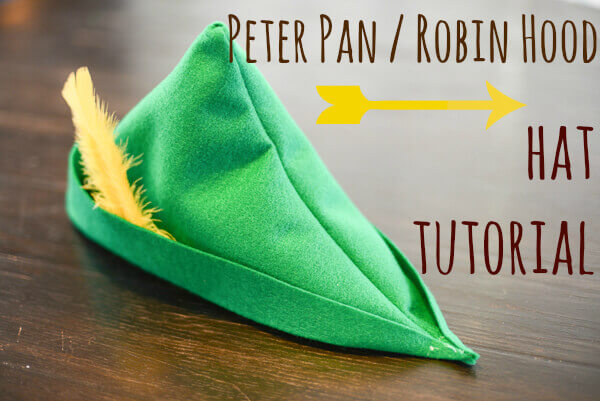
I made these dashing caps for One Stone Event's clever Feathers and Arrows fairy tale mash-up party. (The website is no longer active, I'm afraid, so I can't link you to all the details any more.)
.jpg)
(Awesome party photos courtesy of Emma Grace Photography)
.jpg)
Just put the hat on and let the imaginative magic begin!
.jpg)
.jpg)
Perfect for a Halloween costume, or just creative play.
Felt Peter Pan or Robin Hood Hat Tutorial
Edit: I used to send you to a tutorial and free printable pattern from the blog Sew in Harmony, but a reader recently let me know that it no longer exists, so I've updated this blog post with my own free, printable peter pan hat pattern.
Free Printable Peter Pan (or Robin Hood) Hat Pattern
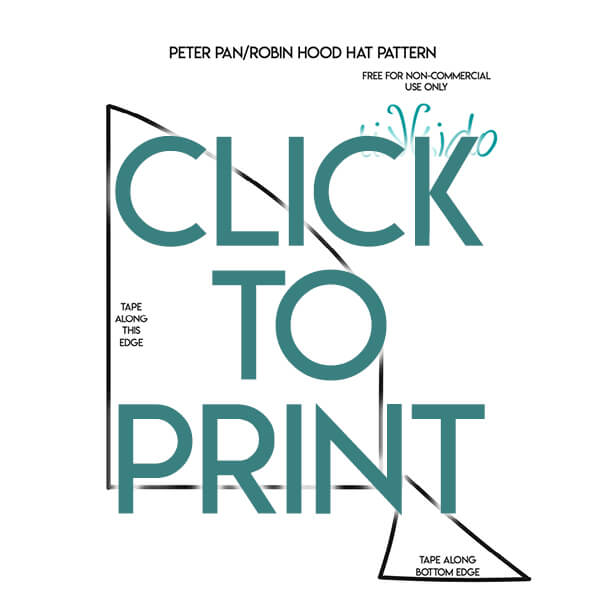
Click on the image below to find the printable, PDF version of the Peter Pan Hat Pattern. You can print directly from the link, or save the PDF to your device.
The pattern is in three pieces, and prints on two pages. You'll have to cut out the pieces and tape them together.
When printing, make sure that the scale is 100% (see the screenshot of my print dialogue below).
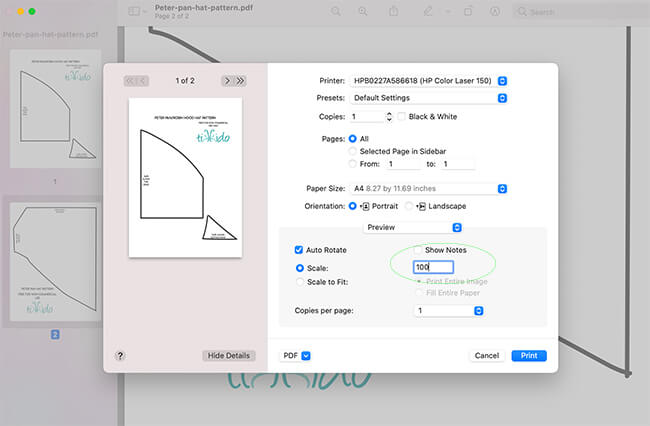
See the box circled in green? It defaulted to 94%, which isn't a tragedy, but it will be a little (6%!) smaller than intended. But you can just enter 100 as the value in that scale box and it will print perfectly.
.jpg)
Print out the PDF peter pan hat pattern, cut out the pieces, and tape them together.
Cut out two pieces of felt using the pattern.
.jpg)
I cut two of my pattern pieces from the felt, and sewed the top edges of the hat together--BUT I didn't sew that back, flat bit of the brim yet.
.jpg)
After sewing the first stage, I turned the hat right side out, and then sewed that last little bit at the back of the hat.
.jpg)
After that, I just flipped up the brim of the hat (neatly hiding that last seam). I found that a little bit of hot glue at the front tip of the hat brim helped the hat to hold its shape nicely. After that, it's just a matter of using the hot glue gun to attach a feather, and you're done!
.jpg)
Not feeling crafty? You can you can always buy them! (buy here)
Feeling crafty? Using a rotary cutter and self healing cutting mat makes cutting out a bunch of these a breeze!
DIY Peter Pan Hat Tip:
If you don't want to sew the hat together, just use a hot glue gun to glue the pieces together. It works really well!
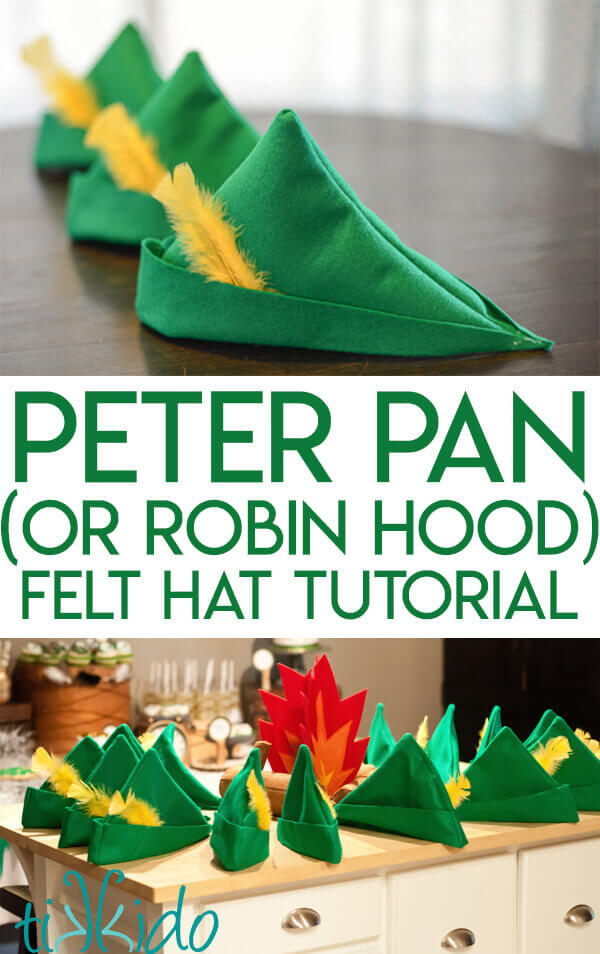
Did you make one of these for your kid (or you?) I want to see! Share your creations over on the Tikkido Facebook page.


.png)