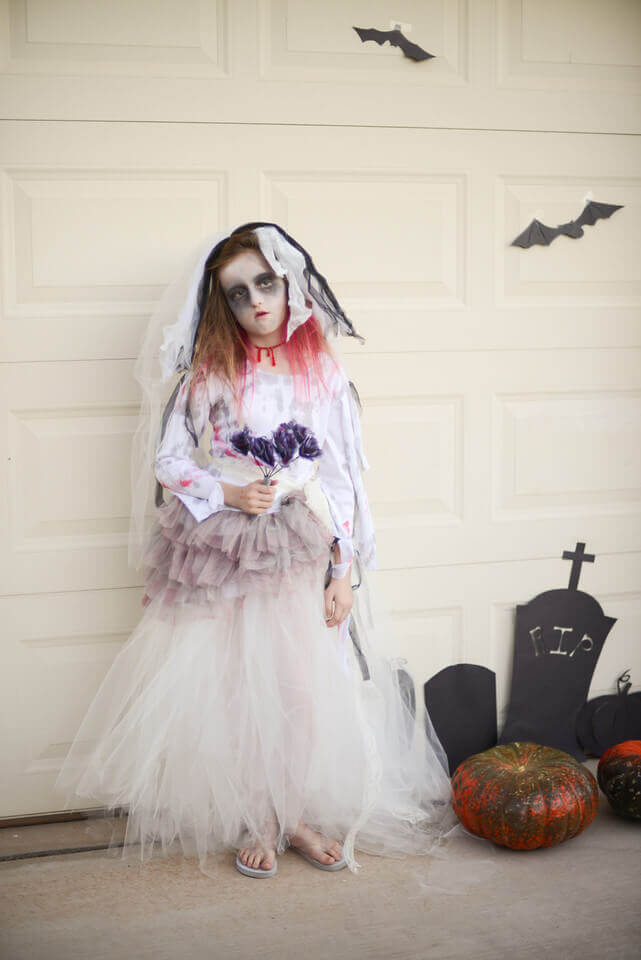
Need the perfect spooky accessory for your Halloween costume? How about this DIY crystal bloody slit throat necklace?
Spooky and pretty at the same time! What could be better?
Materials for Bloody Slit Throat Crystal Necklace:
- red crystal beads, in 4mm,6mm, and 8mm sizes
- red crystal teardrop shaped beads
- beading wire
- crimp beads
- headpins
- clasp and small length of chain (chain is optional)
String the red crystal beads on a length of beading wire, graduating the sizes so that the crystals gradually get larger toward the center front of the necklace.
Attach one end of the wire to your short segment of chain using a crimp bead. (the chain should be large enough that the clasp can latch on to any loop of the chain).
Using a second crimp bead, attach the other side of the necklace to a clasp. Usually, when making a necklace, you'd snug up the wire nice and tight, so that all you'd see would be crystals. In this case, you want to leave maybe half a centimeter of wire showing when you secure the second crimp bead. The reason for this is that we still need to add our drips of crystal blood, and if you don't leave room for the crystal drops to hang down with some looseness and play, the drips will stick out at odd angles, and look decidedly wrong. You need enough room between the necklace beads so that the crystal drips can hang straight down.
Thread a teardrop shaped crystal, and a few smaller crystals on two or three headpins. I like odd numbers, so I went with three drips. Each crystal drip of blood was a slightly different length.
Use needle nose pliers to loop the headpin wire around the necklace wire, in between the beads.
Marie Antoinette costume, anyone?

Or a zombie bride, like my daughter, perhaps?


.png)