Following up on yesterday's post about how to make a quilted tree skirt without having to know how to quilt, today I present my tutorial on a shortcut to beautiful quilted Christmas stockings.
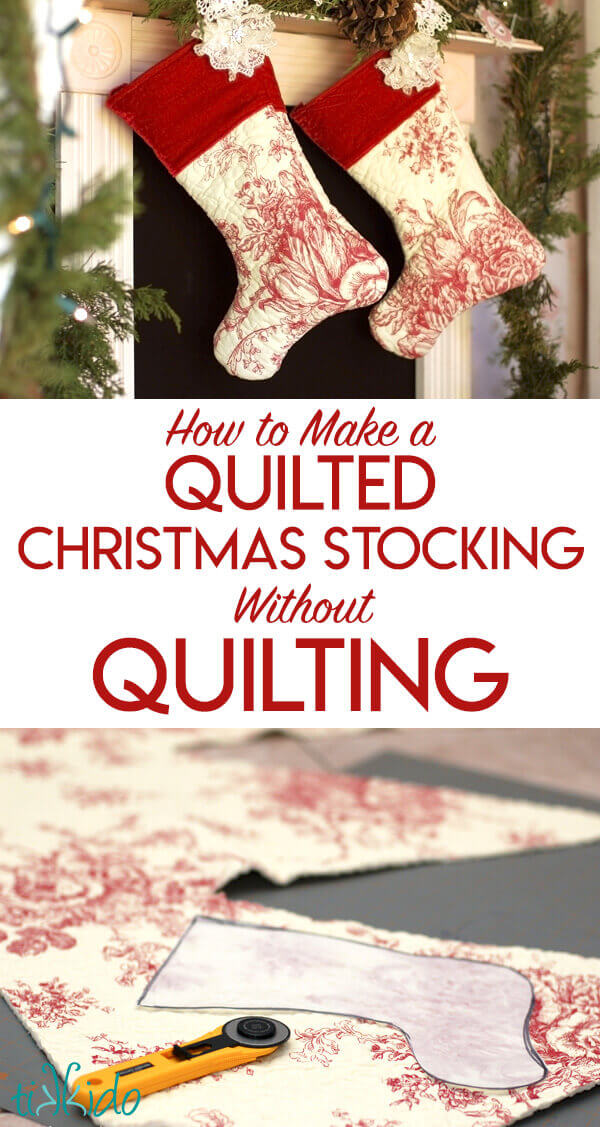
I used the same quilt I bought from Overstock.com as my fabric, beautifully pre-quilted and inexpensive.
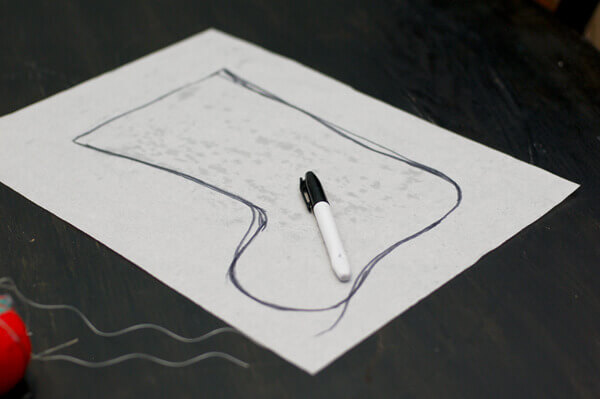
The first step was to draw my pattern. I like to use parchment paper sheets for my patterns, because I always have large sheets of it around for baking and it's not as flimsy as tissue paper, but it's still translucent enough that I can make out the pattern of the fabric through the paper.
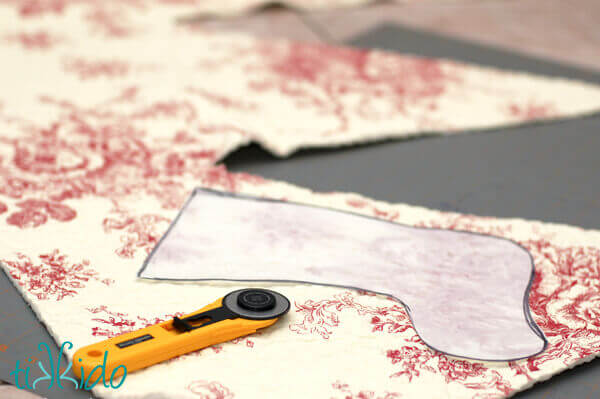
I drew my pattern the size I wanted my stocking to end up, so when I cut out the fabric, I cut generously, adding an extra half inch all the way around for the seam allowance.
Cut out two pieces for each stocking. Be sure to remember to flip the stocking pattern piece over when cutting the backside of the stocking!

Cut a piece of velvet for the cuff. My friends who really know how to sew will probably disown me for saying this, but I didn't make a pattern piece. I just eyeballed it.
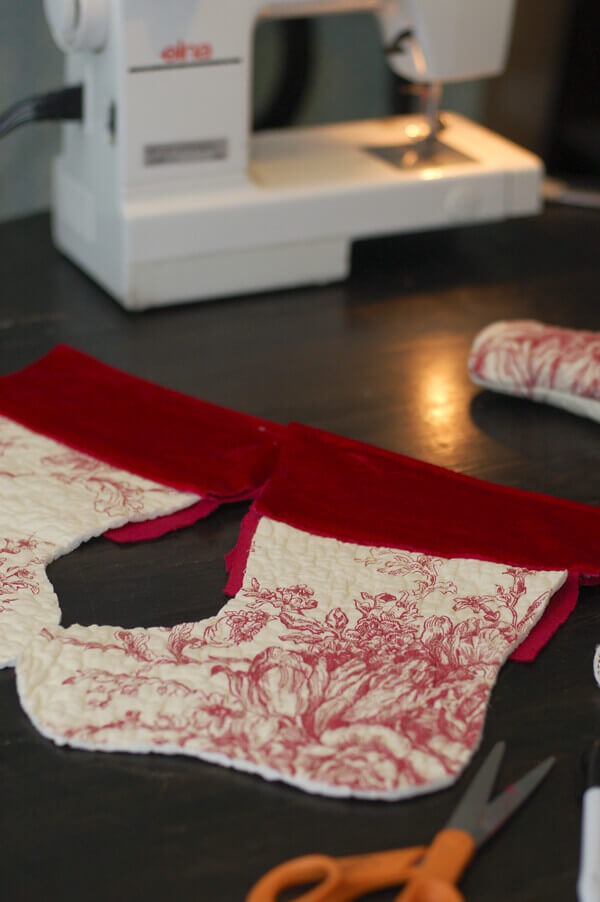
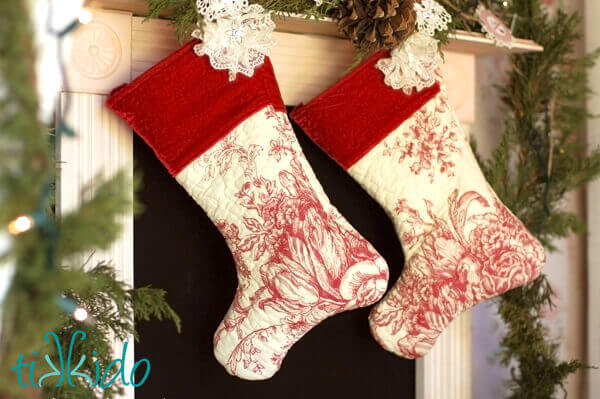
Turn the bottom edge of the velvet under so that no raw edges are showing, and sew a straight line across, attaching the velvet to the main stocking piece. Sew another straight line along the top edge of the stocking. Trim away excess velvet from the sides.
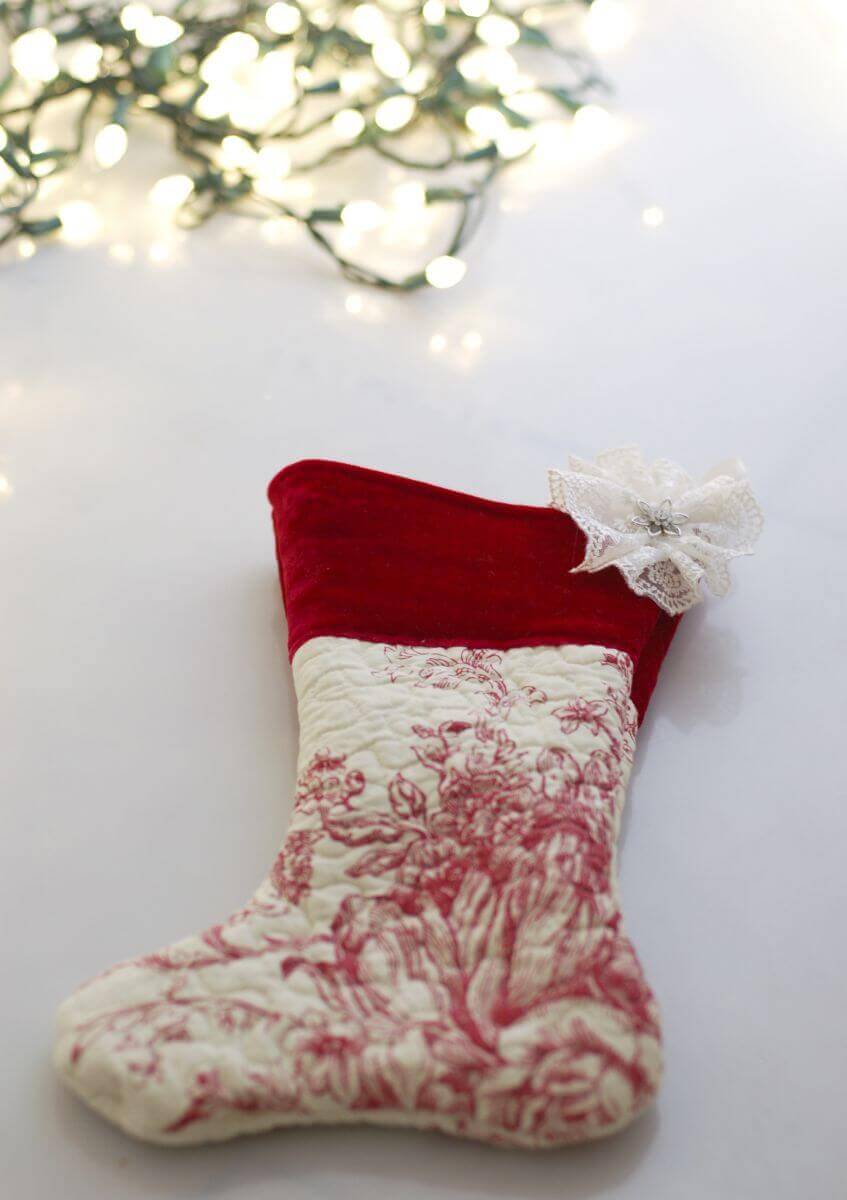
Place the right sides of the front and back pieces together, and sew the stocking shape. Turn right side out. Add a ribbon hanger (I hand-sewed that in).
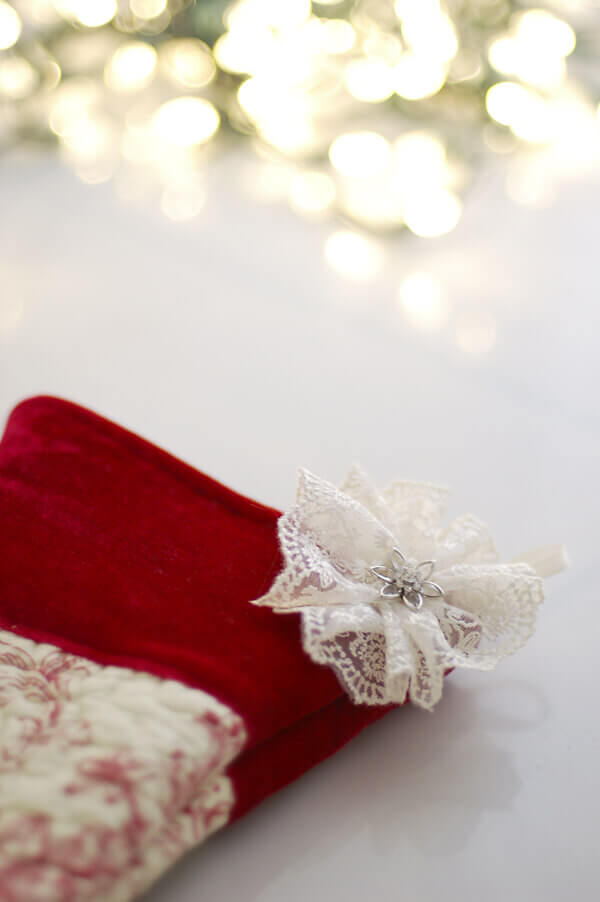
I also made a little lace rosette and glued a Swarovski crystal flower in the center to add a little extra sparkle and fun.
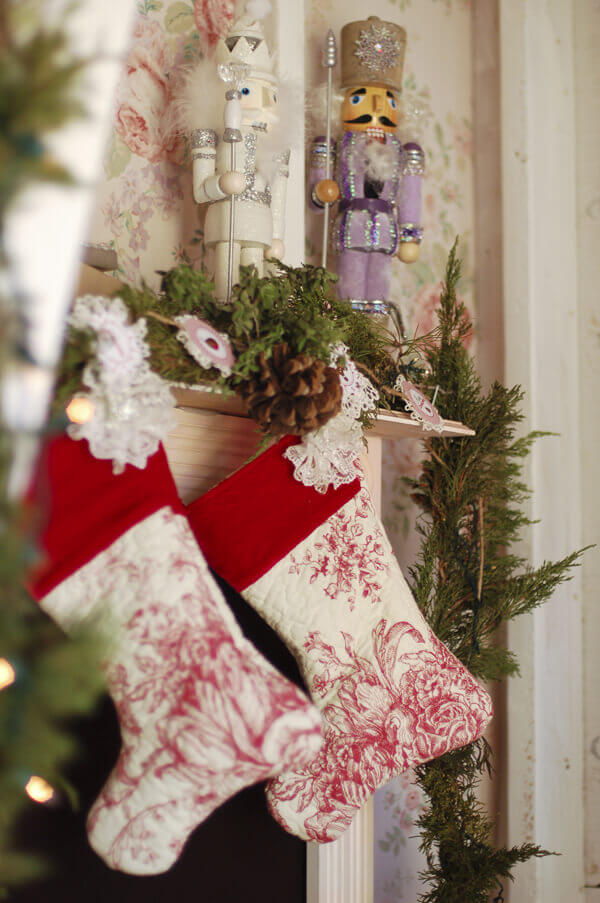
Fast, easy, inexpensive. Homemade. What could be better?

.png)