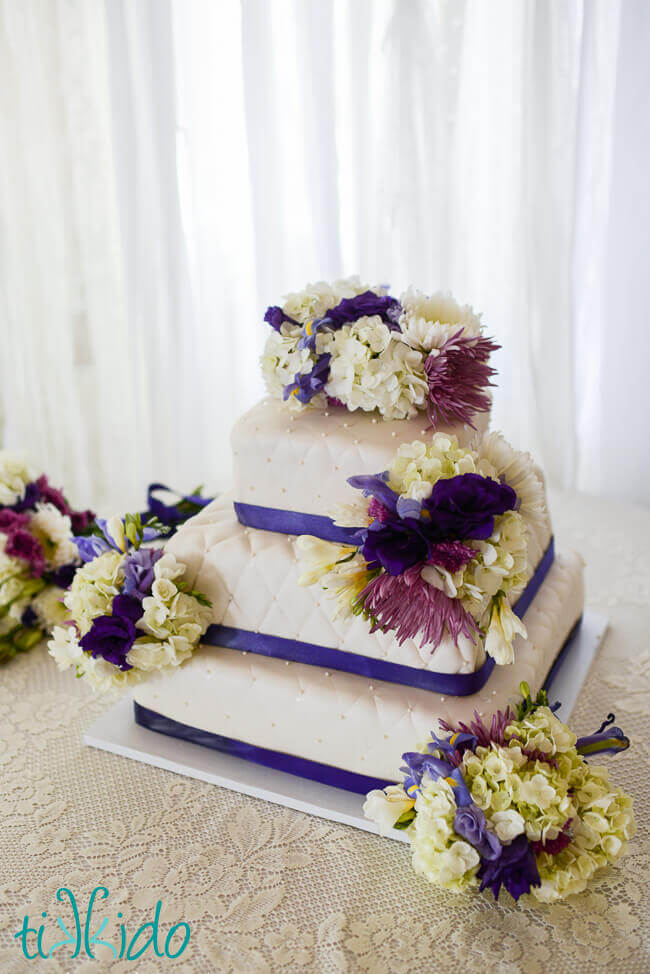
This past weekend I made a wedding cake for my friend Bailee. She really wanted a square cake, and one with a quilted fondant effect, neither of which I'd ever done before. I warner her of this fact, but she decided to trust me to pull it off, and stuck with her preferred design. I'm always up for a new cake decorating adventure, too! I've made quite a few wedding cakes and cakes as intricate and large as wedding cakes before, so I mostly knew what I was getting in to, but still, I learned a few things through trial and error during the making of this cake.
1) Check your oven size. Before you start baking, ideally. I had a set of square cake pans already, in 16", 12", and 8" sizes. I whipped up three batches of chocolate cake batter for one layer of the bottom tier, had the oven all pre-heated, put the pan in the oven...and couldn't quite close the door. I have double ovens, and the top oven is a convection oven, and the fan at the back of the oven takes up just a bit of space. I quickly heated up the bottom, non-convection oven and it was just able to fit in there, so the crisis was averted. But that was a close thing, and I definitely should have thought to check my oven size before starting to bake!
2) Don't store sugar in the freezer. So here's what happened. I went and bought a bunch of flour and sugar and supplies to make the wedding cake, and ran out of room in my pantry, so I threw some bags of flour and a 10lb bag of sugar in my chest freezer to store the supplies until I was ready to bake. On baking day, I pulled them out of the freezer. The flour was totally normal (I store flour in the freezer all the time, since I buy 55lb bags of the special imported Caputo 00 pizza flour for use in my wood fired pizza oven). But the sugar? That had mysteriously transformed into a rock hard, completely solid giant sugar cube. Oops. There was absolutely no salvaging it. Doh.
3) When leveling or torting a big cake, make sure you cut all the way through the center. Sounds like obvious advice, right? But I'd never leveled and torted a cake as large as the 16" square, and even though I used my biggest bread knife, I didn't manage to get quite all the way through in the very center of the cake. Then I tried to pull off the domed top of the cake. And I pulled a nice crater of cake out of the center. Doh #2. Nothing a little extra icing couldn't fix, but you can be sure I didn't make that mistake again on the second layer of the 16" cake!
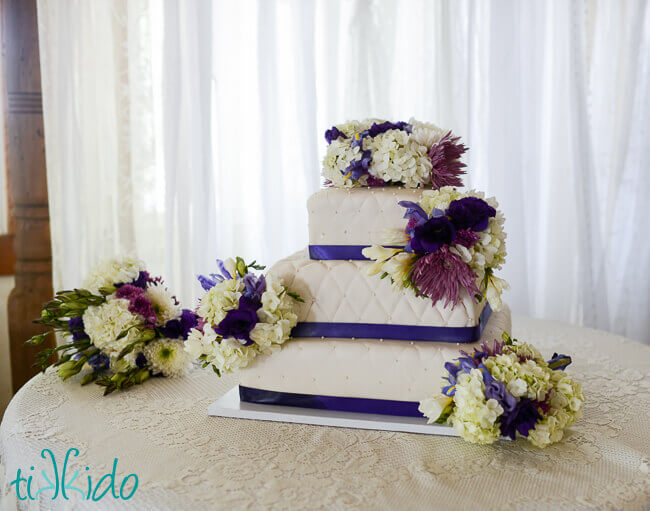
4) I'd never done a quilted fondant effect, but I knew I'd seen quilted impression mats at the cake decorating store, so I went and picked one up. Let me tell you, that did not work as expected. You could hardly see the faintest lines using the impression mat--definitely not the look I (or the bride) was after. I ended up tossing aside the impression mat pretty quickly, and instead used the edge of a plastic ruler (you know, like the kind you had to have in grade school) to create deep, distinct enough lines in the fondant. Way, way easier and better.
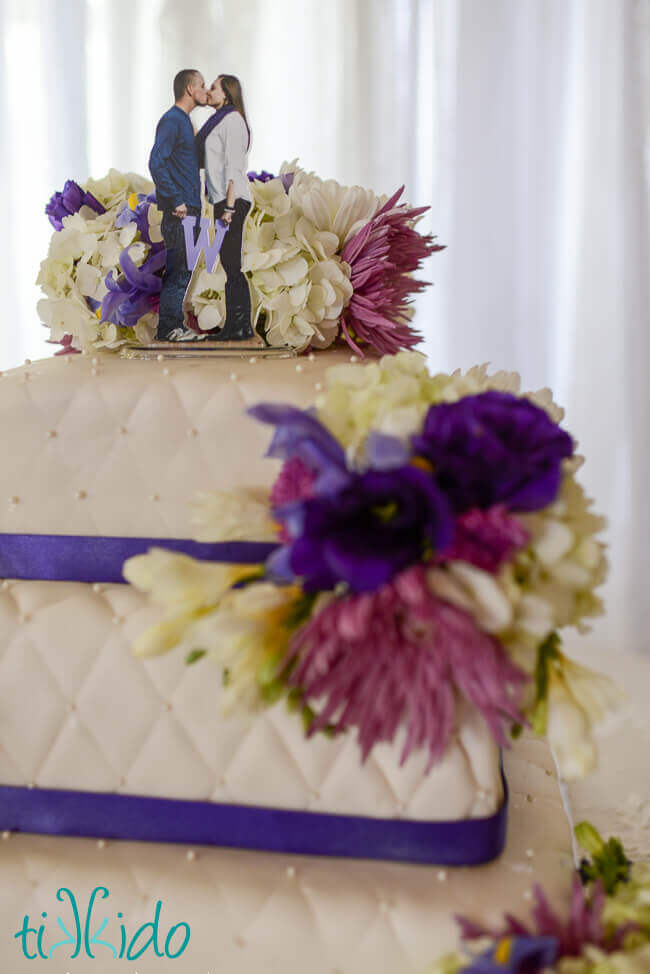
5) The little sugar pearls really added the perfect finishing touch to the quilted fondant. I used vodka to glue them to the fondant, like I usually do, but they definitely looked better when pushed in (and they stuck more easily that way, too). I was using a small paint brush to dab on the vodka, and discovered pretty quickly that using the wrong end of the paintbrush to push a divot in the fondant first made the pearls sit and stick like a charm. It's the little things, man!
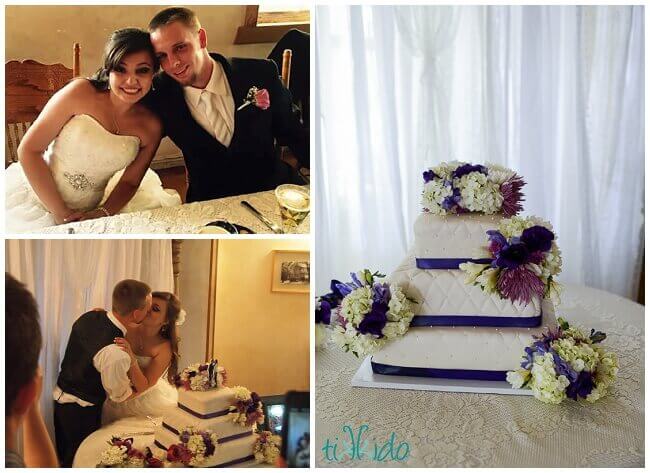
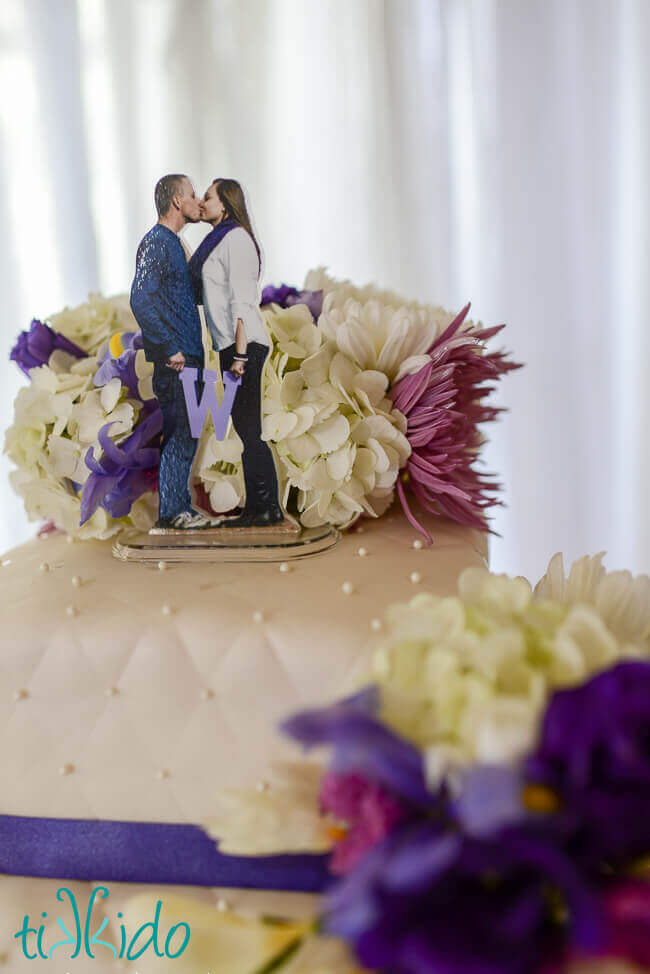
Congratulations, Bailee and Josh! I'm so glad I could help out in a small way for your special day.


.png)