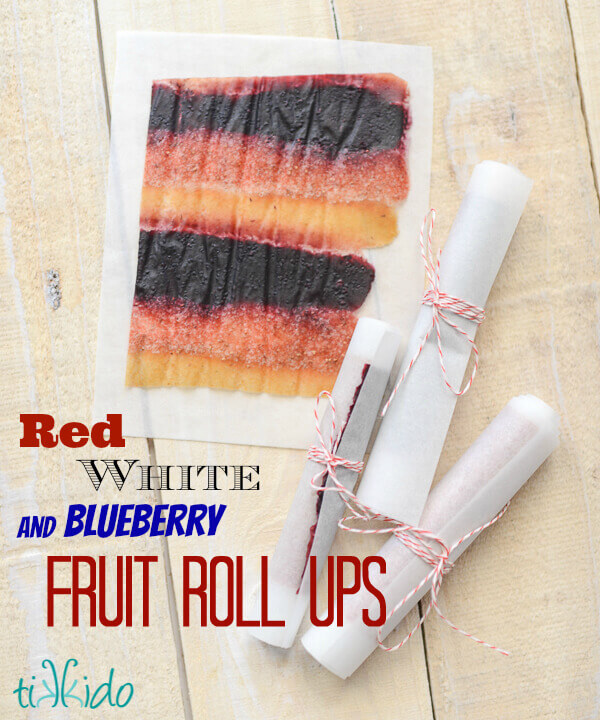
I have always loved fruit leather; it was my favorite treat when I was a little kid. (And, um, it's still way up there on my list, if I'm being honest.) And my mom used to make absolutely delicious homemade fruit roll ups. I could eat it just about as fast as she could make it, but I've never tried making it myself. Until now.

My girls love the commercial variety, of course, but I stumbled on an old cookbook on my shelves the other day, The Taming of the C.A.N.D.Y. Monster.
.JPG)
My mom used to make healthy snacks using these recipes when I was a kid, and when I had my first daughter, she passed the cookbook along to me. (Hey, wow, it's still available!) I remember loving the homemade fruit leather she used to make for me, and decided I needed to try making some for my girls.
.JPG)
Homemade Healthy Fruit Roll Ups Recipe:
- fruit (fresh or frozen and thawed)
- unsweetened applesauce
- honey (optional)
(1).JPG)
The 4th of July is right around the corner, so I decided to try making fun striped fruit roll ups using strawberries, blueberries, and applesauce.
Blend up your fresh fruit into a puree. If your blender is having trouble liquefying the fruit all on its own, add about a half a cup of unsweetened applesauce. It's liquid enough to do the trick and get the blades whirling and chopping up the other fruit nicely, without having to add water.
.JPG)
Cook the pureed fruit over a medium flame for about five minutes. If you want the fruit puree to be a little bit sweeter, add honey to taste at this stage.
.JPG)
Wash the blender between batches of different colored fruit purees, or use a pastry chef tip of going from light to dark. If you start with light fruit (or vanilla cake) and then do the dark (or chocolate cake, in the pastry world), you don't have to wash between batches!
.JPG)
Bag up your different colors of fruit puree. I have strawberry puree, plain unsweetened applesauce, and blueberry puree for my patriotic fruit leather.
.JPG)
Line a pan with parchment paper or plastic cling wrap, and start squirting! The puree was so runny, it was hard to make nice, clean lines. It actually turned out to be easier just to use a spoon to dish it out. If you do use the pastry bags, it works a lot better if you cut a much smaller tip than you think you'll need!
.JPG)
Use a spatula to smooth out the fruit puree into one even coating over the whole pan.
.JPG)
Set your oven at 130 degrees Fahrenheit--or as low as it will go, basically. If you have a convection function, turn it on. Pop the trays in the oven and let them dry out overnight. By the morning, it will have transformed into fabulous homemade fruit leather.
.JPG)
Cut into strips, and peel the parchment paper backing off of the fruit roll ups.
.JPG)
Cut into rectangles--any size you want for your snackers.
.JPG)
Cut a new rectangle of parchment paper (or waxed paper, or cling wrap) a bit larger than the fruit leather, and roll it up.
.JPG)
Have fun with it! A little baker's twine, some stickers...these are easy to dress up. I found the blue gingham waxed paper at Michaels, in the cake decorating section. They call it waxed paper, but it actually feels a lot more like parchment paper than the waxed paper I know.
.JPG)
This is totally happening in my daughters' lunches when school starts up again. Word of advice: parchment paper is REALLY non-stick, so the wider, more horizontal stickers work a lot better than the vertical ones for keeping the roll ups actually rolled.
.JPG)
You can use all those irresistibly cute rolls of washi tape to secure the roll ups, too.
My girls gave these homemade fruit roll ups enthusiastic thumbs up. The book says that they will last, stored in an airtight container, for several weeks. But they're so delicious that they didn't last to the end of the day in our house. Time to make another batch!


.png)