Want a disco ball piñata for your party? It's easy to make a fabulous party decoration and piñata all in one with this disco ball piñata tutorial.
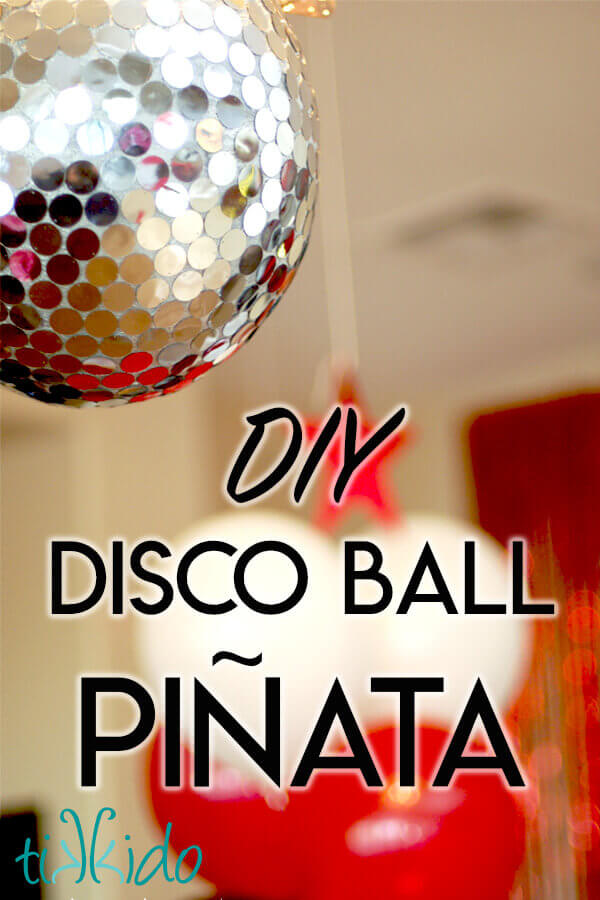
When my friend Naomi talked to me about helping out with her daughter's 80s high school reunion murder mystery party, I knew immediately that I wanted to decorate their great room to look like a party in a high school gym. Streamers. Round tables. Balloons. Dance floor. And, of course, a disco ball. I originally thought about finding an actual disco ball, and I even found a couple good candidates on Craigslist for about the $20 mark. But then I had an epiphany: if I were to make a piñata that looks like a disco ball, I could spend a lot less, get the same general look, have a party activity, and not have to figure out what to do with a disco ball after the party!
A disco ball pinata, my friends! It's a thing of sparkling, fabulous, kitchy beauty.
.jpg)
If you remember my tutorial on making a rose pomander piñata, you'll notice a lot of similarities.
DIY Disco Ball Piñata Materials:
- balloon
- newspaper
- plastic cup full of rocks
- wallpaper paste
- silver paint
- large sequins or paillettes
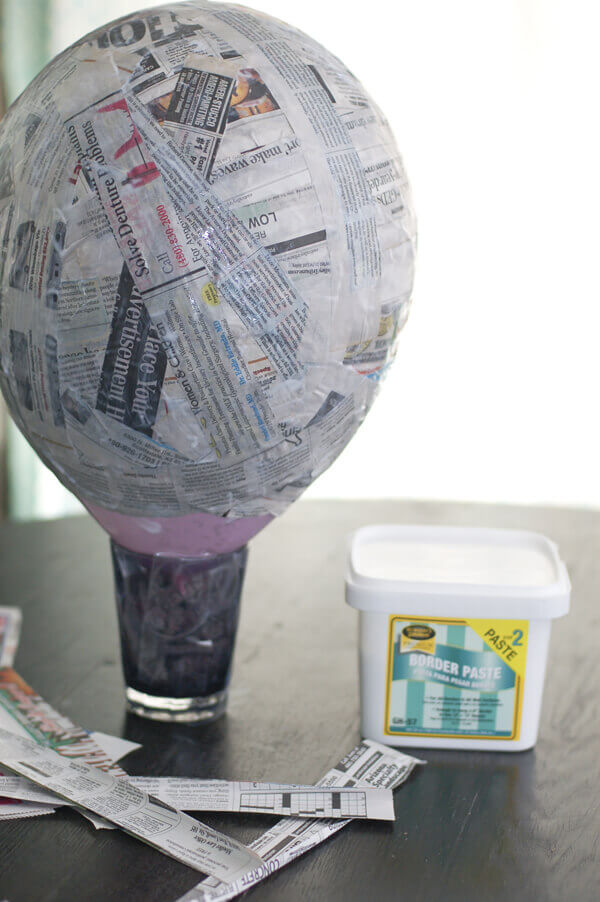
First, blow up the balloon and tape it to a plastic cup filled with rocks (to give it extra stability as you're working). Cut strips of newspaper, dip them in wallpaper paste, and start smoothing on the surface of the balloon.
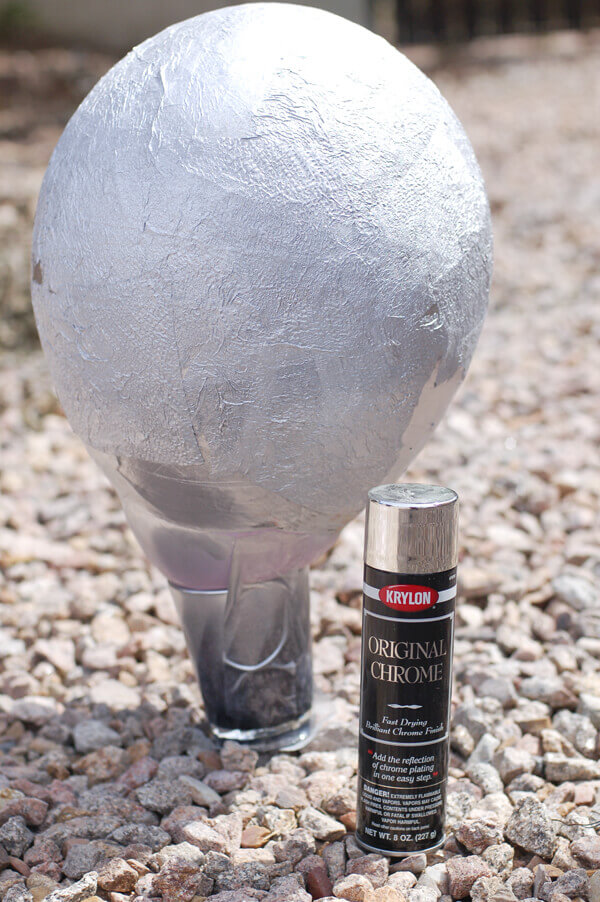
Let the paper dry between layers, and coat the balloon with 4 layers of paper and paste. I often do an extra layer or two for extra strength at the top of the piñata (the bottom area near the cup as you're making the papier-mâché shape). That's the spot at which the piñata will hang, and can always use some extra reinforcement.
Pinata Making Tip:
- Instead of using newspaper for the final layer, use white printer paper or paper towels. the white color of the final layer of paper means that you'll have to do less painting to cover up the newsprint later.
Once the disco ball piñata shape is formed and completely dry, paint it silver.
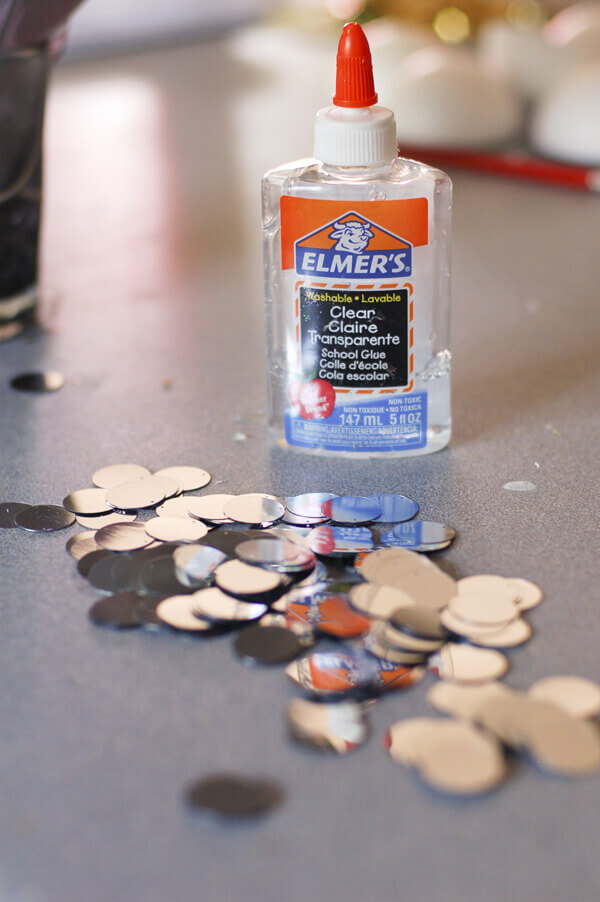
Once the silver paint is dry, it's time for the fun part! Start gluing those paillettes! I think I used 4 bags (250 pieces each) to complete the project. I used clear Elmer's school glue to glue the shiny silver sequins to the surface of my piñata.
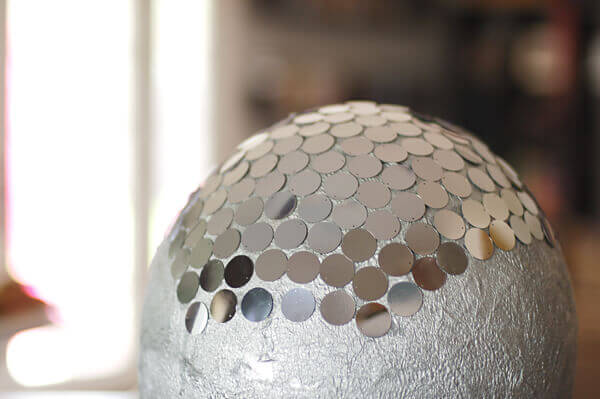
Glue a bunch, let dry. Repeat. Repeat. The actual time for labor involved in this project is pretty minimal, but you do need to figure in a bunch of drying time! It's best to start this project at least a week before the party, though it can be done in about a day and a half if you absolutely must. I don't like to be that rushed and precise if I don't have to. I prefer a more languid approach, doing the next step when I notice that the project is ready for it, but not rushing each step to squeeze the project in before my deadline.
.jpg)
All that's left to do now is fill and hang the piñata! (Don't forget my tip for filling a piñata!)
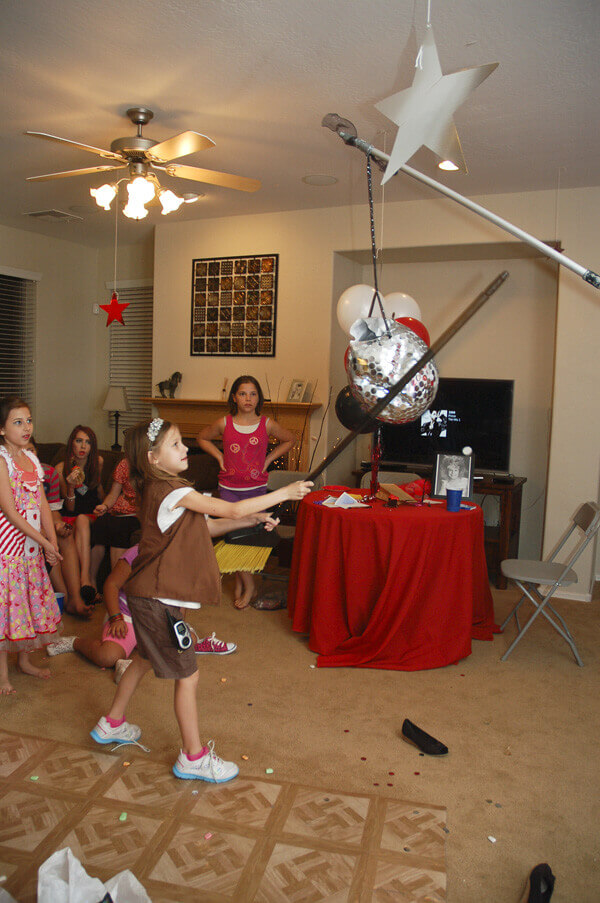
All that's left to do now is to groove your dance moves under it at the party, and whack it to bits.
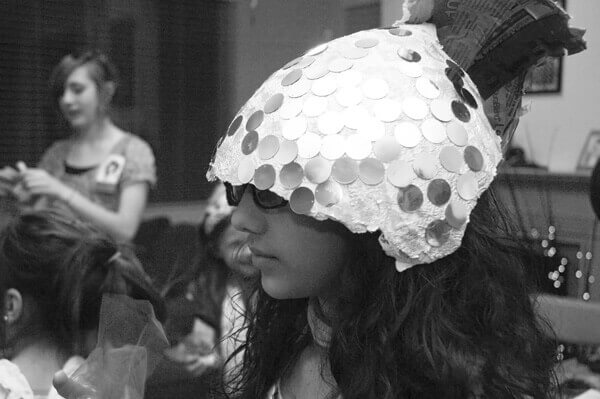
And, if the party is really good, re-purpose the pieces for use as hats.


.png)