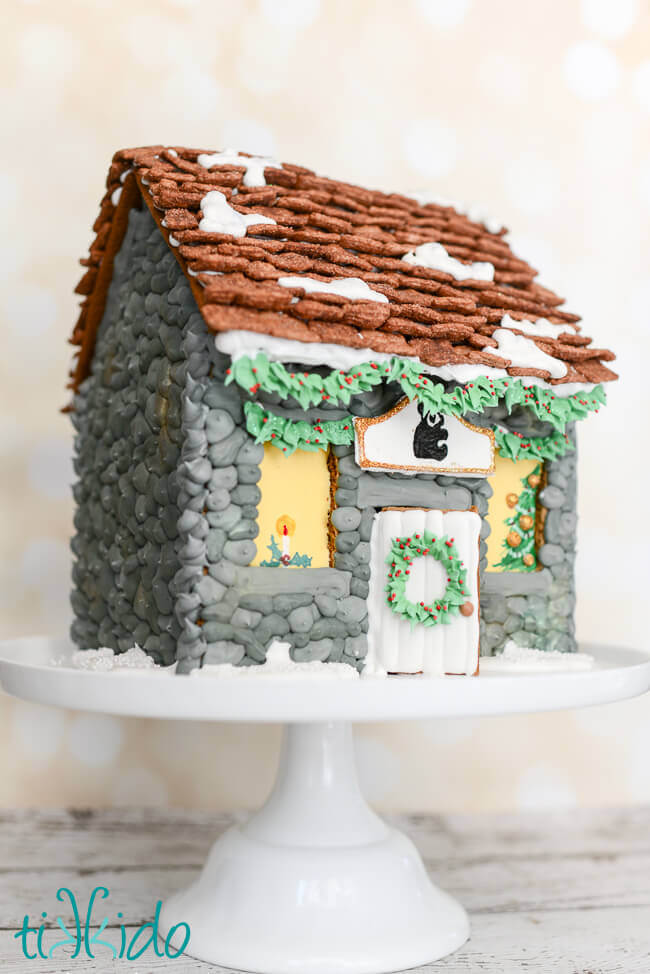
Gingerbread season has officially started in our house! Our first gingerbread decorating party of the year is this Friday (the second is Saturday!), and I've completed my first decorated gingerbread house: a very special gingerbread cottage for the PANDA Christmas party.
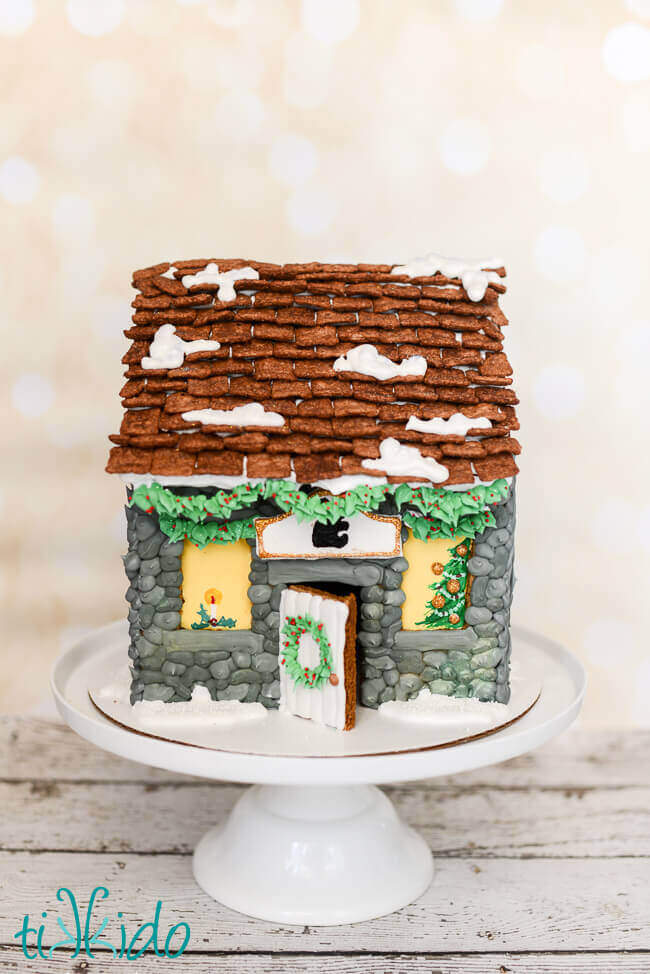
My friend Alex is the President of the board of PANDA (People Acting Now Discover Answers), a fabulous organization dedicated to finding treatments and cures for devastating childhood diseases, and I was thrilled to be able to make a little something special for their annual Christmas party.
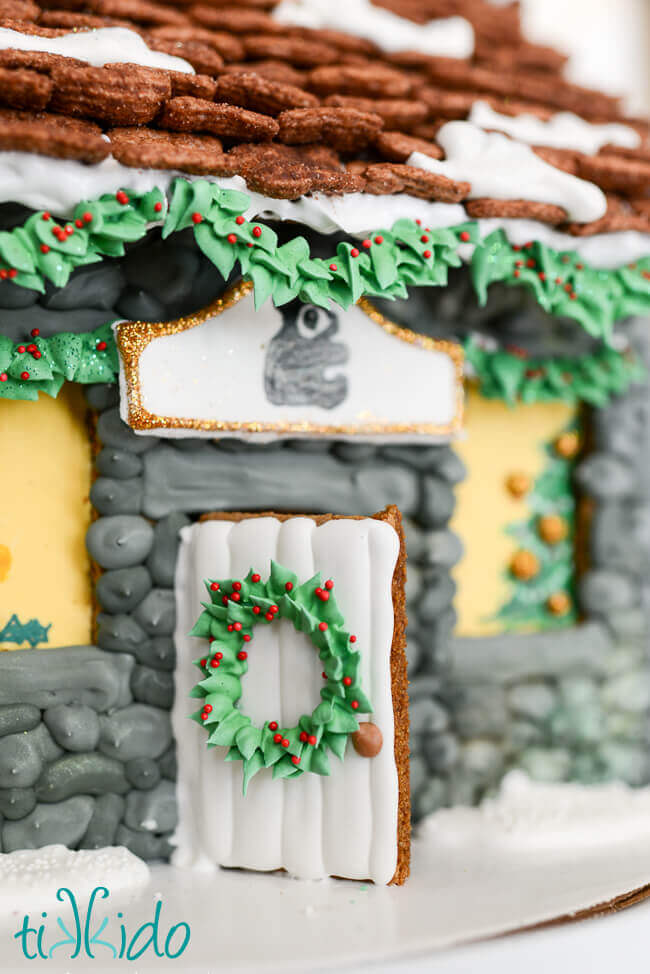
There's the PANDA logo hanging over the door! Making this little gingerbread stone cottage was actually way easier than you might think. The finished effect is fabulous, but the technique is very, very easy.
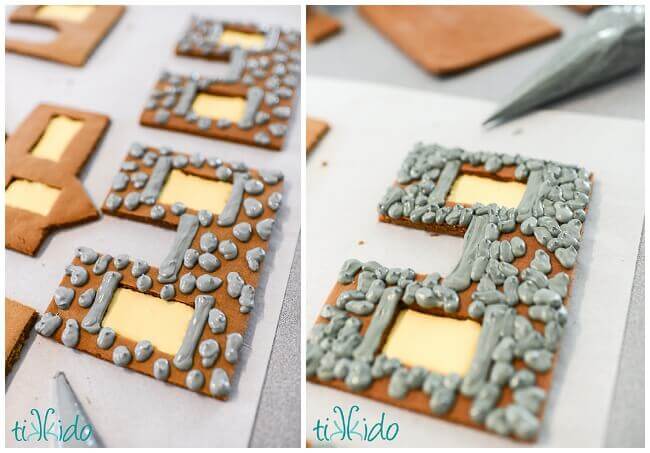
The key to making a royal icing stone facade on a gingerbread house is doing the decorating before you assemble the house.
Mix up a batch of royal icing (the delicious edible glue that holds gingerbread houses together). Color a small bit of the icing grey, and thin it slightly, so that the icing is a flooding consistancy. Then just start squirting little puddles on the walls of the gingerbread house!
Don't let the puddles touch at first, or they'll just grow together into one larger puddle. Instead, kind of polka dot the gingerbread wall, then wait about 10 minutes for the icing to begin to dry, and then go back and starting more puddles to fill the empty spaces. I usually do a wall like this in three or four stages.
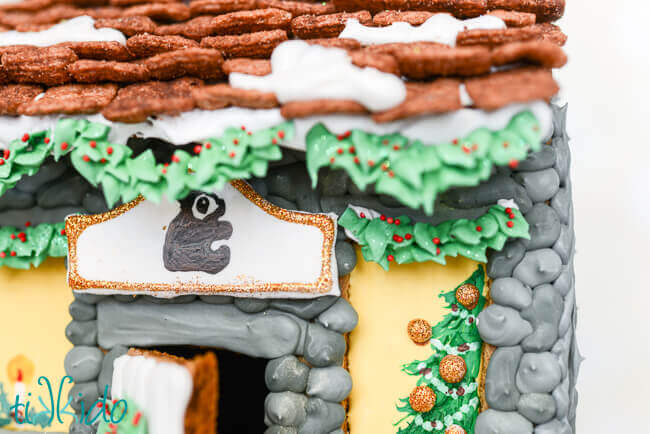
Did you run out of your grey icing? GOOD! You can never make two batches of icing exactly the same color, and that actually works to our advantage to make a stone gingerbread cottage. By mixing multiple batches of grey icing, you'll end up with a subtle, wonderful variation in hue. Just like you would in real life.
Thanks to PANDA for all the wonderful work you do!
Other Gingerbread House Tutorials You Might Like:





.png)