This rose apple pie can be your Thanksgiving dessert and a centerpiece all in one. Thinly sliced apples are shaped into rose shapes in this elegant apple pie.
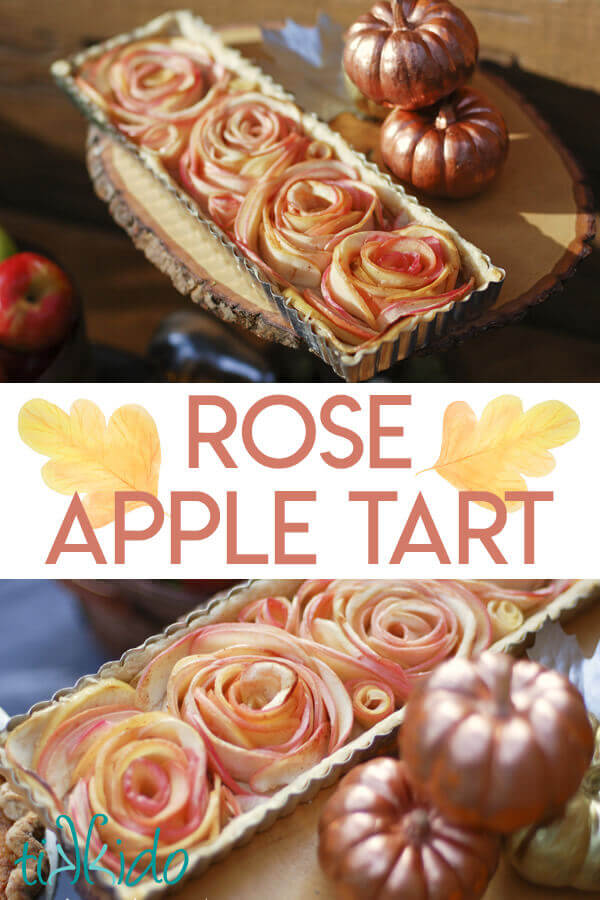
I love pie. Love it. LOVE it. For flavor, it can't be beat, in my opinion. No finer dessert around. But even I have to admit it has a more humble, rustic appearance than a fancy cake. Until, that is, I developed a Rose Apple Tart.
.jpg)
I was inspired by classic French apple tarts. Their thin layers of sliced apples placed in overlapping circles has always reminded me of roses. I just wanted to make that even more explicit for my version.
.jpg)
This was more of a technique than a recipe, really, but I'll list out the ingredients I used, too.
Rose Apple Pie Recipe
- Single pie crust recipe (here's my favorite pie crust)
- Four or five large apples, sliced thinly
- 1/3 cup sugar
- 1 t cinnamon
- 2 t lemon juice
- 2 T butter, melted
First thing's first: make your dough. Or buy it. I promise not to tell. Here's my favorite recipe for pie crusts (including the awesome Vodka trick). If you use this recipe, half it; it's written for a double crusted pie.
Press the dough into your tart pan and brush with melted butter. I used a long, rectangular tart pan, because that's what I have. But wouldn't these look absolutely darling as miniature individual sized tart pans? One rose per person?
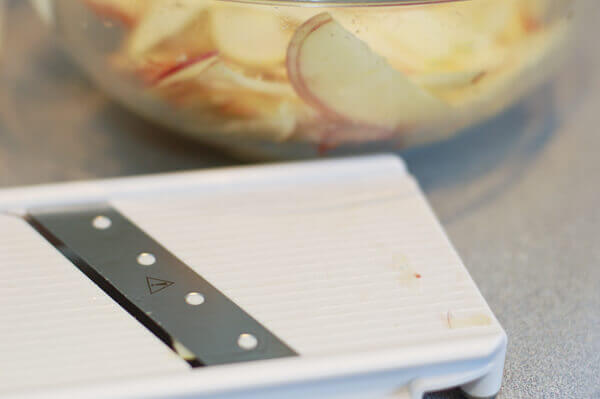
Next up, core and slice your apples. Don't peel them first! You want the rosy skin contrasting with the yellow flesh of the apple to make the rose effect more pronounced.
Use this technique for coring your apples. That's how my mom learned how to do it when she went back to school to become a pastry chef (after being a microbiologist, elementary school teacher, and marketing executive with an MBA at various points in her life). It's SO much easier than the old method with a paring knife, and the flat edge on the slices of apples is very helpful when forming the apple roses.
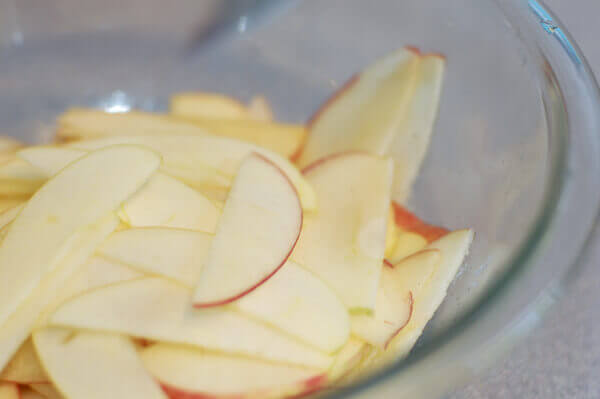
Slice your apples thinly. Really thinly. I'm talking paper thin. Use a mandoline if you have one. I'm not a big fan of single-use kitchen appliances, but sometimes somthing works so darn well, it's worth finding the space in the cabinets. A mandoline is one of those worthwhile tools.
Sprinkle apples with the sugar and cinnamon. Toss with the lemon juice and remaining melted butter.
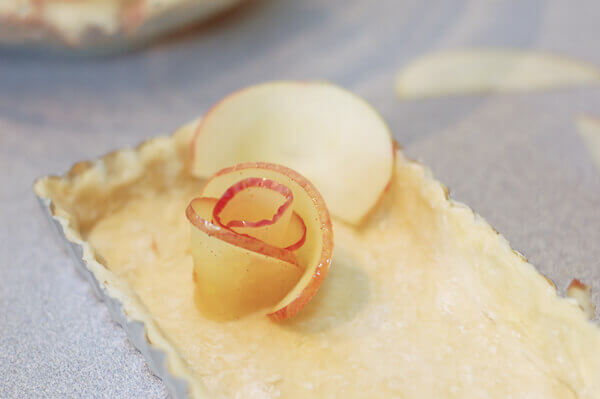
Now it's time to start forming the roses. If your apple slices are too crisp and won't bend enough, zap them in the microwave a bit. Just 10 seconds or so at a time, until they just start to become pliable.
To create the center of the rose, roll one apple slice in a tight coil. Wrap a second apple slice around the first one. Continue adding slices of apples around the perimeter, making sure to overlap each petal slightly to get a nice rose effect.
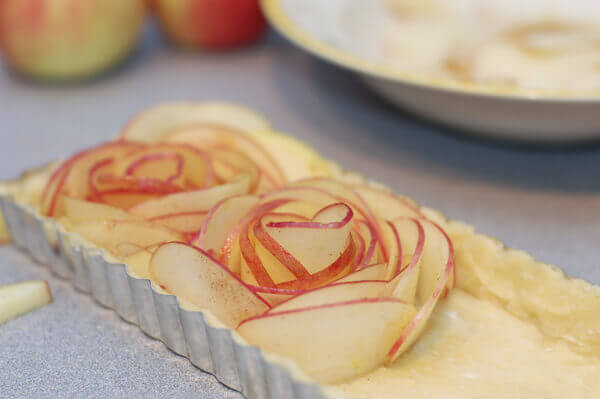
Do you see what I mean about using the coring technique I linked to above? If the petals didn't have one nice, flat edge, layering the rose petals would be a much trickier balancing act.
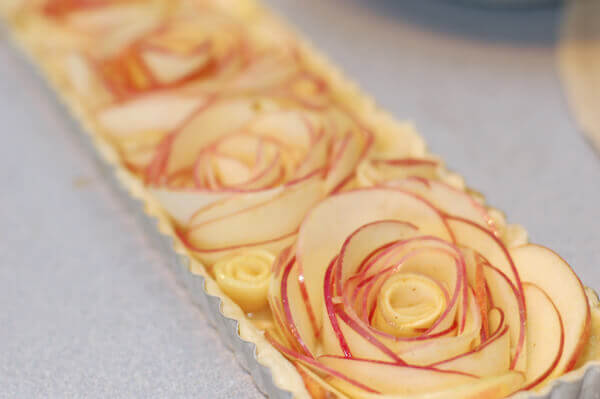
Fill in any gaps between the large roses with little rosebuds--just one or two apple slices coiled exactly like the centers of the large roses.
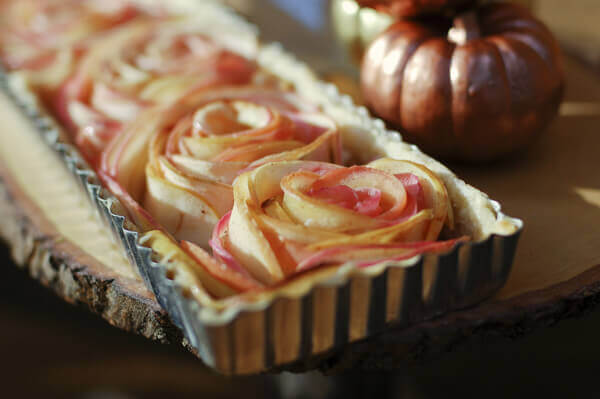
Bake just like you would a standard apple pie. 375 degrees, about 30 minutes, until the crust is cooked through and starts to turn golden.
This apple tart was delicious just as it was. But the next time I make it, I'm going to turn it into a caramel apple tart, by adding a slurry of brown sugar and melted butter to the bottom of the tart before layering in the apples. Thanksgiving can't come fast enough!





.png)