Learn how to make a tulle cape with this tutorial. I'm sharing instructions for drafting a simple cape pattern for any size, from toddler to adult.
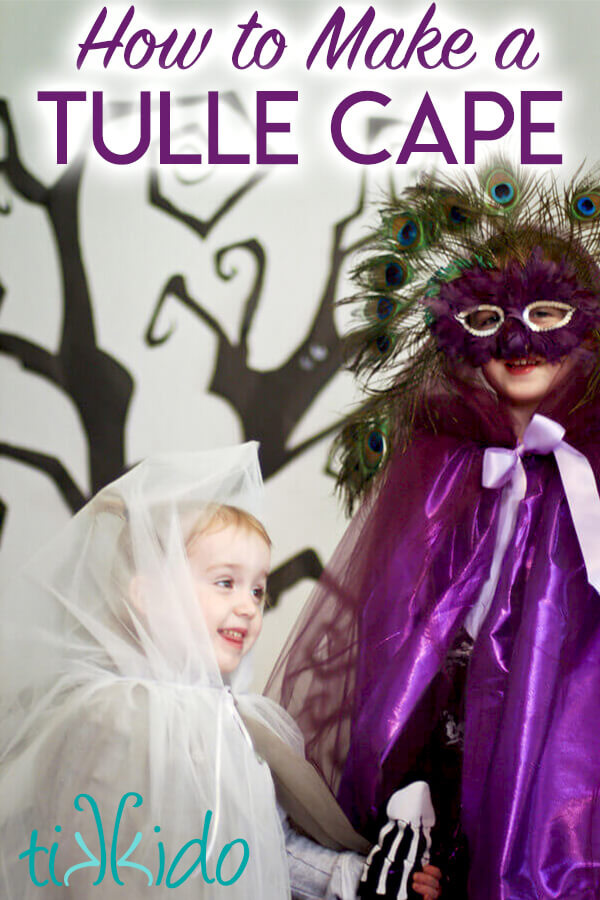
Every spooky masquerade calls for a mysterious costume.
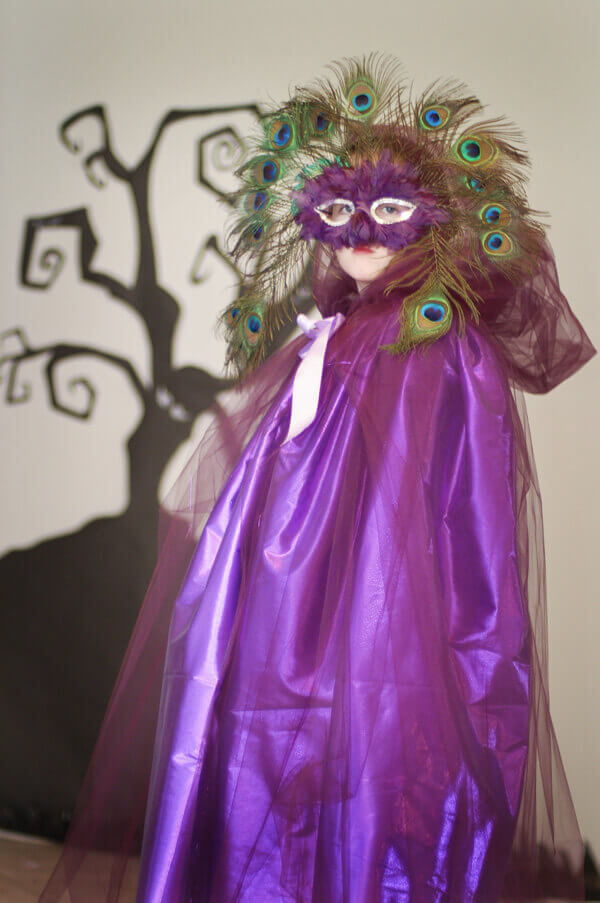
A flowing tulle cape was easy to throw together, and had just the kind of diaphanous, floating mystery I was after.
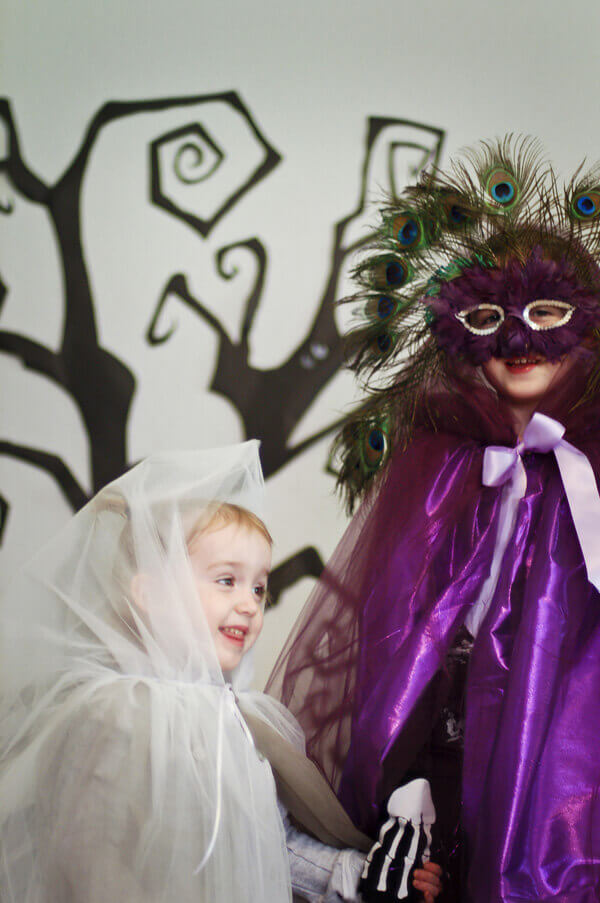
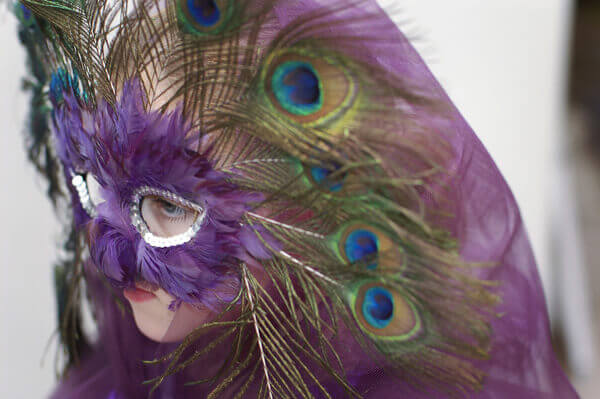
Done in purple, it paired perfectly with a Mardi Gras masquerade mask. In grey and white, it's the perfect ghost costume for a little kid (nothing to cover the face and lead them to claw it off after five seconds).

The amount of fabric you'll need to recreate this will obviously vary depending on how tall your costume-wearer is, so I'll just step you through the process I followed to make these costumes more generally, without specific measurements.
Materials for a DIY Tulle Cape
- ribbon (to make the tie around the neck)
- tulle (exact yardage will depend on how large the cape will be--see instructions below)
- matching inexpensive fabric for the under-layer of the cape
I originally conceived of doing this entirely in tulle, but then I found some lovely, super inexpensive grey and purple fabrics at Joann Fabrics, and realized that making an under-layer would cut down considerably on the yardage of tulle I'd need.
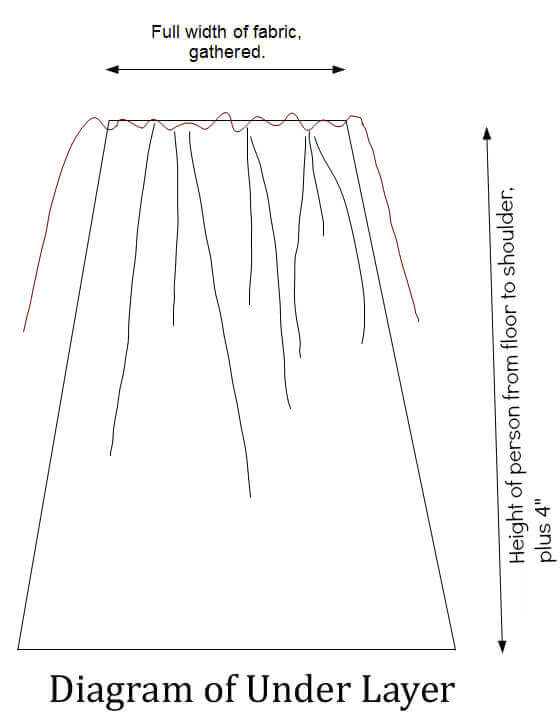
I measured my kid from floor to shoulder, and added 4" to that measurement. Add a little extra if you'd like the fabric to puddle and drag on the floor a bit. Gather along one edge of the fabric, using the full width (no patterns, no cutting, no hemming!).
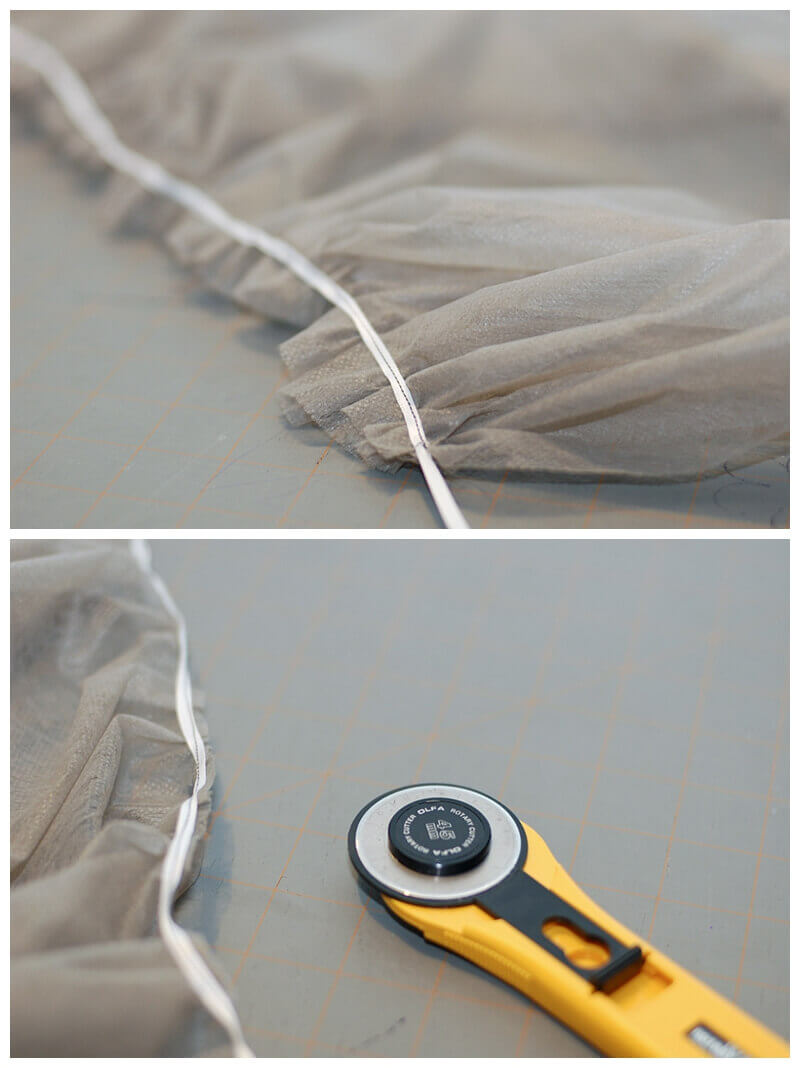
Sew the underlayer to a long piece of ribbon (this will be the tie around the neck) and trim off any excess.
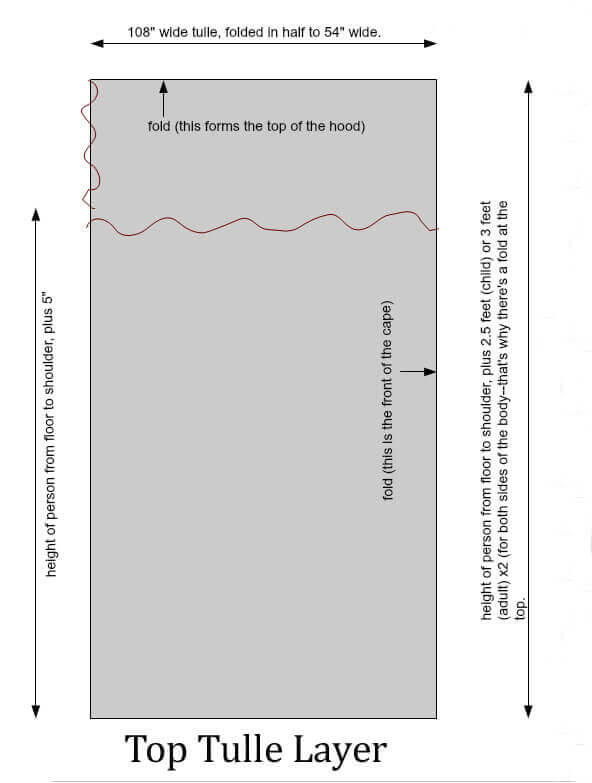
The top layer made of tulle is a little more complicated to explain. Basically, you want a length of tulle twice as tall as the costume wearer, plus a little extra (I liked a wide, gaping hood rather than a tight one).
Fold your length of tulle in half. The fold will be the top of the hood.
Take that floor to shoulder measurement from making the under-layer, and add an extra inch or two (you want the top layer of tulle to be slightly longer than the bottom layer). Measure from the bottom edge (the not-folded edge), and sew a line above where that measurement ends to the top of the fold. This will be the back of the hood, and is represented by the oh-so-graceful vertical squiggly line I drew in the diagram above.
Turn the fabric inside out, so the seam will be on the inside.
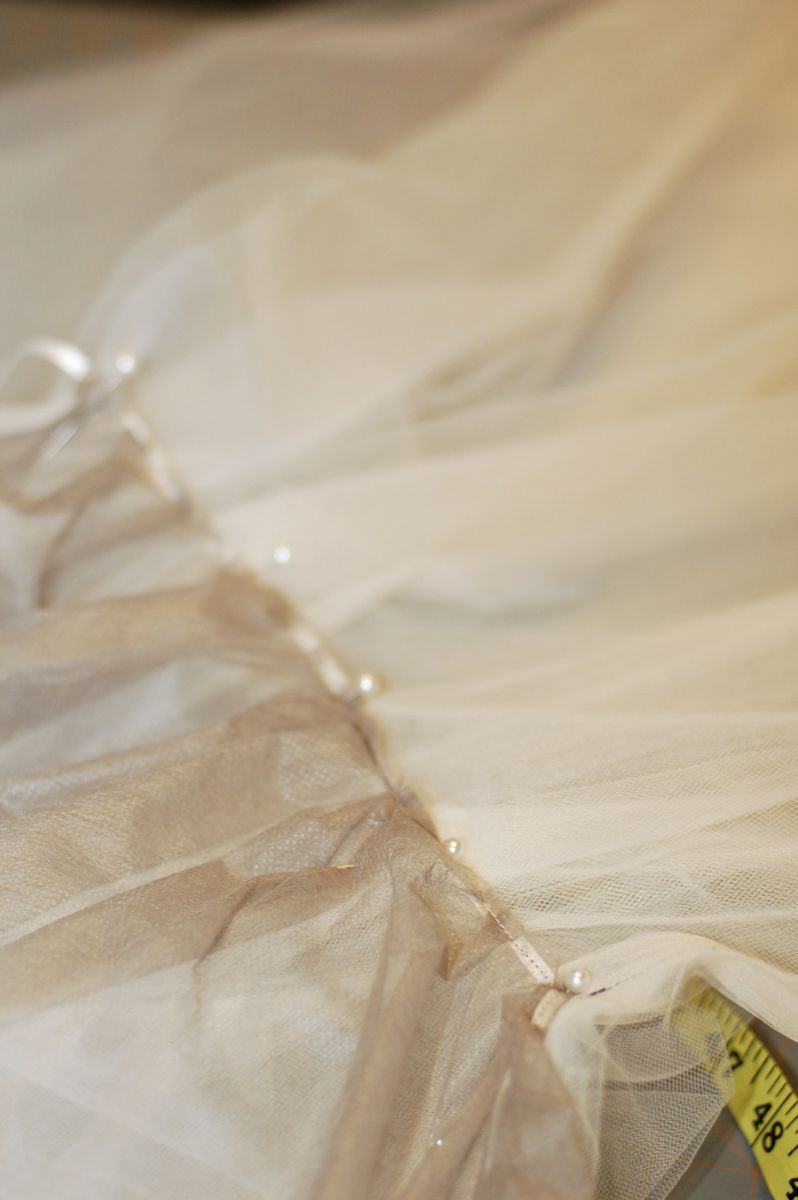
Now pin your tulle layer to the under-layer, gathering and securing with pins before you sew so the fabric will be evenly distributed. Sew to the ribbon.
Gathering the tulle to the ribbon naturally creates a flowing, ghostly hood shape.

With a simple costume like this, it's easy to dress kids warmly beneath the cape for chilly Halloween nights. Here in Phoenix, that's not such an issue, but I vividly remember some very cold Halloweens from my own childhood in Ohio!
.jpg)
Pair with a mask or a bit of face paint, and your little ghouls will be ready to spook the town.





.png)