Happy pi day! Any excuse to eat pie is a good one, in my opinion. What better way to celebrate than by sharing this cool and delicious, no-bake, raspberry cream pie recipe.
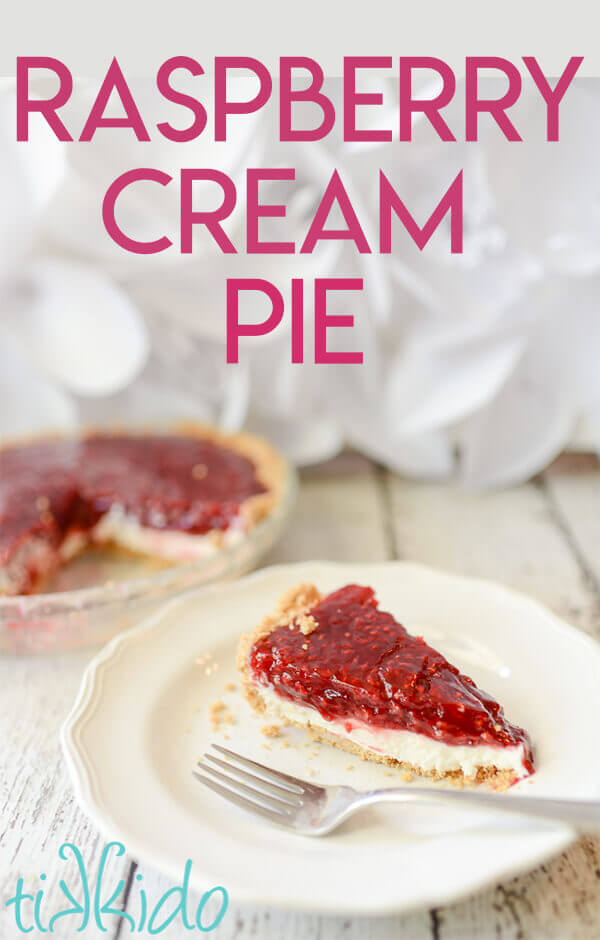
It also has a graham cracker crust, and oh boy, do I LOVE those. My youngest daughter actually did most of the cooking for this raspberry pie, as part of her science fair project this year. Her question was, "I built a computer powered by a Raspberry Pi device; can I measure electricity generated by a real raspberry pie?" Pie based science! I'm pretty proud of my parenting that lead to this moment. ;-)
If strawberries are more your thing, try this fabulous strawberries and cream pie recipe.
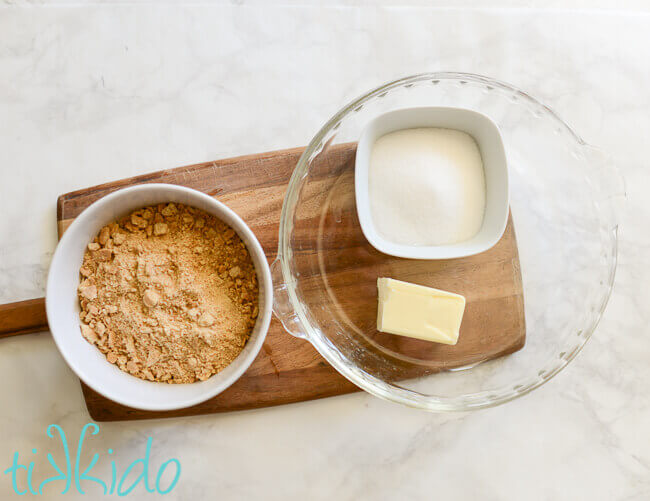
Graham Cracker Crust Recipe:
- 2 cups graham cracker crumbs
- 1/3 cup granulated sugar
- 6 Tablespoons butter, melted
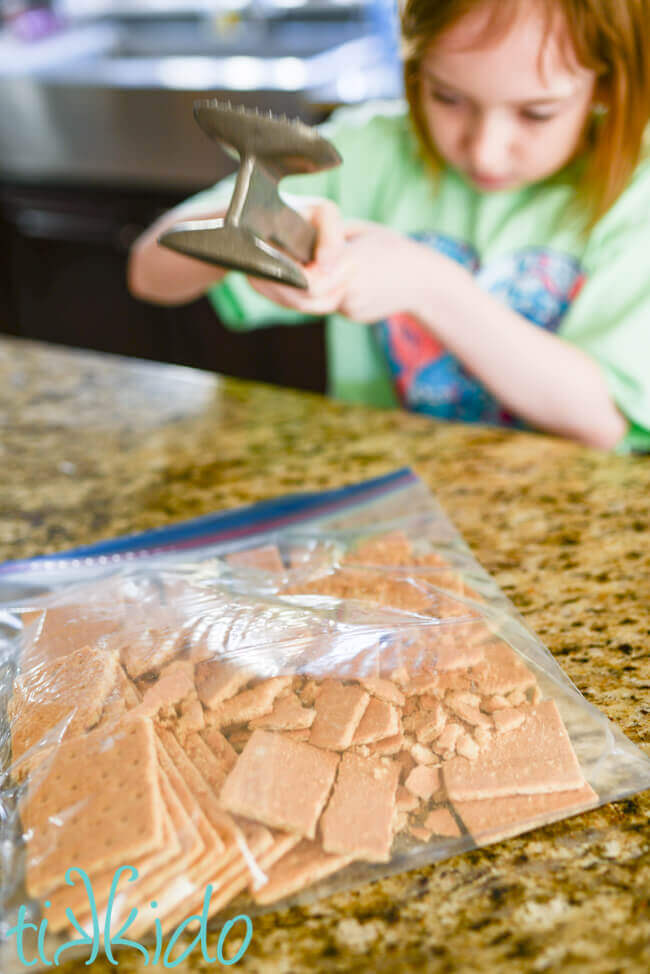
Niamh crushed the graham crackers and mixed together the crust ingredients.
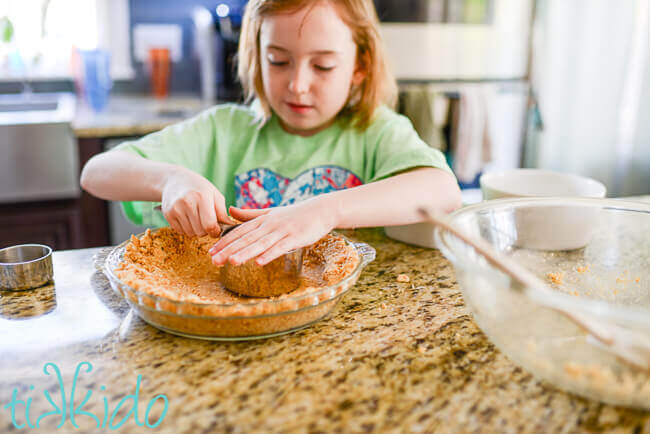
She pressed it into a deep pie plate, and baked at 350 degrees Fahrenheit for 10 minutes. Let the pie crust cool completely.
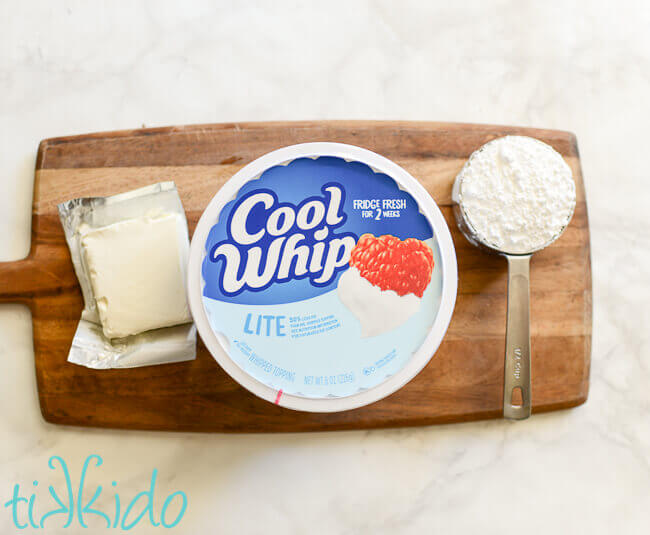
Cream Layer Ingredients for the Raspberry Cream Pie:
- 1 8 ounce container of Cool Whip
- 4 ounces of cream cheese, softened
- 1/2 cup powdered sugar
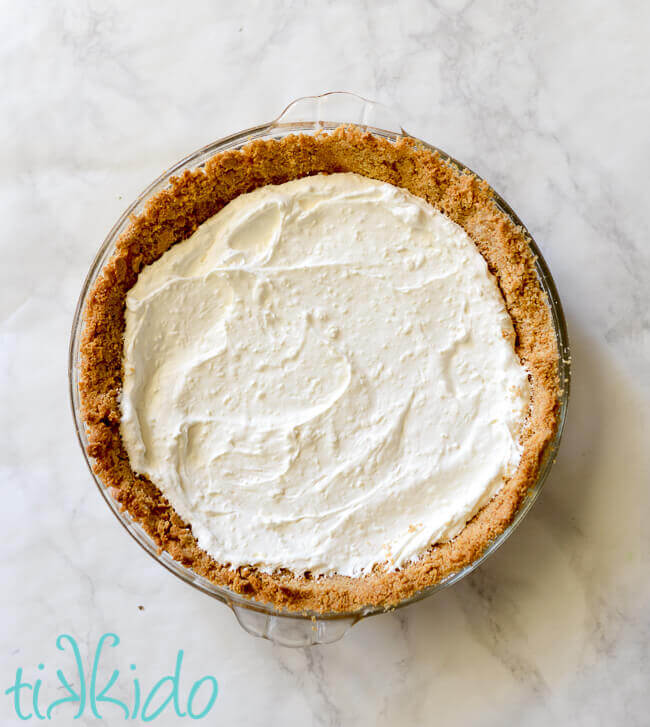
Beat the cream cheese layer ingredients together, and spread in the cooled pie crust.
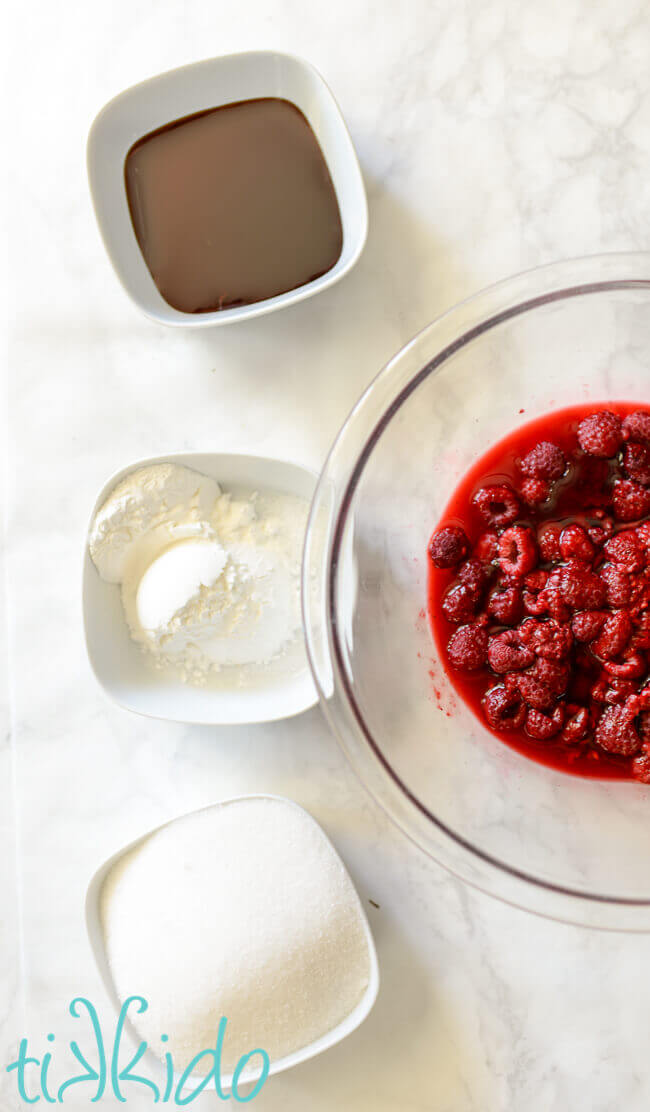
Raspberry Layer Ingredients for Raspberry Cream Pie Recipe:
- 6 Tablespoons cornstarch
- 1 12 ounce bag of frozen raspberries, thawed (don't discard the juice)
- 1 1/3 cup granulated sugar (I'd reduce to 1/2 cup next time)
- 1/4 cup corn syrup
- 1 1/2 cups water
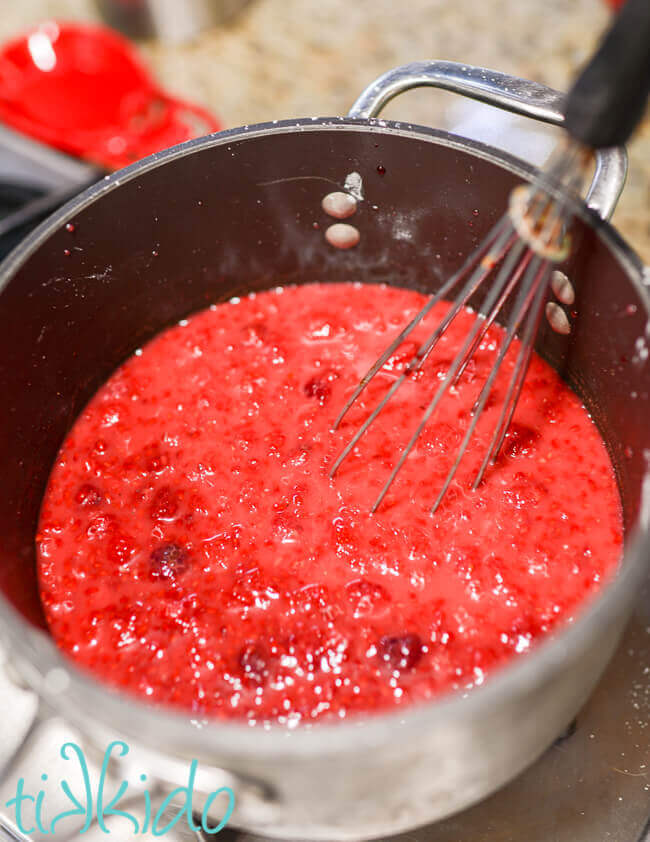
Combine raspberry layer ingredients together in a saucepan, and cook over medium heat until the mixture turns from opaque to more translucent and thickens. This takes about eight or so minutes. Stir with a whisk constantly during this process, and be sure not to let the mixture boil. Slow and steady is what this recipe needs.
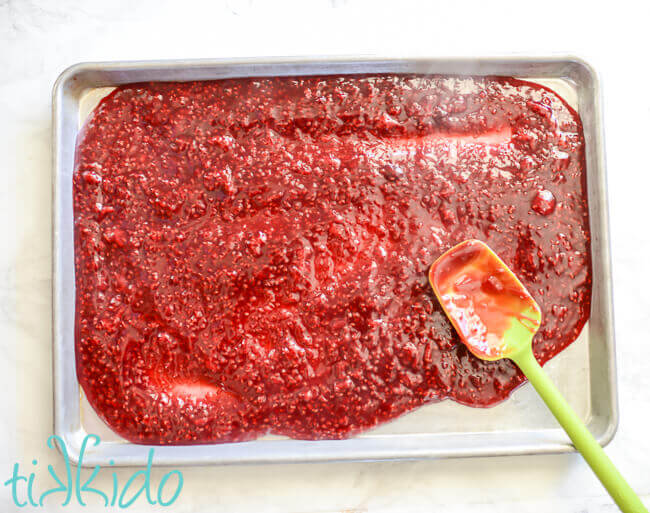
Let the thickened raspberry mixture cool completely. I spread it in a thin layer on a sheet pan and stuck it in the fridge to help it cool down more quickly.
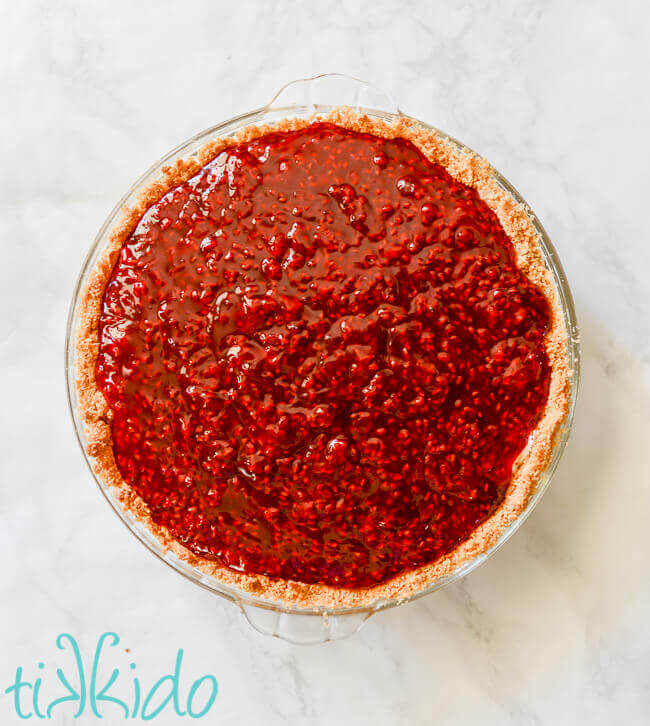
Top the pie with the chilled raspberry mixture, and refrigerate the entire pie for at least two hours before serving.
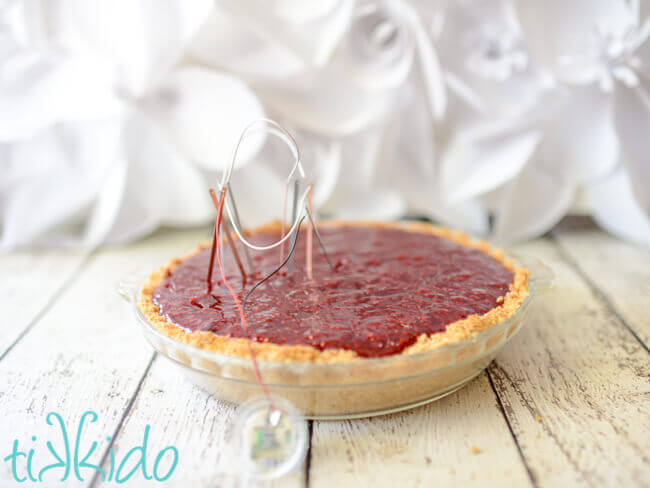
We did manage to get a tiny bit of measurable energy out of the Raspberry pie, in case you were wondering. Not enough to light up the LED lightbulb, but enough to produce a chirp from the sound emitter.
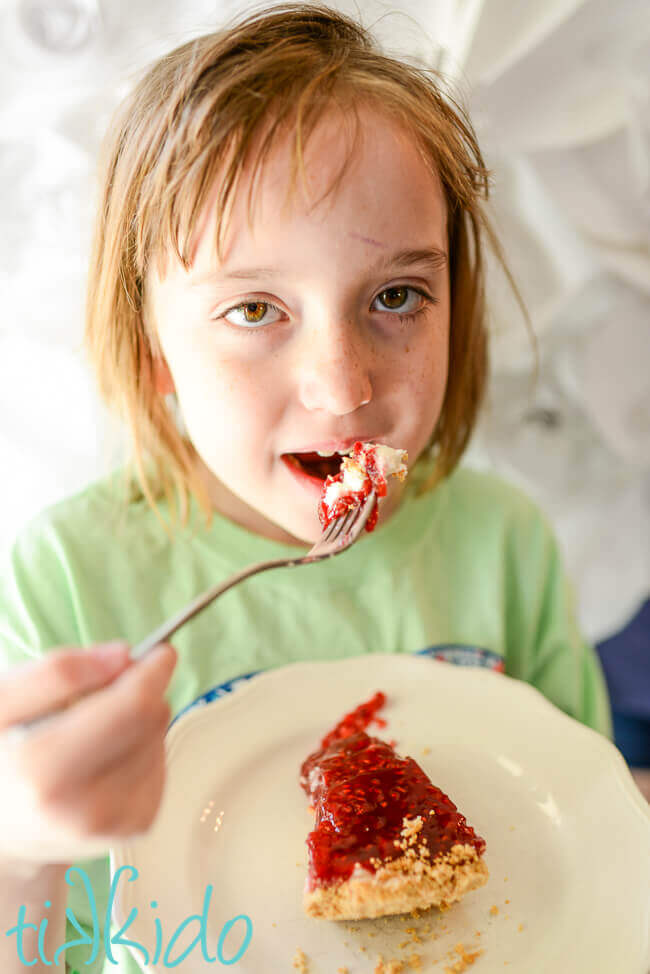
Plus, we got to eat pie at the end! It was very tasty, but too sweet for my tastes. I wanted more bright raspberry flavor. The next time I make this pie, I'm going to reduce the sugar to 1/2 a cup in the raspberry layer. I'm also going to borrow a technique from my mom's AMAZING strawberry ice cream sauce topping, and add some fresh berries just about a minute from the end of the cook time. That should add more of the bright berry flavor I'm craving!
Want a free, printable, one page version of this recipe? Here you go: Printable Raspberry Cream Pie Recipe



.png)