Make a Mr. Tumnus costume for Halloween or a play with this fast and easy tutorial. No patterns and very little sewing skills are needed to make this faun costume.
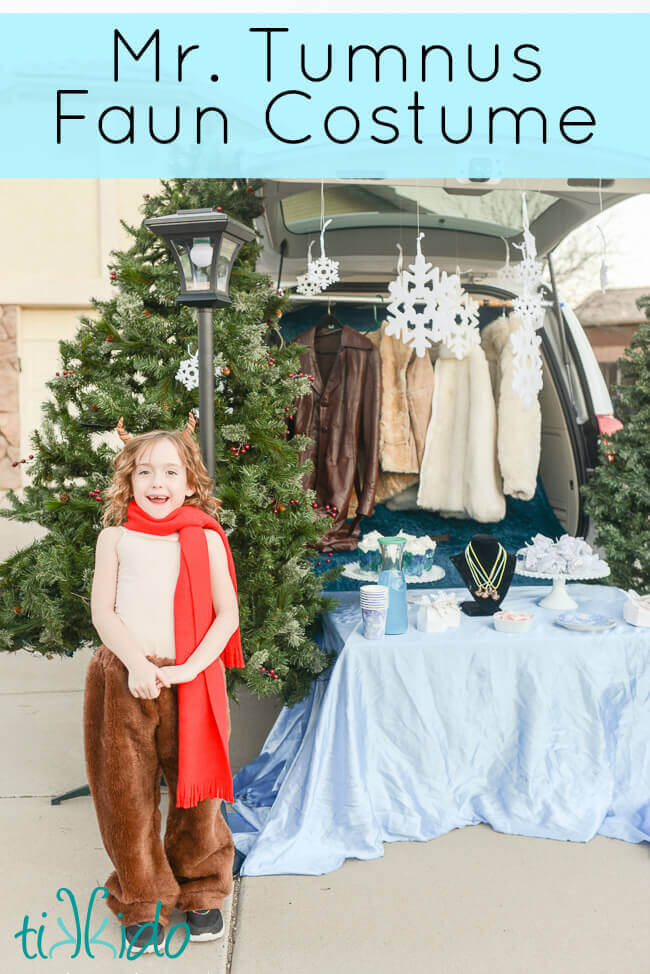
Our Trunk or Treat theme this year was The Lion, the Witch, and the Wardrobe (a childhood favorite of mine, and now of my daughters, too).
Of course I had to have a Mr. Tumnus at our Trunk or Treat event!

The costume comes together pretty easily--it's just horns, a nude-colored shirt, a red scarf, and furry pants.
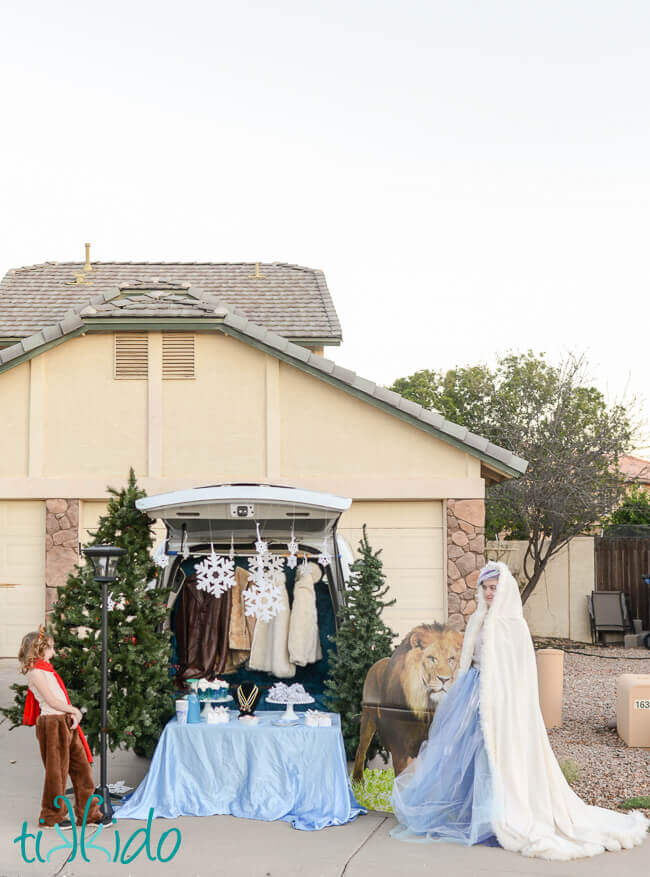
My Mr. Tumnus and Jadis, the White Witch face off at the Lion, the Witch, and the Wardrobe Trunk or Treat!
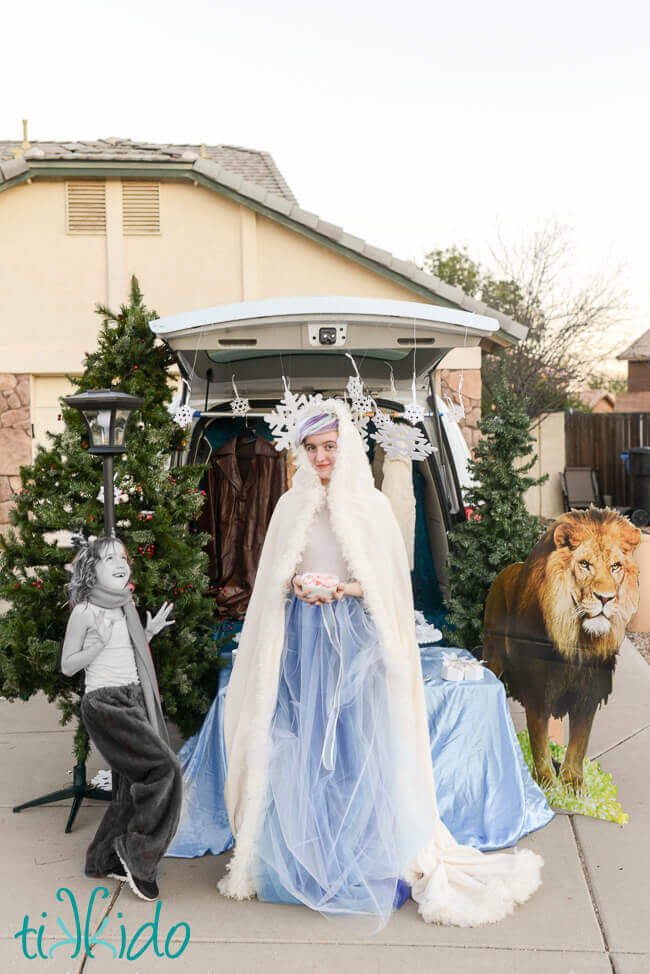
Niamh wanted me to turn her grey in this photo so all of you know that she has been turned to stone. My little art director.
Faun Horns Headband for the Mr. Tumnus Costume:

Any Mr. Tumnus has to have horns, of course. Ours were made out of polymer clay.
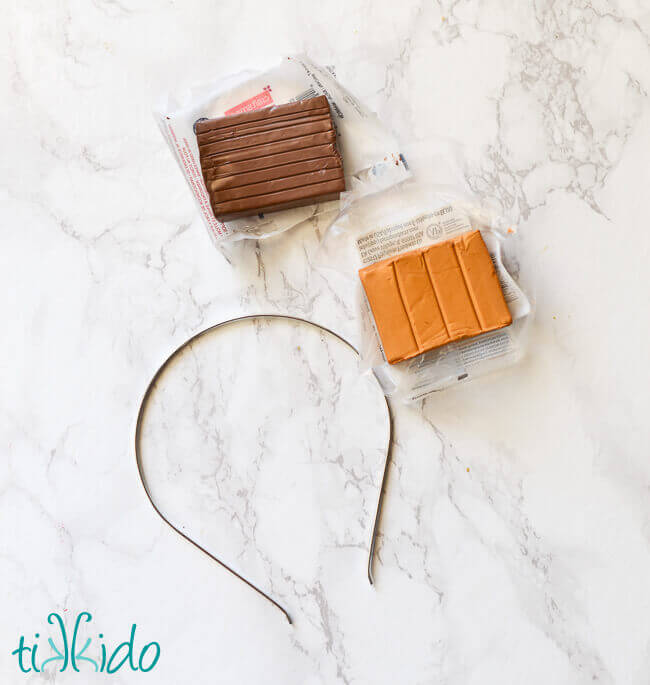
Faun Horns:
- plain metal headband
- polymer clay (like Fimo, or Sculpey)
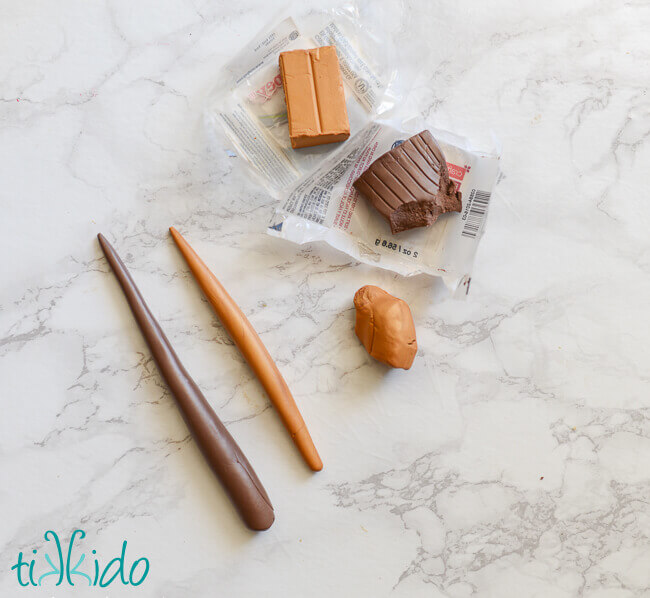
Knead the polymer clay together until it is plyable and easy to mold. Roll each color (I chose two colors, but you could just use one color, too) into a rope with one tapered end.
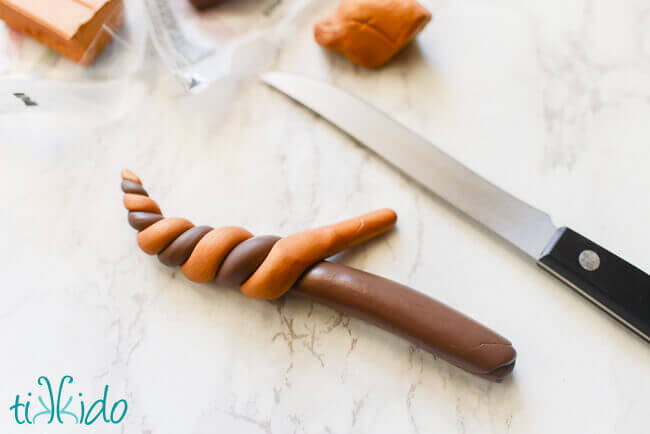
Twist the ropes of clay together.
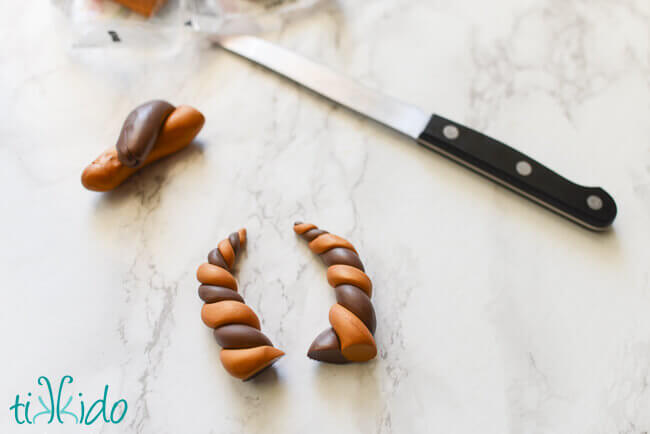
Use a knife to cut off excess material. Make a second horn to match the first.
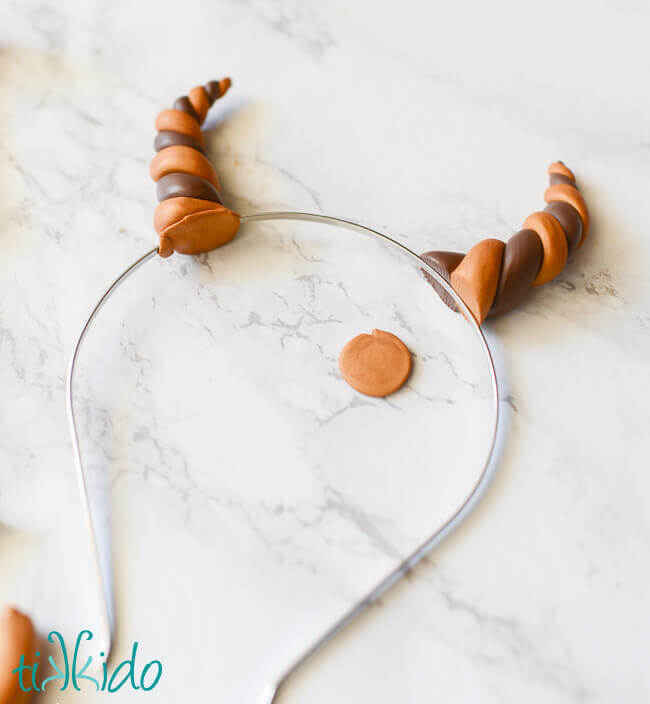
Press the metal headband into the base of the horn to make a channel. Sandwich the metal headband between the horn and a small disk of more clay.
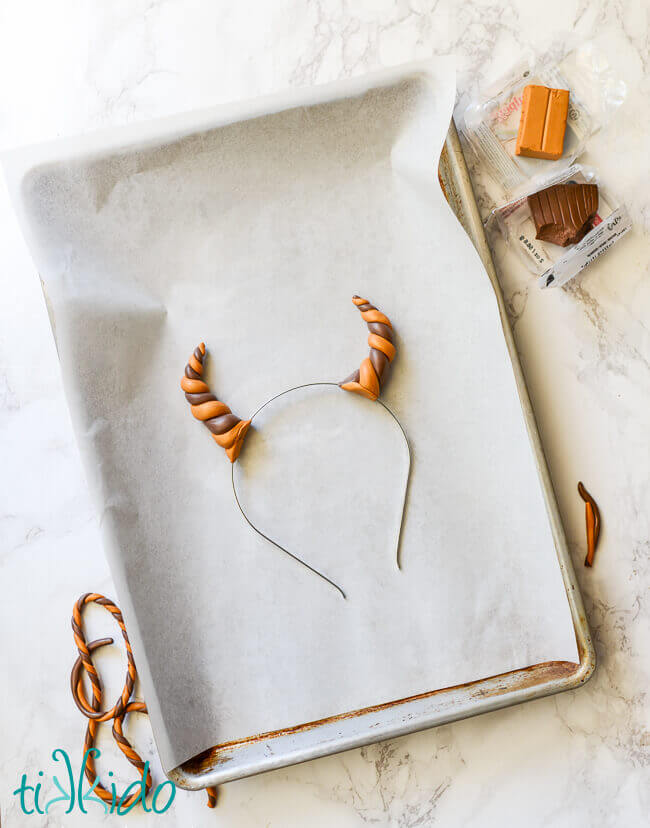
Bake according to the instructions on the package. After the headband is cool, the horns might want to slip a bit (one of mine did), but I easily fixed that by anchoring it in place with a bit of hot glue.
Not feeling crafty? You can totally buy good looking horns for just a few dollars. (Buy here)
Faun Costume Pants for a Mr. Tumnus Costume
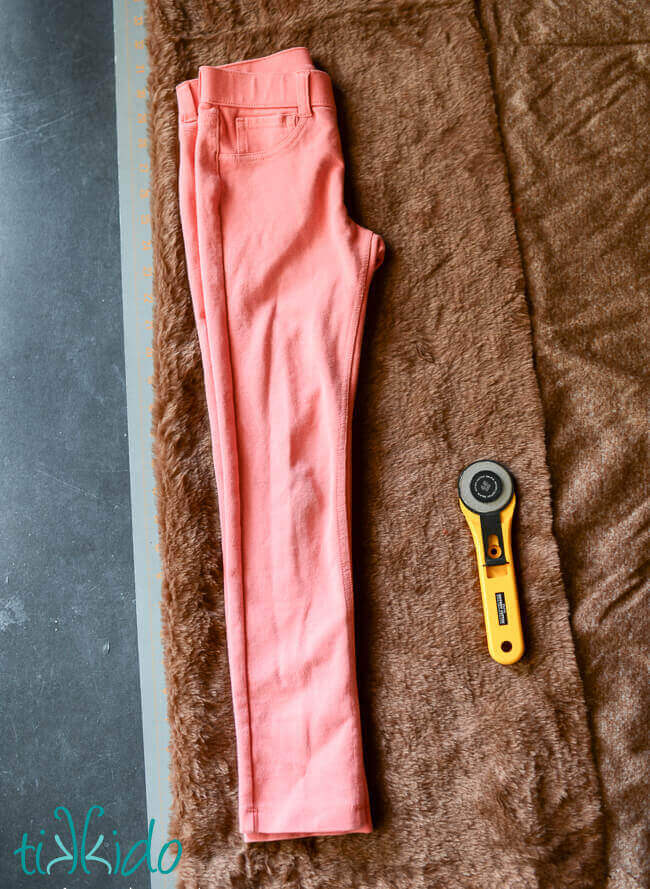
I didn't want to go buy an actual pattern for a simple cosume like this, so I improvised one using a pair of my daughter's pants.
Fold the fur fabric over, and place a folded pair of the costume-wearer's pants on top, with the outside edge of the pants lining up with the folded edge of the fur fabric.
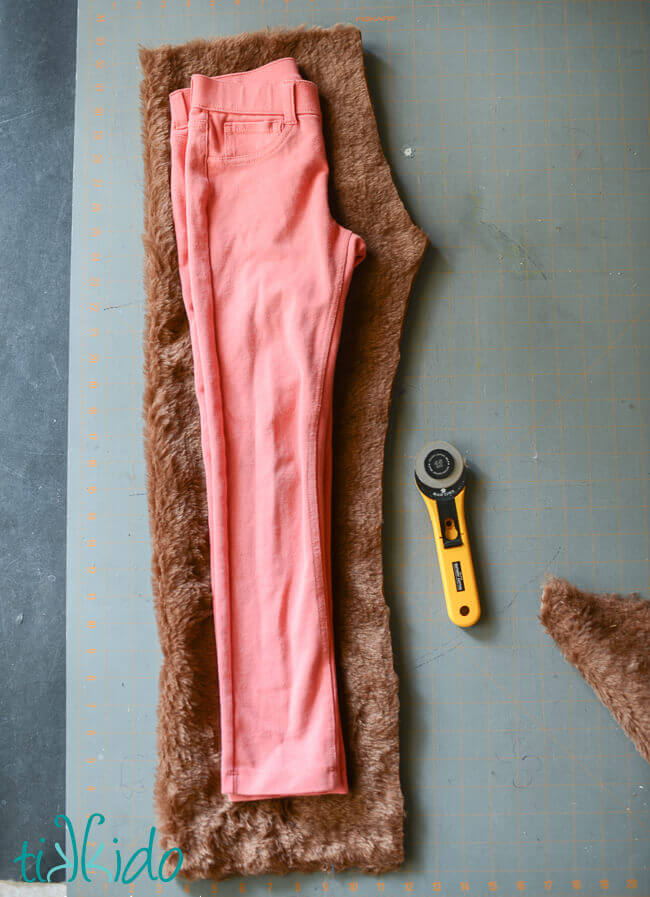
Cut one pant leg out, using the purchased pants as your guide. I cut generously not only for the seam allowance, but because I wanted the final product to be baggy and loose fitting.
A rotary cutter (buy here) and self-healing cutting mat (buy here) make this step easy.
Do it again for the other leg.
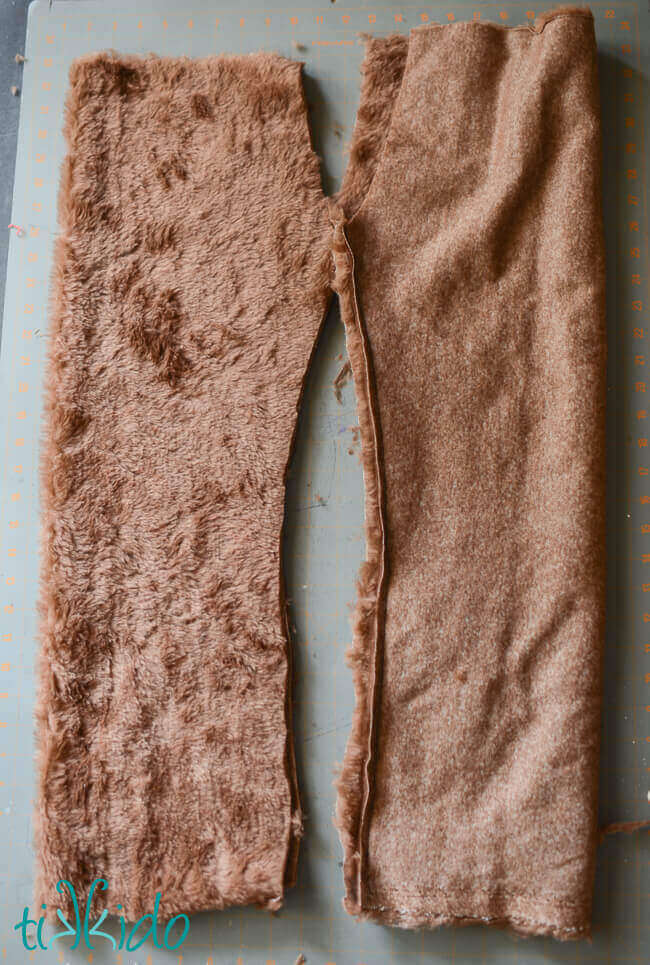
Turn each leg inside out (right side of the fabric facing itself), and sew a straight seam up the inside of the leg.
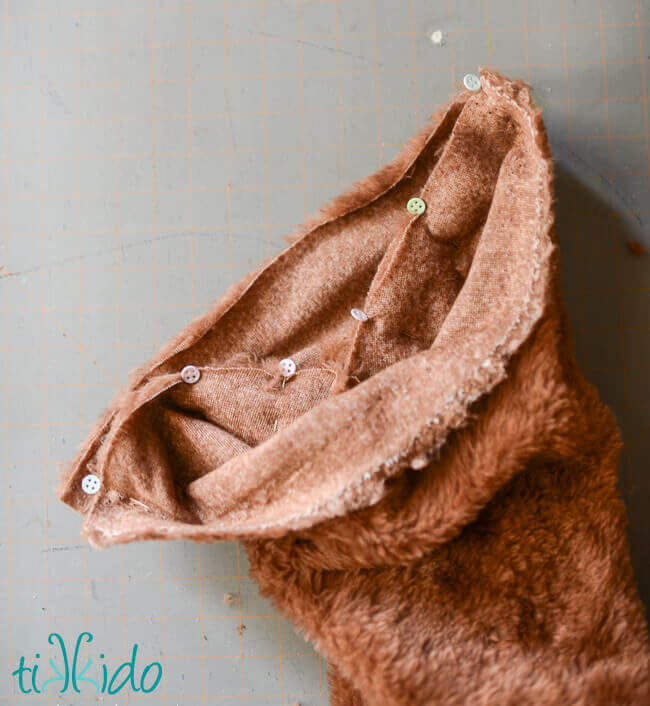
Turn the legs rightside out, and pin together the crotch of the pants, and sew together.
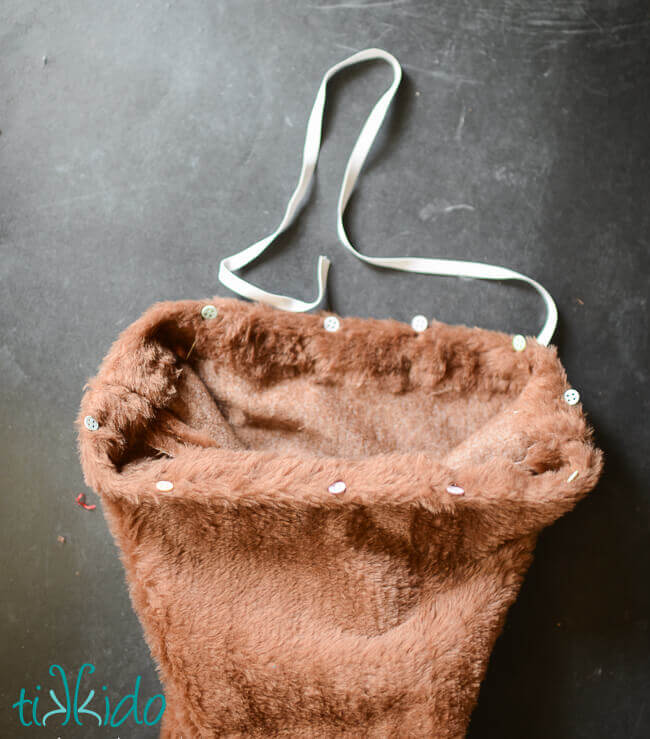
Fold over the top of the pants to make a pocket, and sew the pocket in place, leaving a tiny opening for the elastic.
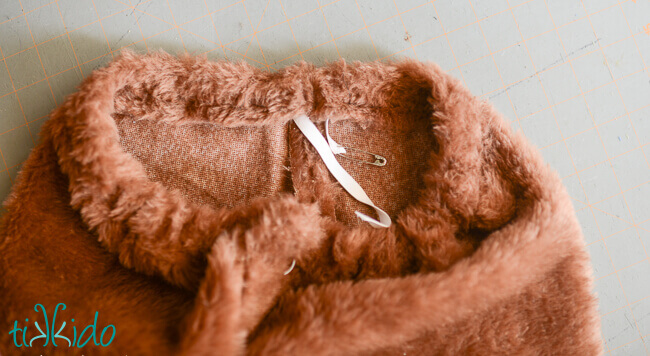
Thread the elastic through the pocket at the waist of the pants, and sew the elastic together so it's tight enough to hold the pants up.
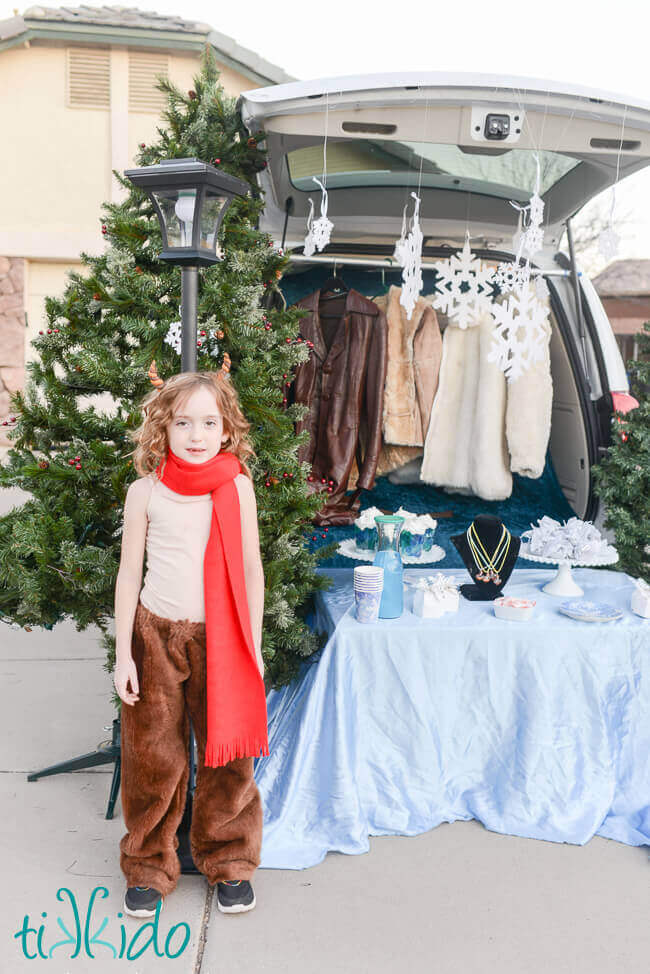
I didn't even bother to hem the bottoms of the pants for a simple costume like this. I'm all about the good-enough level of crafting.
You can also buy furry pants (like these ones), but I definitely saved money by making my own.
No Sew Fleece Scarf
Mr. Tumnus's iconic red scarf is the perfect finishing touch for the Mr. Tumnus costume.
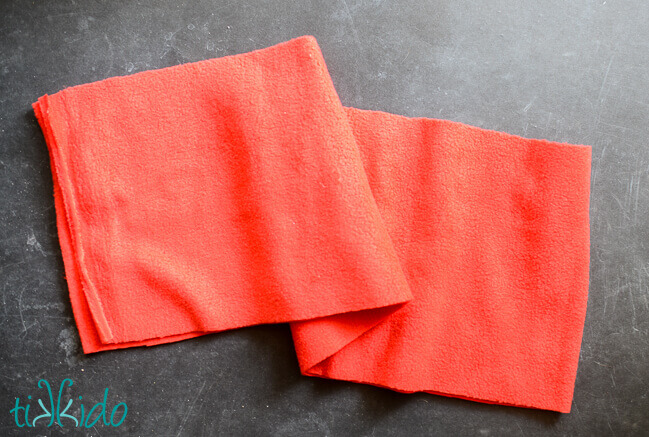
Purchase one quarter yard of fleece fabric for each scarf.
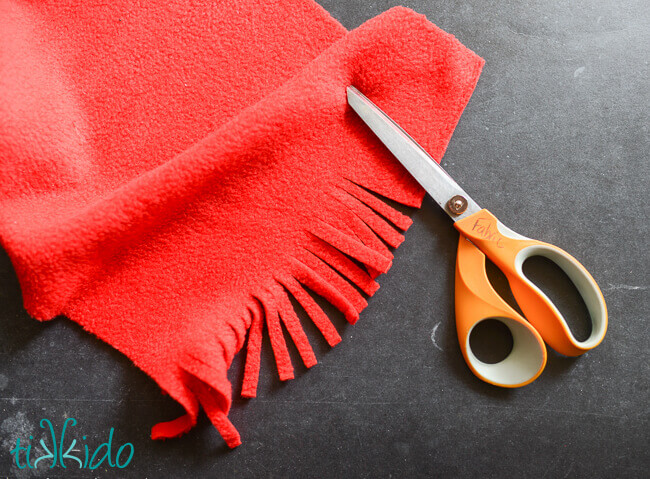
Use sharp scissors to cut a fringe in the ends. And that's it. Fleece doesn't fray, so you don't need to sew or hem anything. A few snips of the scissors and you have yourself a scarf.
Or, you know, you can always just buy a red scarf.

We are still having highs in the 90s here in Phoenix, so I just got a skin-colored tank top for my daughter to wear with the costume, but in colder climates, a skin-tone leotard or turtleneck would probably be wise.
We're all set for the literature day parade (what my daughters' school does instead of dressing up for Halloween) this year! I personally think this costume is pretty epic, but I'm not sure anything will ever beat the Peter Pan's Escaped Shadow costume I made for my eldest daughter's literature day parade a few years ago.



.png)