Some sugar-cookie decorators just blow me away. Sugarbelle. SweetAmbs. Julia Usher. And SO many more. Whenever I get all proud of myself for my cookies, I, without fail, will stumble upon someone's AMAZING cookie creation and I realize just where I am on the cookie totem pole.
.JPG)
I may be awfully low on that pole, but you know, I'm totally happy with where I am. I'm all about the "Good enough!" and not stressing about the details. I look at the plate of starfish cookies above, and sure, I can totally see where I made oodles of mistakes that one of the cookie greats just wouldn't. But I still like my cookies! I still think they're charming, and I'm still happy I made them myself, because having baked and decorated sugar cookies, I understand how much work goes in to them, and let me tell you, the bakers who sell them deserve at least twice what they get paid, even if it's a price that made you gasp.
.JPG)
So despite the fact that there are tons of far better cookie bakers and decorators out there, I'm going to share my tutorial for making these sweet starfish sugar cookies. I want to show all of you that I'm proud of what I can do, and not ashamed of how much I have yet to learn; good enough is good enough, so don't be intimidated to try!
Starfish Sugar Cookies Materials and Equipment:
- one batch of sugar cookie dough (here's my favorite recipe)
- one batch royal icing
- starfish cookie cutter
- food coloring
- disposable icing bags
- round icing tips (desirable, but optional)
- PME luster spray
.JPG)
Mix up your favorite sugar cookie recipe, cut out starfish shapes, and bake them up. Once the cookies have cooled completely, it's time to decorate.
.JPG)
Thin the royal icing to a nice flooding consistency. I'm still working on just that means to me. The brilliant cookiers linked above all have fabulous tutorials and I'd trust their advice above mine, since I still haven't figured it all out. But the basics come down to: thin the icing enough so that it will spread out and settle into a nice, flat layer over the surface of the cookie, but not so thin that it'll run right over the edge of the cookie. It helps to start by outlining the cookie to create a bit of a dam.
(1).JPG)
Cover the tip of your icing bag with a clean, damp dishcloth, so the icing won't dry and clog the opening of the icing tip. Let the base coat of the starfish dry for about an hour. It won't be dried through completely, but it'll be dry enough to support the circles of royal icing piped on the top to create that distinctive starfish design and texture.
I'm convinced that, if you're not the best cookie decorator, texture and dimension is absolutely key to attractive cookies. As with so many other things, it's the "simple" designs that are actually harder to make than busy, complicated ones. Adding a few tiny dots of icing to these cookies turned them from kind of wonky and wrong-looking blobs that looked kind of like stars into STARFISH. Immediately recognizable. Attractive. Enticing.
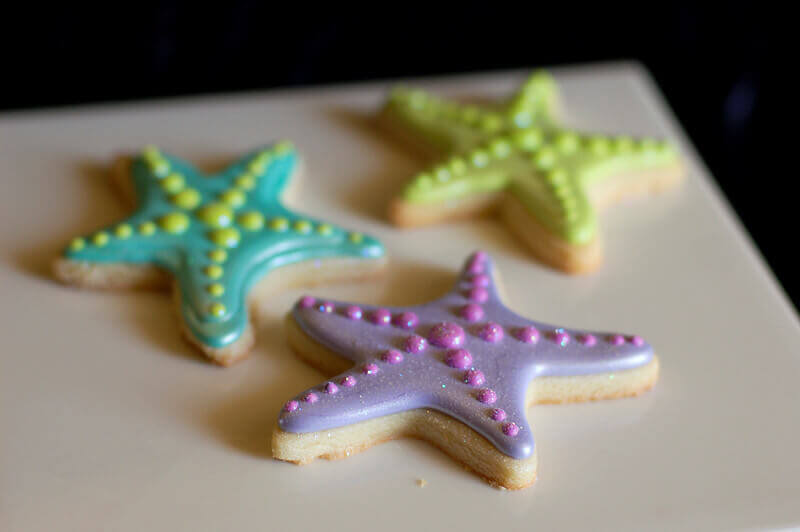
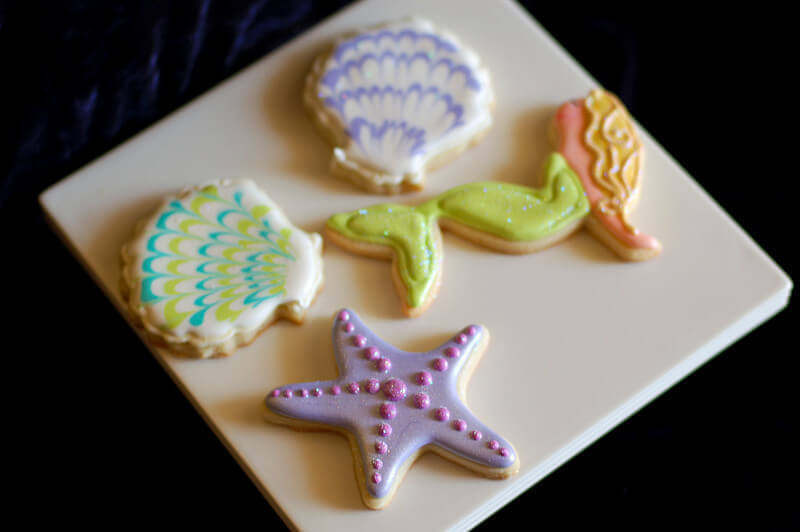
The starfish look great in tone-on-tone neutrals, but also with brighter, contrasting, fun colors. I made these for a friend's daughter's birthday a while ago. Add a little luster dust spray or a sprinkle of disco dust, and WOW.
So don't be afraid to give cookie decorating a try. Remember that cookies with layers and dimension tend to be easier/prettier for beginners than flat cookies. And when in doubt, add sparkle or sprinkles. That always helps (as in so many areas of life). Happy baking!

.png)