Apple cider caramels are my favorite homeamde candy to make in the fall! This apple cider caramels recipe does require use of a candy thermometer, but it's not difficult. And these homemade caramels, so full of fall flavor, are definitely worth the effort.

Caramel and apples are two flavors that go so well together, and just taste like fall to me. So when we decided that we'd make fall sweets for the Taste Creations Blog Hop this month, I immediately knew that I wanted to share this amazing recipe for apple cider caramels.
I originally came across an apple cider caramel recipe at Our Best Bites, and my recipe is largely the same. I've just tweaked a couple ingredients and techniques to my preferences.

Apple Cider Caramels Recipe:
- 2 cups apple cider, reduced
- 2/3 cup heavy cream
- 1/3 cup heavy cream plus enough water to reach the 1/2 cup line
- 1/2 teaspoon salt
- 1 teaspoon cinnamon
- 1/4 teaspoon ground nutmeg (fresh is always best!)
- 1/4 teaspoon allspice
- 1 1/2 cups sugar
- 1/3 cup light corn syrup
- 1/2 cup butter, cut into pieces
- 1 teaspoon vanilla bean paste (or just regular vanilla)
- 1 teaspoon apple cider vinegar

The first step is to reduce the volume of the apple cider. Place the apple cider in a small saucepan, and boil until it reduces to 1/3 of a cup in volume. Combine reduced cider with the 2/3 cup of cream, and mix in the spices and salt. Set aside.
Substitute for Reduced Apple Cider:
- No time or patience to reduce apple cider? Use 1/3 cup of frozen apple juice concentrate, thawed, instead!
In a larger saucepan, combine the cream+water mixture, the corn syrup, and sugar. Cook until the sugar has dissolved and the temperature reaches 234 degrees. Stir as little as possible during this process to prevent crystalization.
Once the mixture reaches 234 degrees, whisk in the cream and apple cider mixture. Add the pieces of butter and stir until melted and combined. Then STOP STIRRING (again, we're trying to prevent crystalization) and let the mixture bubble and cook until it reaches 248 degrees on a candy thermometer. During the cooking time, if it looks like the mixture isn't cooking evenly, instead of stirring, give the pan a swirl to move the candy around the pot.

As soon as the mixture reaches 248 degrees (just past the Firm Ball stage on the candy thermometer, but not yet to the Hard Ball stage), remove from the heat. Very quickly stir in the vanilla bean paste and the apple cider vinegar. The vinegar isn't chemically necessary, but I always add it to all of my caramels. It adds just a note of brightness and complexity to the candy. It's a tip my mom learned when she was in pastry school, and it really does make a difference.
Quickly pour the mixture into a prepared 9x9" pan. I'll note here that I LOVE my silicone baking pan for making homemade caramels! You don't need to line the pan with parchment and grease the ever-living-daylights out of it in order to get the caramels to come out. They just come out. With no fuss. It's FABULOUS. I've been using my silicone baking pan for at least 20 years now and it makes such a difference in convenience that I'd never want to make caramels without one.
Let the caramel cool completely and firm up. This will take several hours. Console yourself by scraping little tastes off the walls of the saucepan as soon as it's cool enough.

See, look at how the entire caramel just pops out of the silicone pan!
You can use a knife to cut the caramels into bite sized pieces, but I actually prefer to use a lightly oiled pair of scissors.

Wrap the caramels in small squares of waxed paper. Such a classic, homemade look.

These caramels could theoretically last for months, but they're so delicious there's no chance they'll stick around that long. Still, if you're trying to get an early start on making Christmas treats, these caramels are a perfect thing to make in advance of the holiday rush.

Apple cider caramels, I love you so.
Be sure to check out the other amazing sweet fall treats in this month's Taste Creations Blog Hop:

Our Good Life: Pumpkin Spice Cheerio Cereal Treats
An Italian in my Kitchen: Dracula's Chocolates
Mom Home Guide: Halloween Marshmallow Popcorn Balls
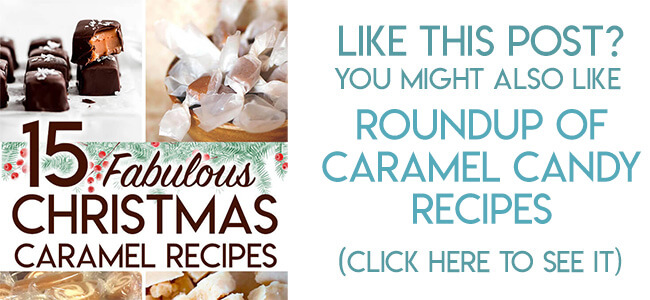
Other Caramel Recipes You Might Like:

Other Fall Apple Recipes You Might Like:


.png)