I love making homemade candy buttons. Probably because I loved them so much as a kid. I've even made morse code candy buttons for a Nautical Rain Gutter Regatta party, and heart-shaped valentines candy buttons. So it's only natural that for the Stampy Minecraft birthday party, I take advantage of the pixelated art and make Minecraft themed homemade candy buttons.
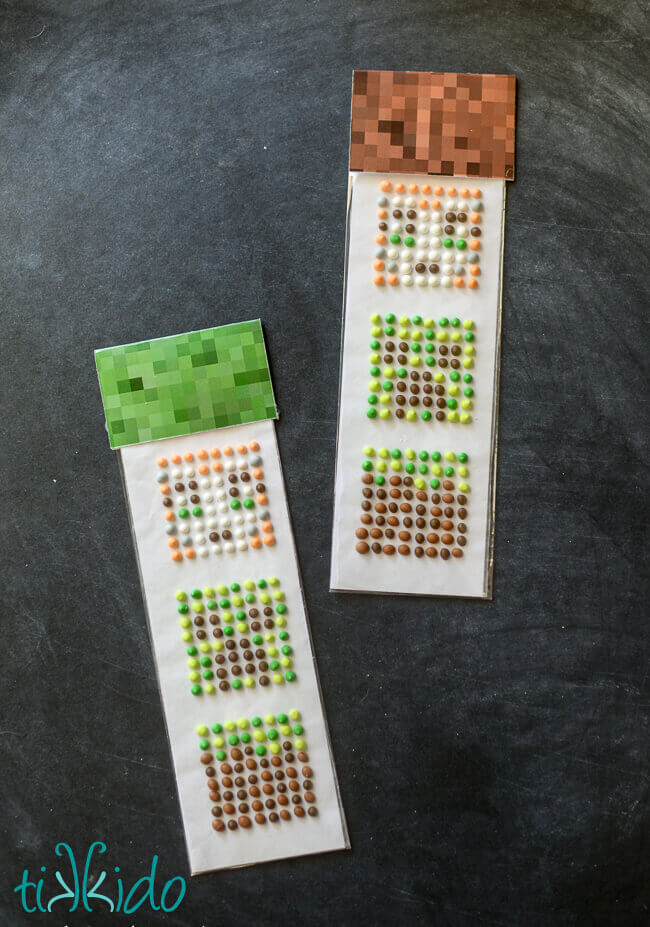
They're just dots on a grid. Easy peasy.
First, you'll need some long, skinny plastic treat bags. Bags designed for holding chocolate covered pretzels are typically excellent for this project.
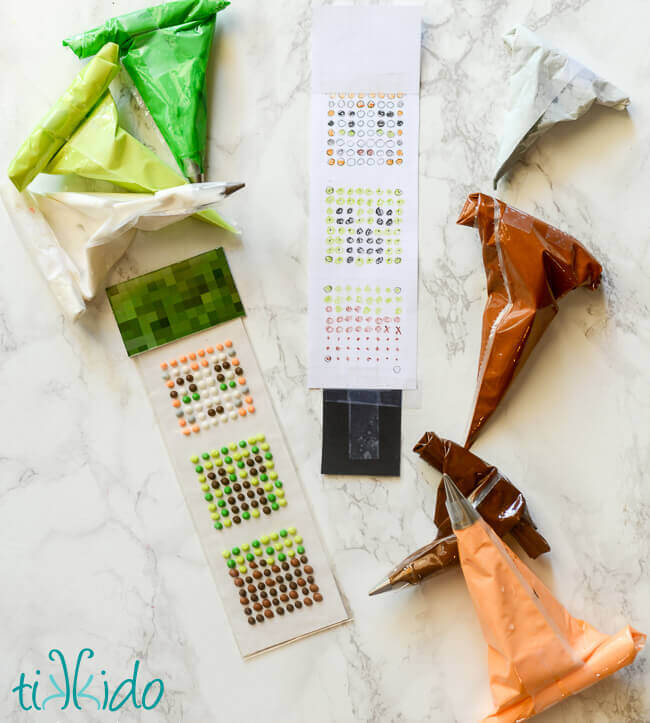
Once you know the exact size of your bag, print out some graph paper and cut to the exact size of your bag. Then map out the design on the graph paper using colored pencils. The design for this project was pretty intricate, so I drew a tiny dot at each intersection, but a more classic look is achieved by making a larger dot at every other intersection.
The black paper you see taped to the bottom of my graph paper was simply to enable me to easily slide the paper under the waxed paper on which I piped my royal icing dots.
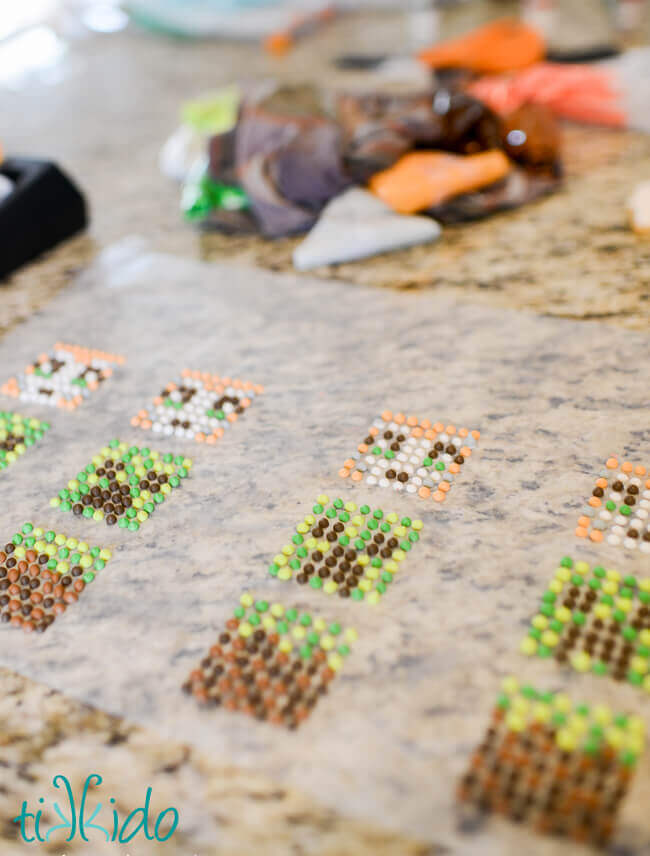
Whip up a batch of royal icing, and color it in whatever shades you need (I love Americolor gel food colorings).
Place a sheet of waxed paper on the counter. I find it helpful to tape down at least two corners so it doesn't slide around. Slip the graph paper guide under the waxed paper, and use it to pipe small dots in the design you planned out.
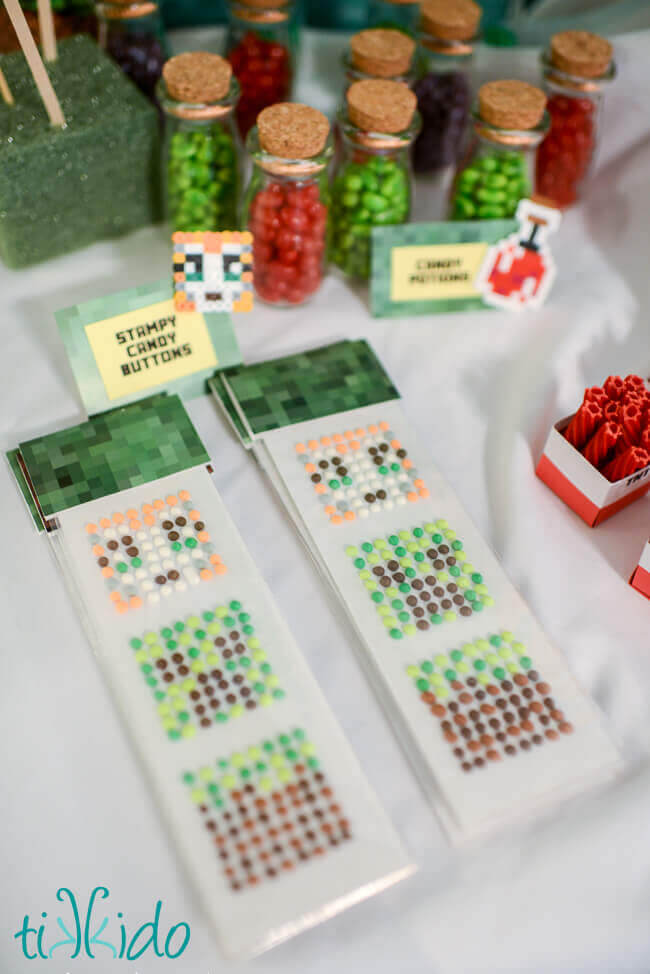
Cut the waxed paper to size. Cut a piece of plain cardstock to the same size, to give the waxed paper support. Slide both into the bag, and glue or staple on a folded piece of decorative paper over the top of the bag to seal the contents inside (and look thematic and cute).
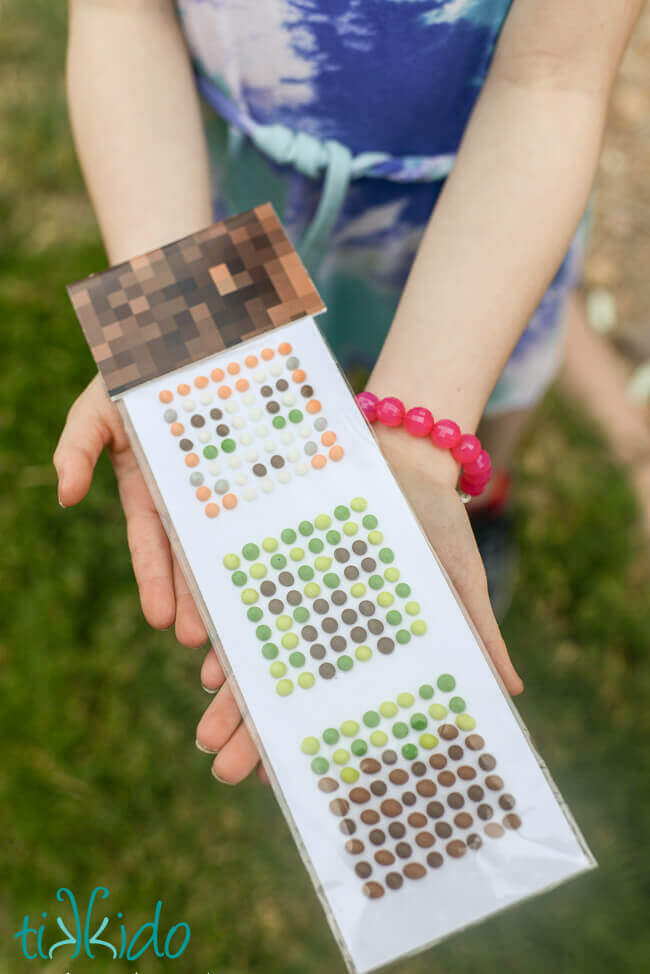
Candy buttons are ALWAYS a hit. And with my homemade ones, you don't get any of the paper sticking to the back of the candies when you peel them off. ;-)




.png)