This easy tutorial will show you how to make a pom pom garland. Snowy white, fluffy pom poms in different sizes make a beautiful Christmas garland, but the pom-poms can be made in any color to match any theme.
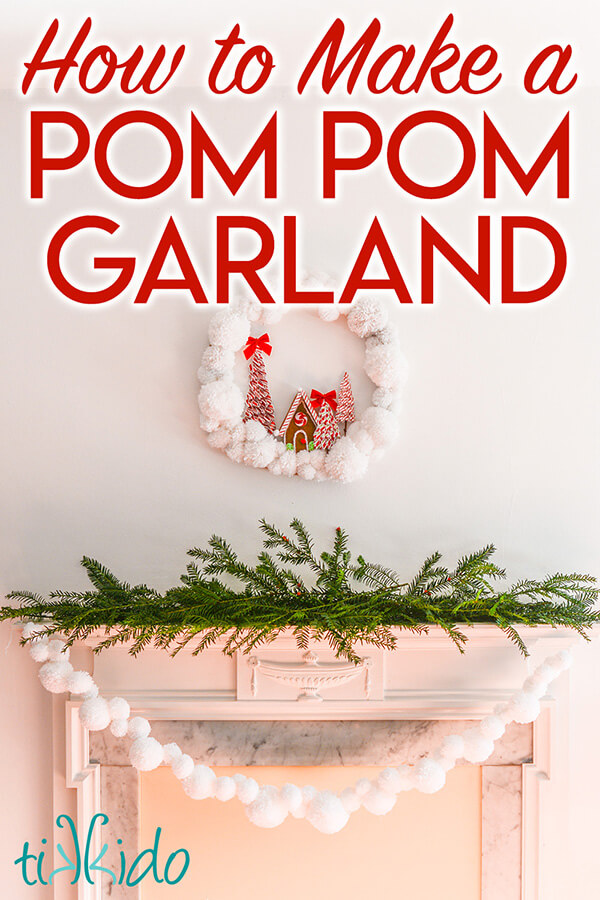
This diy pom-pom garland is decorating my fireplace mantel this year, but it would look absolutely spectacular on a Christmas tree, too. I love homemade Christmas decorations!
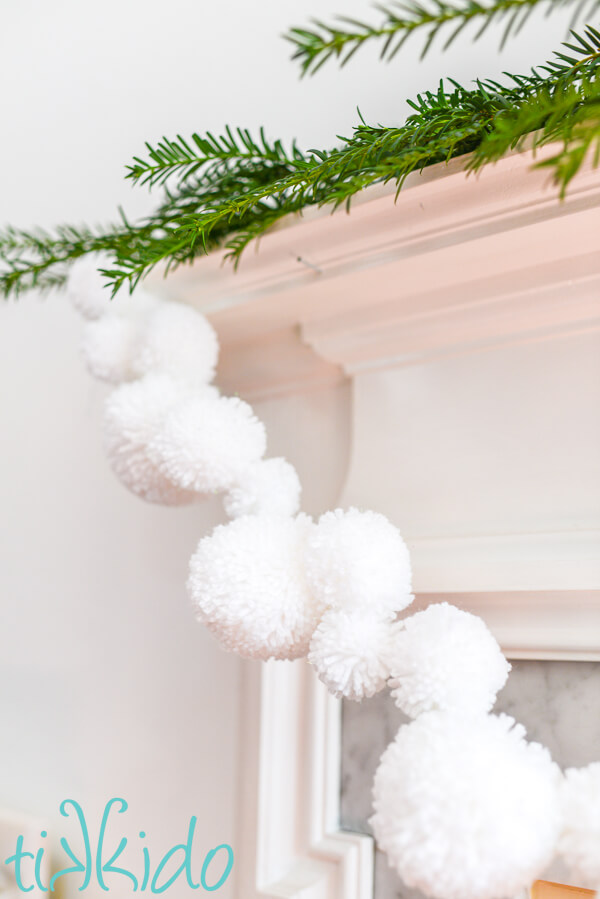
I love the variation of the size of the pom poms, but if you want a more even, regular look, feel free to make all of your pompoms the same size.
DIY Pom Pom Garland Tutorial
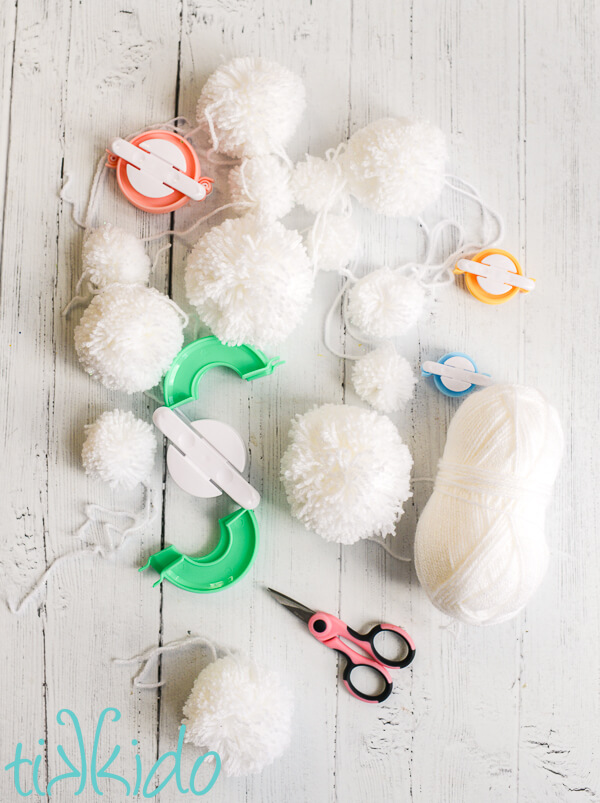
Materials for a Pompom Garland
- Pom pom maker
- yarn
- sharp scissors
How to Make Pom Poms for an Easy Pom Pom Garland
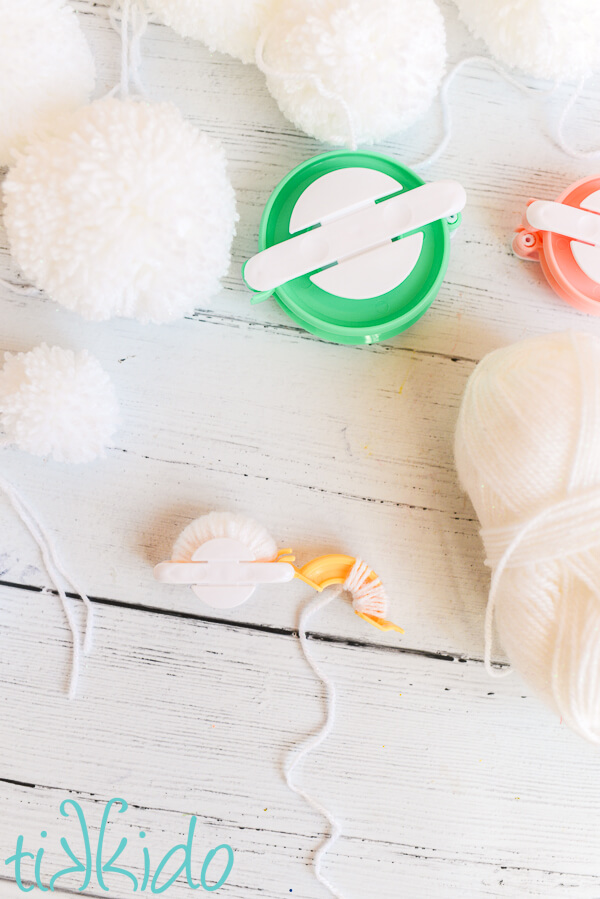
It all starts with a pom pom maker. This is the set I have, and love. I've tried some other commercial pom pom makers, but I like this one the best so far. It has a nice range of sizes, is inexpensive, and makes perfect pom poms easily. You can also find pom pom makers at your local craft store.
If you don't want to buy a tool for making pom poms, you can also make your own out of a piece of cardboard. It's not as easy or convenient as the plastic pom-pom makers I use, but it makes great pompoms!
Wrap yarn around one half of the pom pom maker. Keep winding the yarn around and around until the plastic is covered with many layers of yarn. Swing the arm in to shut the pom pom maker and hold the yarn in place.
Tip: if you use thick yarn, this step will go faster than if you use thin yarn like I did!
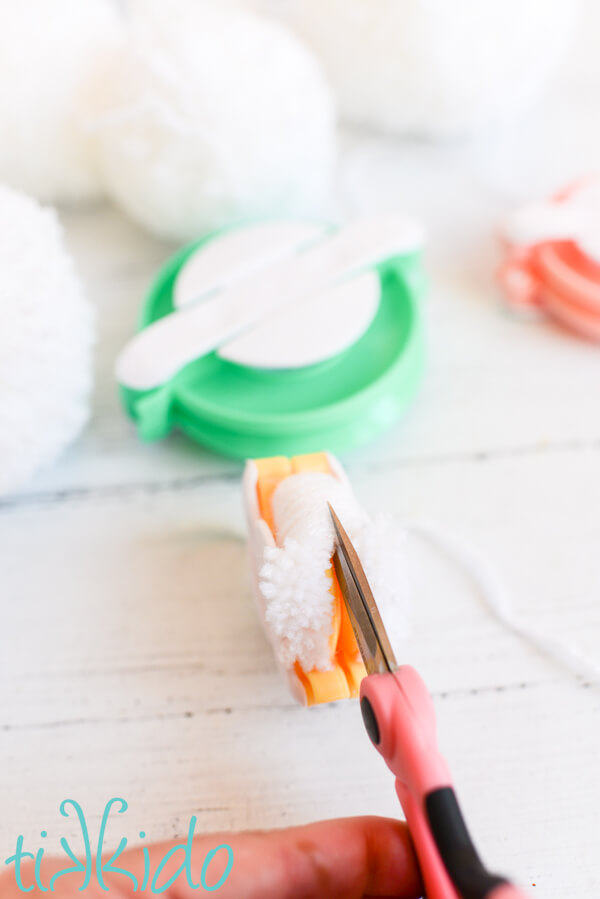
Once both sides of the pom-pom maker are wound with yarn, use a pair of scissors to cut along the center groove of the tool. Sharp, pointy embroidery scissors are very helpful for this job.
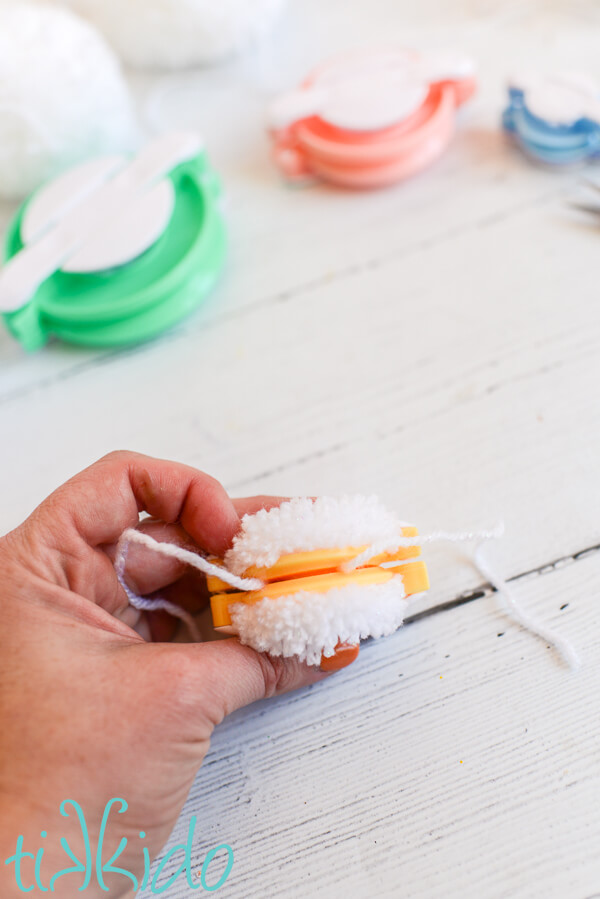
Once both sides are cut, take a length of yarn and tie it around the center of the pom pom. The pom pom maker is still holding all of the yarn pieces in place at this point, and you can feed the piece of yarn in the center groove and tie it together with a double knot.
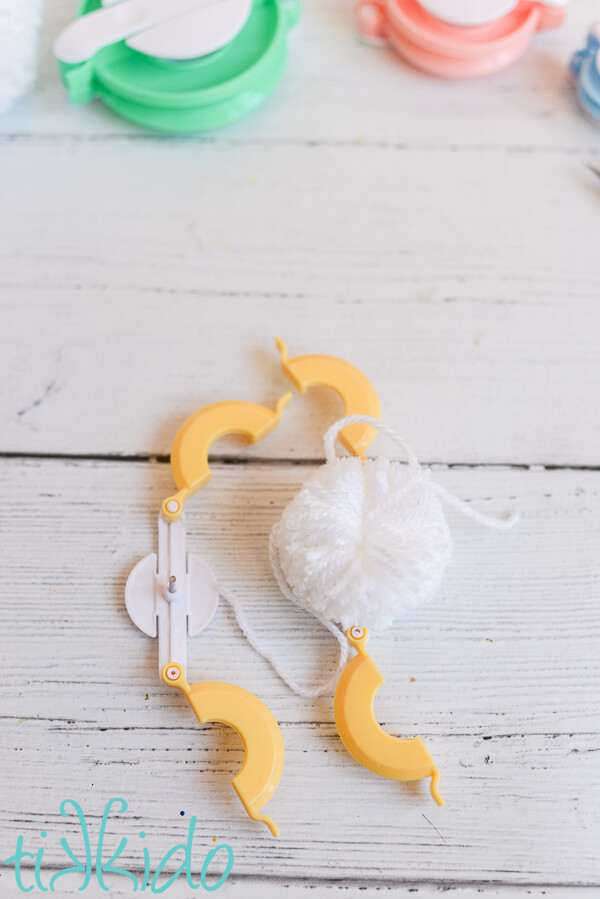
Pull the pom pom maker apart, and use scissors to trim any uneven bits, but don't cut off the long tail yet!
Make a pile of pom poms! Large pom poms, little pom poms, and anything in between. It took about two smallish skeins of white yarn from the dollar store to make my garland. At only a dollar per skein of yarn, this was an inexpensive craft.
Assembling the Pompom Garland
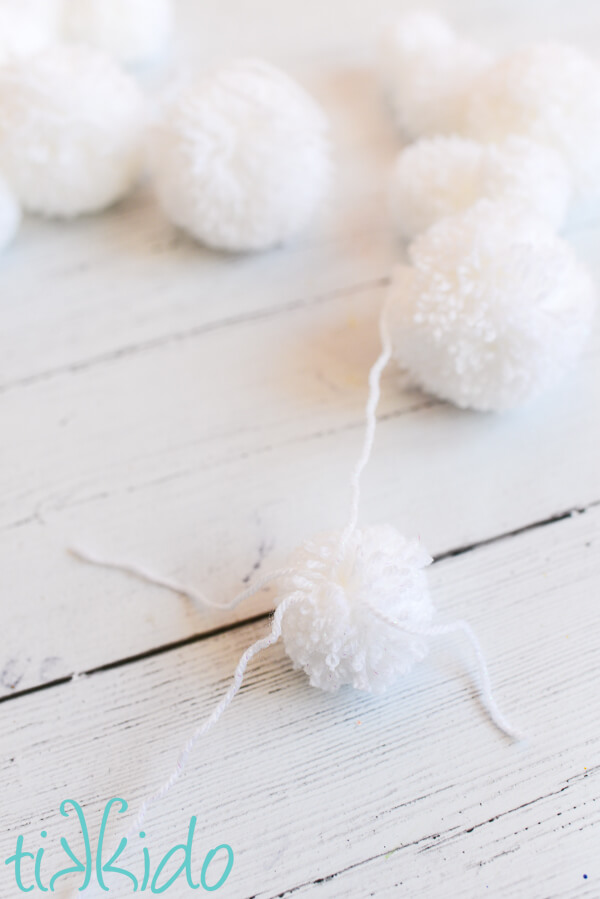
Cut a piece of yarn about one foot longer than the length of the garland you want to make. This will be the center of the garland.
Take the first pom pom and use the long strings to tie a knot around the center of the garland, about six inches from the end of the center string. The pom pom will slide back and forth at this point, so it needs to be anchored. To keep the pompom from sliding, take ONE of the long strings from the pom pom, and tie a double knot with the 6" end of the garland center string.
Now you can trim the long bits (the yarn tied around the middle of the pom pom) off (but leave the 6" end there so you can hang the garland easily later).
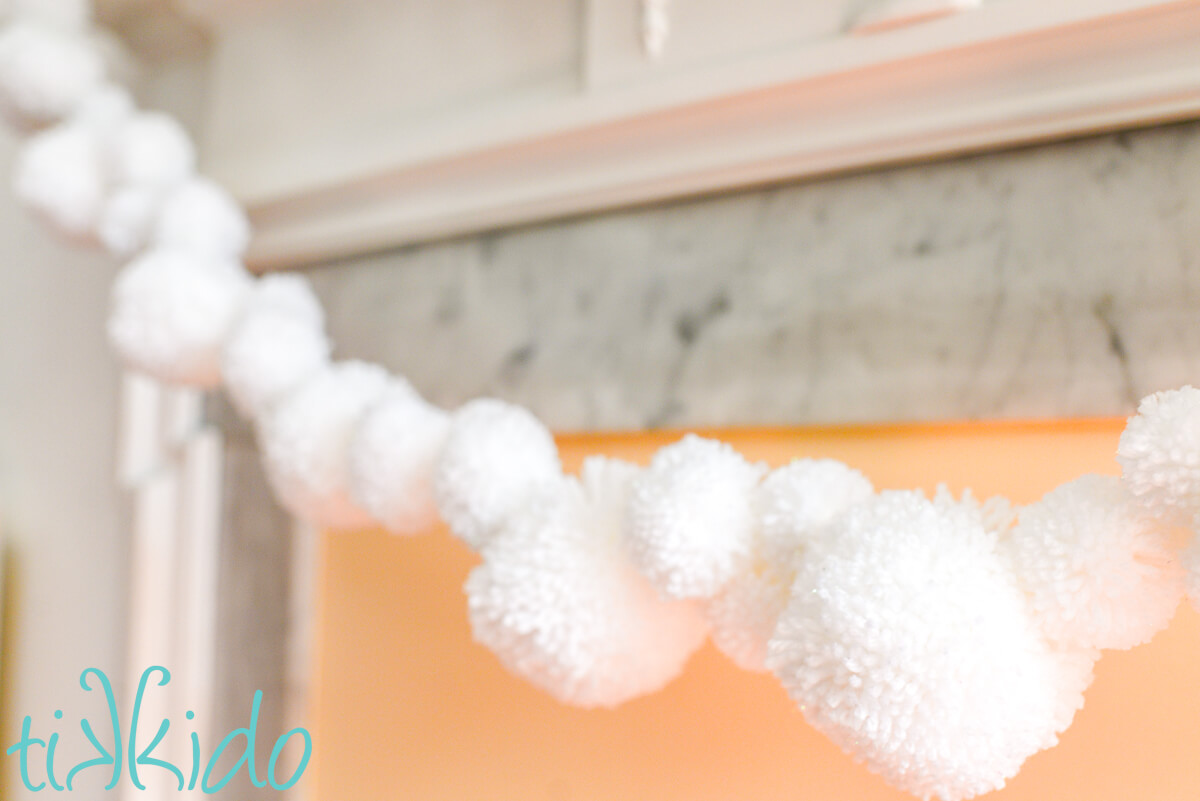
Tie the next pompom on the center garland string. No need to anchor the middle pompoms, just the first and last one. Continue adding yarn pom poms of various sizes until your garland reaches its finished length. Anchor the last pom pom just like the first one.
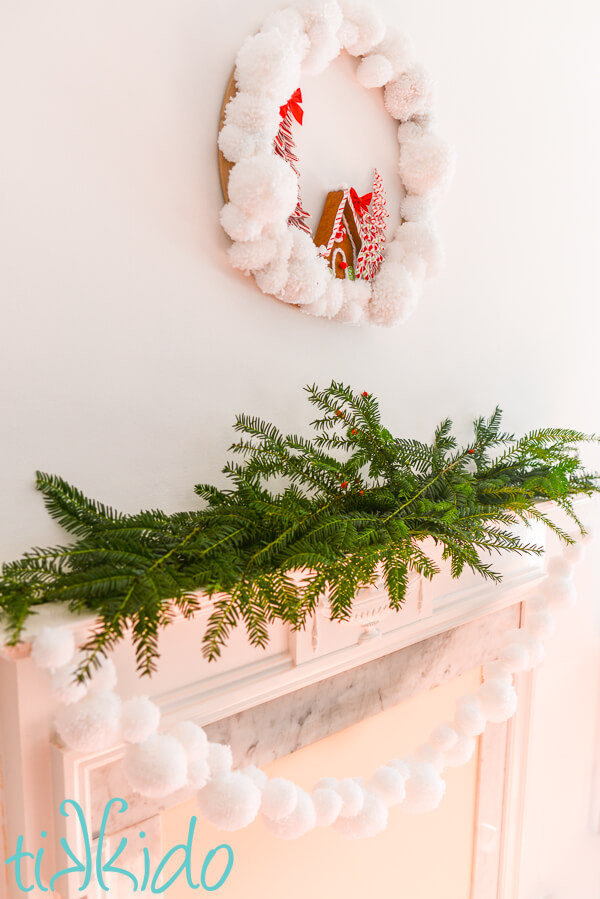
If you're using this yarn garland on a tree this holiday season, you can trim off the 6" ends of the garland. But if you're hanging your garland somewhere, those ends of the yarn are very handy for taping or tying up the garland.
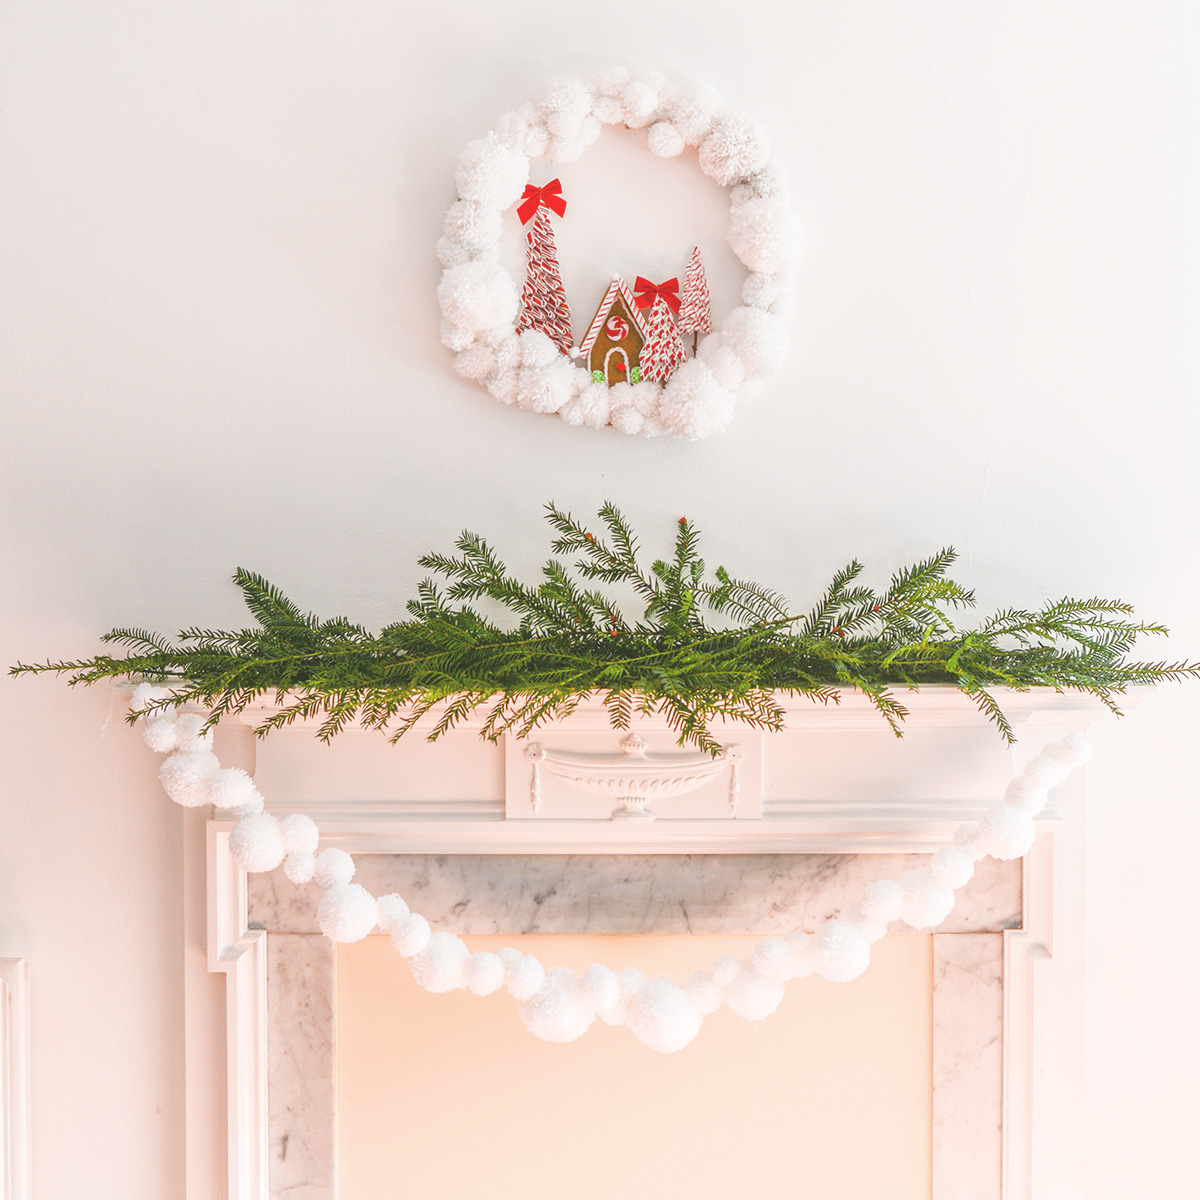
I made this in snowy white for Christmas decor, but if you use different colors, it would look great for other holiday decor. Imagine a garland of orange pom poms with smiling jack-o-lantern faces made from felt! I wish I'd thought of making a pom pom garland in the color of rainbow sprinkles for my daughter's Sprinkles birthday party! How cute would that party decor have been? The possibilities are endless.





.png)