Make these adorable pom pom sheep with just a few basic craft materials that you can find at any craft store. Pom pom sheep make an adorable decoration for Easter or for baby showers--or you can just make them as a fun craft with kids.
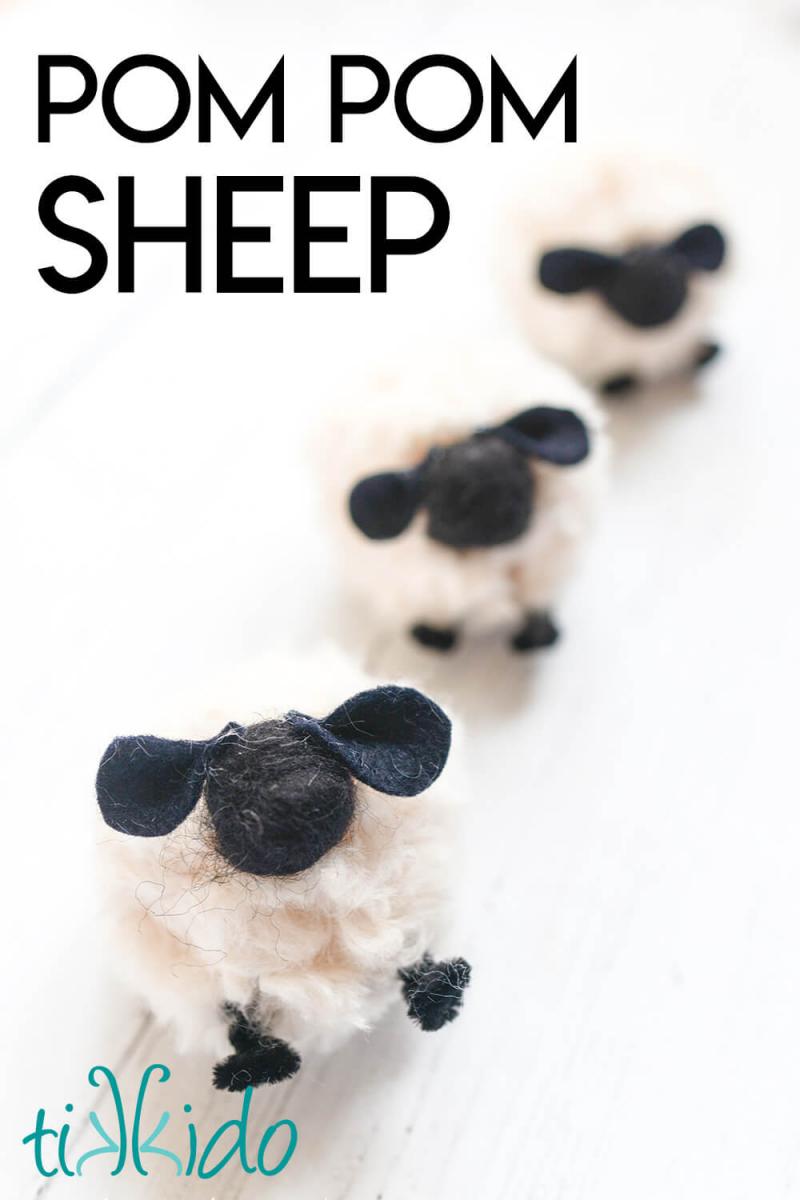
I created these pom pom sheep because I wanted to make something special to decorate a gift for a friend's new baby.
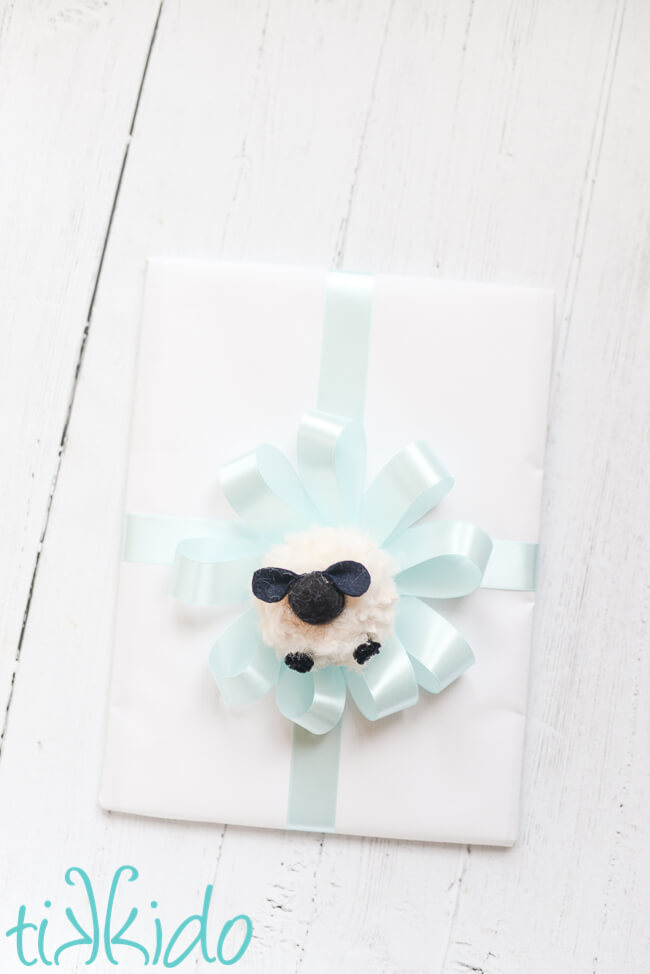
I love creative gift-wrapping, and this fluffy little guy was the perfect present-topper for the books I wrapped.
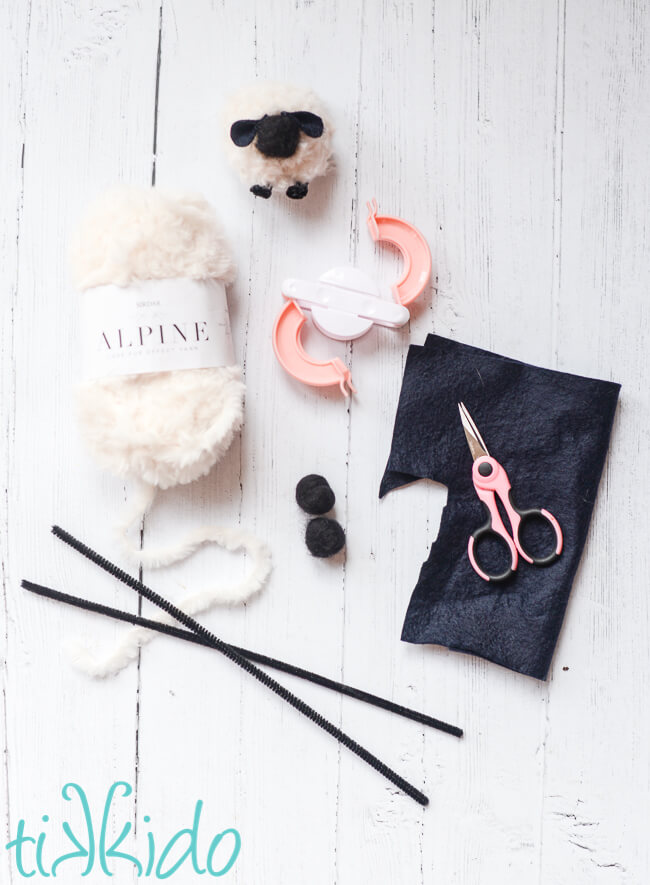
Materials for Pom Pom Sheep:
- faux fur style yarn
- pom pom maker
- sharp embroidery scissors
- black felt
- black felted wool ball (or black craft pom poms)
- black pipe cleaners
All of these materials can easily be found at any major craft store, or online.
Use a pair of sharp scissors to cut the yarn in the center. There's a nice groove in the pom pom maker to help guide your scissors and cut the yarn perfectly. It's very helpful to have a nice pair of sharp, pointed scissors for this part of the project. I used my embroidery scissors.
Cut a piece of the same yarn about 8 inches long. Feed that piece of yarn into the groove in the center of the pom pom maker, and tie it tightly in the center of the pom pom. Then you can pull the plastic parts apart, and you're left with a fluffy yarn pom pom!
Use your scissors to trim any pieces of yarn that are too long. This pom pom maker is pretty good at making pretty even pom poms, but there's always a bit of trimming to do to make them perfect.
How to Make a Pom Pom Sheep's Head:
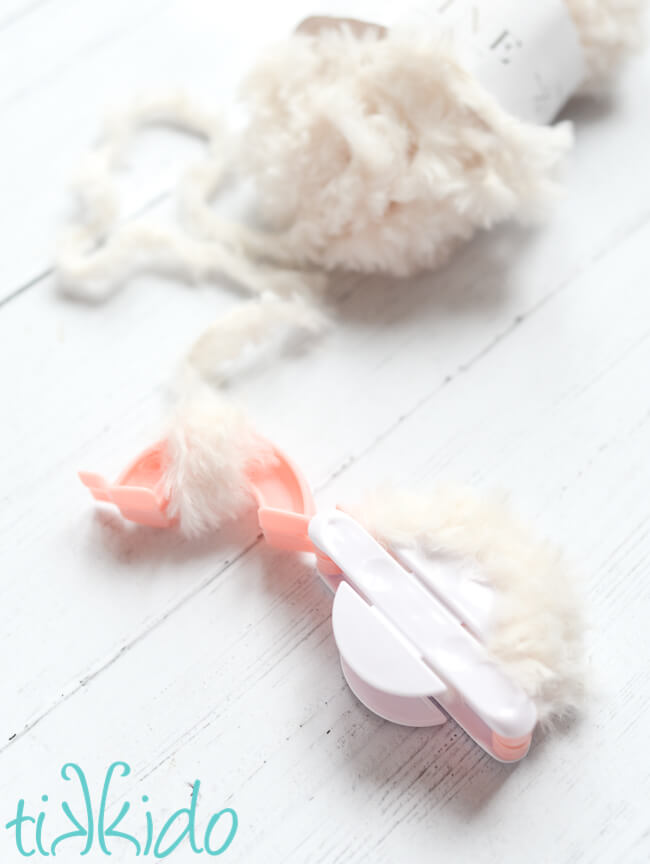
The body of the pom pom sheep is simply a furry, fuzzy yarn pom pom. You could use any kind of yarn for this, but I wanted my pom pom sheep to look extra fluffy and soft, so I used some faux fur style yarn I had leftover from making Santa napkin rings a couple years ago.
I used the second-largest size pom pom maker from this set for this project, but you can obviously make the sheep as large or small as you like. This pom pom maker comes with good instructions, and even comes with a cutting tool (though I used my embroidery scissors in the video). I've tried using other pom pom makers and vastly prefer the design of this set to make easy, perfect yarn pom poms.
Making the pom pom is easy. Open up both C-shaped wings of the pom pom maker. Wind the yarn around one side first. Wind generously--abundantly. The more yarn you use the fuller and more dense the yarn pom pom will be. When you've wound enough yarn around one half of the pom pom maker, close that section, and cut the yarn (it won't unravel if you've already closed the pom pom maker).
Repeat on the other side.
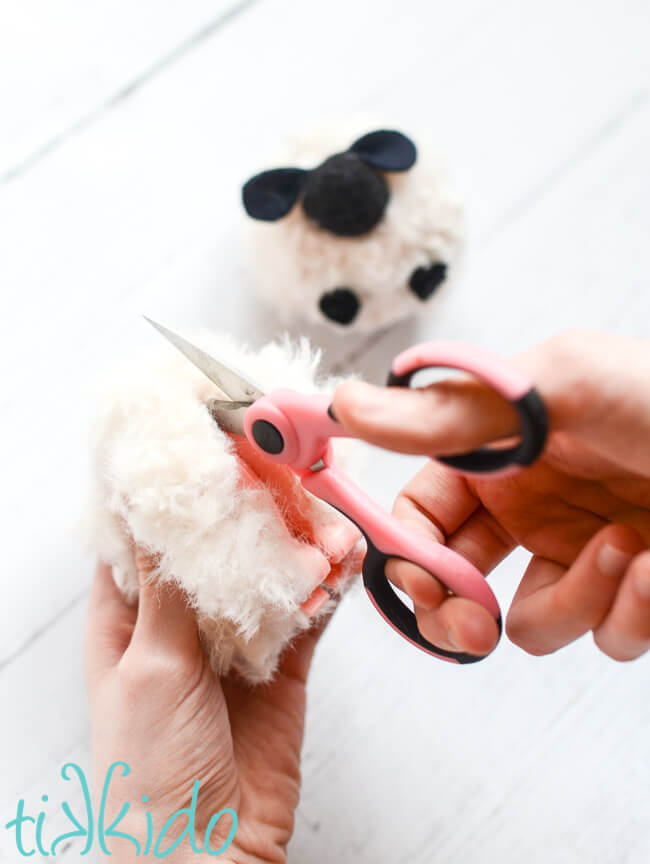
Use a pair of sharp scissors to cut the yarn in the center. There's a nice groove in the pom pom maker to help guide your scissors and cut the yarn perfectly. It's very helpful to have a nice pair of sharp, pointed scissors for this part of the project. I used my embroidery scissors.
Cut a piece of the same yarn about 8 inches long. Feed that piece of yarn into the groove in the center of the pom pom maker, and tie it tightly in the center of the pom pom. Then you can pull the plastic parts apart, and you're left with a fluffy yarn pom pom!
Use your scissors to trim any pieces of yarn that are too long. This pom pom maker is pretty good at making pretty even pom poms, but there's always a bit of trimming to do to make them perfect.
How to Make a Pom Pom Sheep's Head:
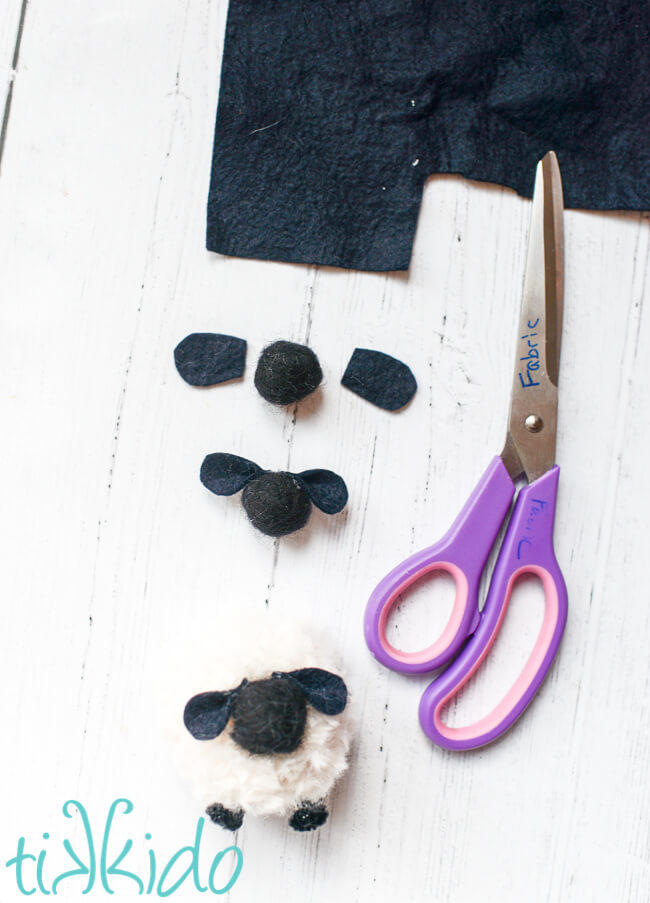
I used black felt balls made out of black wool roving for this project, and I made them myself. I already had the materials, so it meant that I didn't have to buy something new. But if you don't want to make your own felt balls for this project, using black craft pom poms would be just as cute!
If you do want to make your own wool felt balls, I have two tutorials for making them:
- Wet felted wool balls (no special tools necessary, great for kids especially)
- Needle felted felt balls (you need a special needle felting pad and needles for this technique)
You can also purchase pre-made wool felt balls on Amazon.
Once you have your sheep's head, whether made or purchased, it's a simple matter to cut ears out of black felt and glue them to the head using a low temperature glue gun.
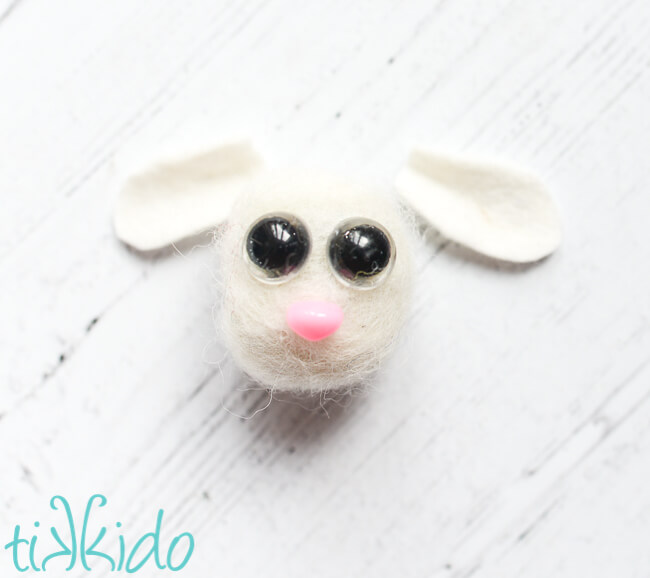
I wanted to show you this picture to demonstrate that my first ideas are not always my best ideas. I originally thought I'd make cute little lambs and use pre-made eyes and noses (the kinds designed for making stuffed animals). It'll be so cute, I thought.
Alas, no. It was both vaguely horrifying (my 17 year old described it as looking like a sheep on cocaine--she's not wrong) and it was actually really difficult to insert the eyes in my felted ball. I had to go back to the drawing board for this element of my pom pom sheep, and I'm much happier with the simpler, black and white design I came up with.
How to Make Feet for a Pom Pom Sheep
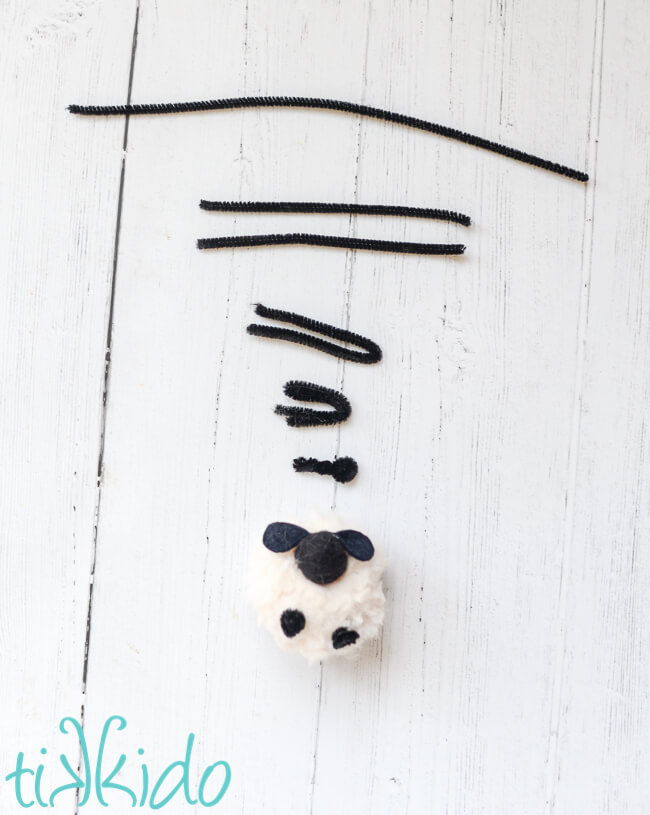
One black pipe cleaner makes two little pom pom sheep feet.
Cut the pipe cleaner in half.
Fold the piece of pipe cleaner in half, then in half again. Pinch the bent end of the pipe cleaner, and twist the other ends together tightly.
Use a low temperature glue gun to glue the little feet into the pom pom.
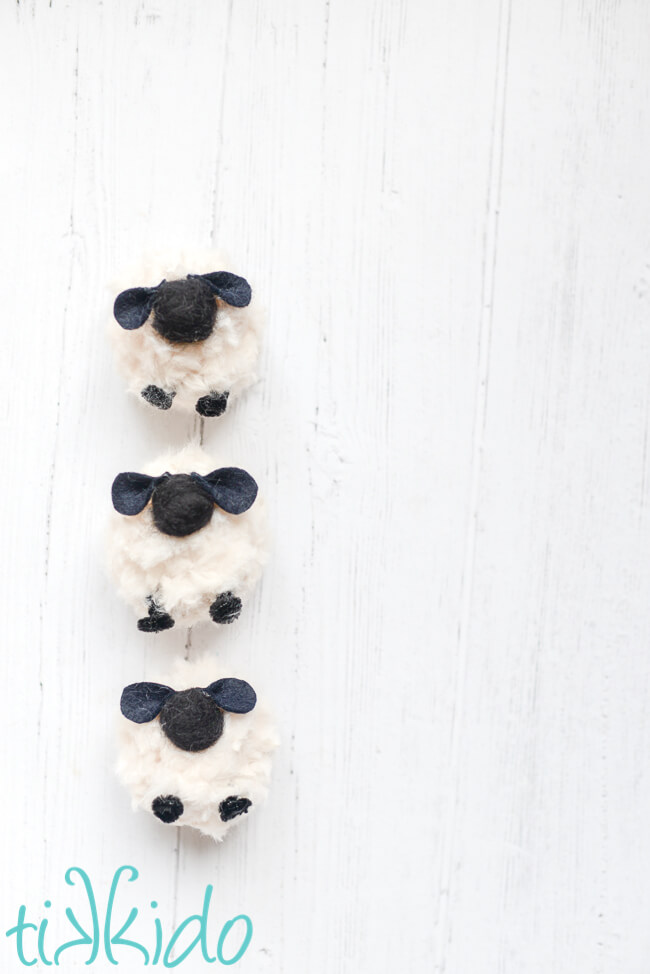
I was using these little sheep as toppers for gifts, so I only added two front feet (the only ones you can see in my project). If you're making these for something where you'd be able to see the whole sheep from all angles (they'd make a darling mobile in a baby's room!), I'd definitely add all four feet, and a little tail at the back as well.
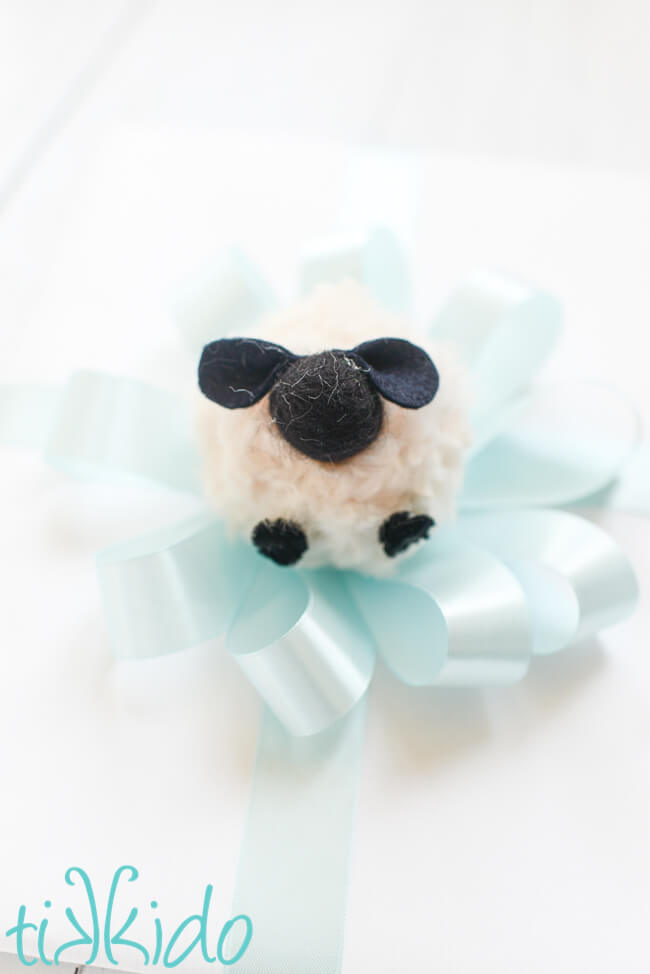
But as a gift topper, the back two legs were invisible, so I didn't bother. No need to do extra work that's not going to be visible.
I think I'm going to make some more and make an adorable Easter garland. How would you use these cute little pom pom sheep?






.png)