Resin jewelry is easy to make, and endlessly customizable. I used an epoxy resin kit and some simple jewelry making techniques to make resin jewelry filled with real sprinkles as favors for the Sprinkles birthday party.
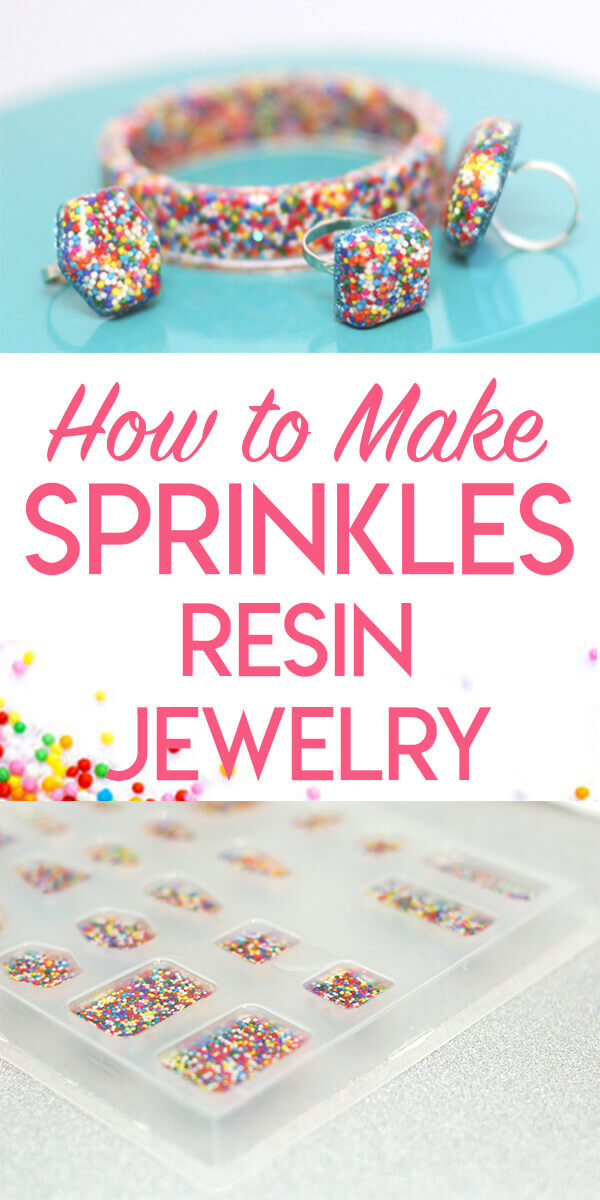
I love making the favors match the theme of a party. And I love making or buying special favors, rather than just giving out plastic junk that's going to be thrown out at the first opportunity. At the Sprinkles birthday party, that meant sprinkle jewelry!
As soon as I started planning the sprinkles party, I knew I wanted to make sprinkles resin jewelry as party favors. Sprinkles + jewelry + a bunch of little girls. How much more perfect could it get?
How to Make Resin Jewelry
Sprinkles Resin Jewelry Materials:
- A clear casting epoxy kit
- Molds
- Mold release spray
- Ring blanks
- E6000 glue
- Sprinkles (or whatever else you want to embed in your ring)
DIY Resin Jewelry Steps:
1) Spray your mold (I used this one) with mold release spray. Let dry.
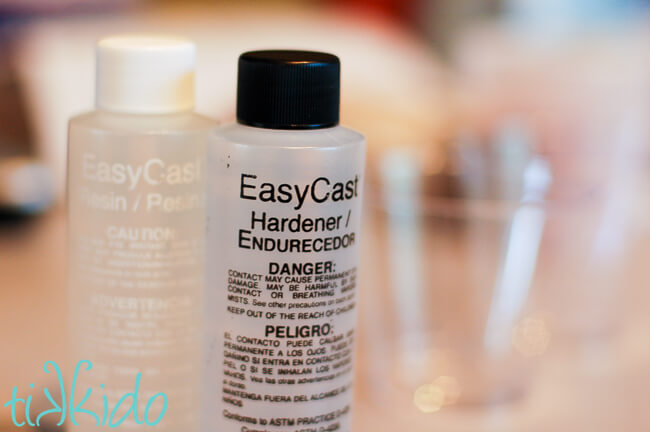
2) Mix the resin. I used this kit from Amazon.
This clear epoxy (like all epoxy) comes in two parts. You need to mix equal quantities from each bottle together to make the mixture to encase the sprinkles. Rather than trying to measure the rather viscous liquid precisely, I simply placed two clear, plastic, disposable cups side by side on the counter, and filled them to the same point. Bend down and get your eyes level with the level of the epoxy to be sure you have equal amounts in each cup.
3) Add the sprinkles (or glitter, or whatever you want!) to the resin.
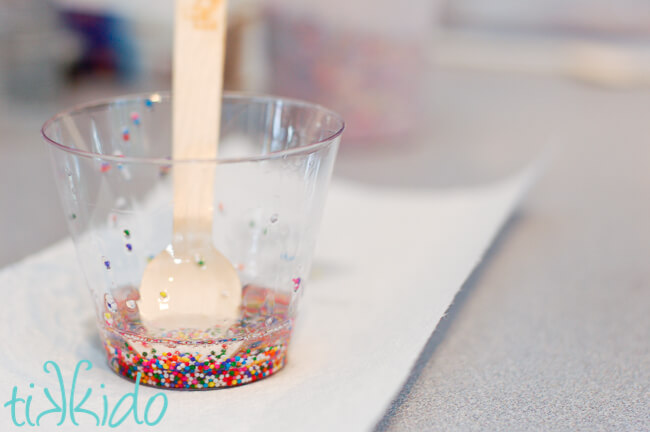
Add LOTS of sprinkles, or glitter, or whatever. This picture doesn't have enough of them yet. See how the sprinkles have settled down, leaving a bunch of clear resin at the top? That will happen in your mold, too. Add enough sprinkles so that you don't get much of a clear layer at the top after the sprinkles settle, and your end product will look much better.
Be sure you're mixing the epoxy mixture in a disposable cup, with a disposable spoon or stick. You do not want to mess up your sink by trying to clean this stuff out! The leftover wooden spoons from the Gold Rush BBQ party were perfect for this craft!
4) Carefully spoon or pour the sprinkles/epoxy mixture into your prepared molds.
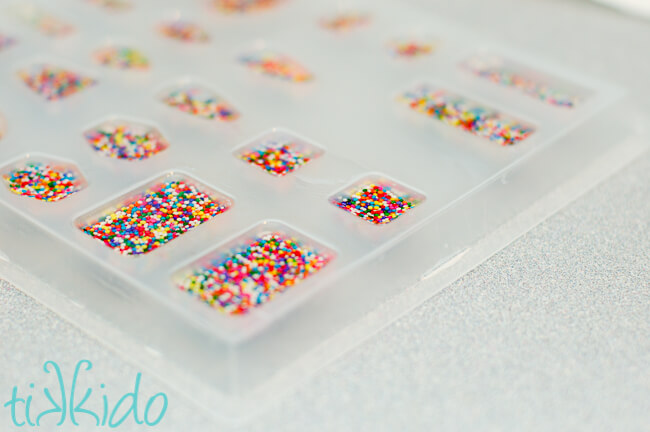
Clean up any extra spillage, but you don't have to obsess about it. You can always trim and file the pieces once they've cured and have been removed from the mold.
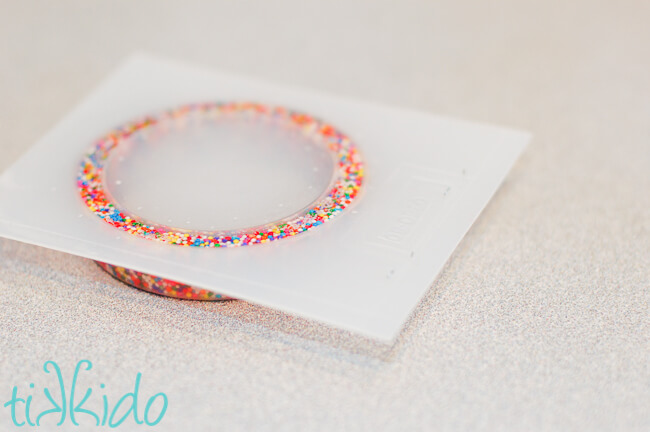
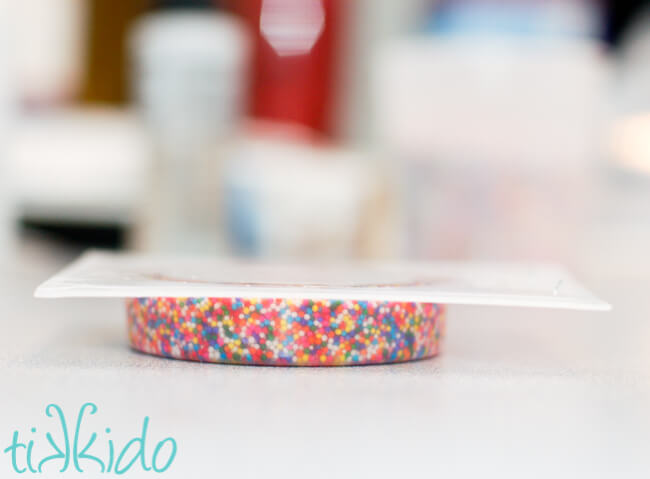
4) Let cure for 24 hours, then pop the sprinkle-encased pieces from their molds. File away any bits that dried past the boundaries of the mold, and then simply glue on to adjustable ring blanks. I like to use E6000 glue for this purpose--it's seriously strong, and since it's so thick and sticky, it holds the cabochon in place well while it's drying.
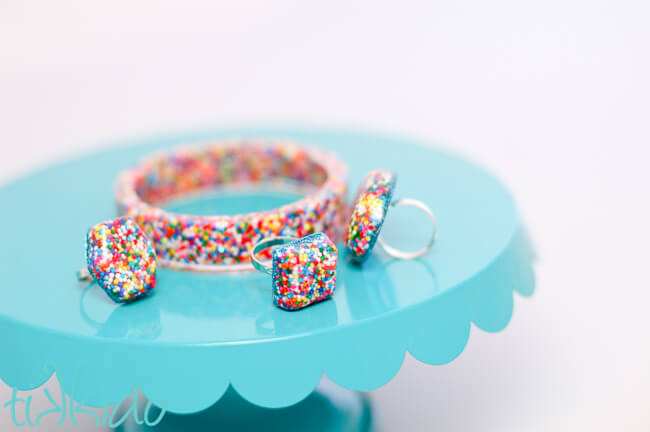
This really is a very easy craft, and it makes a ton for the cost of the materials! I made 12 bracelets, 12 necklaces, and 12 rings with one kit, and I still have some cabochons left over.


.png)