Halloween potion bottles are a great Halloween or Harry Potter party decoration. Print up these free, printable Halloween potion bottle labels, stick them on some jars, and fill and you'll have a fabulous, spooky, EASY Halloween display.
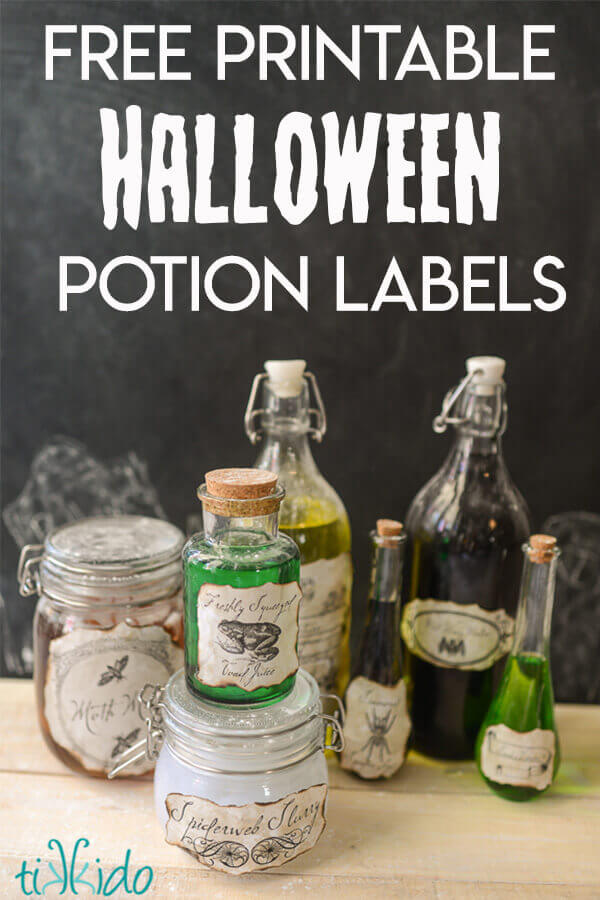
I'm going to show you how to make these eerie Halloween potion bottles, and I'm even linking up free printables of the labels I made so it'll be even easier for you!
.JPG)
Because really, who doesn't need a potion bottle full of Freshly Squeezed Toad Juice at Halloween-time?
.JPG)
Or perhaps some Spiderweb Slurry.
Bottles for Halloween Potions
.JPG)
First, you'll need some bottles and jars. Look for bottles that have stoppers or lids. It's best to have a bunch of bottles in different sizes and shapes for this project.
Ikea has some great, incredibly inexpensive ones, if you need to buy them for the project. Also check out the dollar store. No need to buy expensive containers.
Halloween Potion Bottle Labels
Next up, you need labels. I designed these free printable Halloween potion labels for this project, and love how they turned out.
.JPG)
I'm not usually a graphics person--that's just not my forte, and I know it. But every once in a while I manage to make something I like, and when I do, I'm happy to share it!
Free Printable Halloween Potion Bottle Labels:
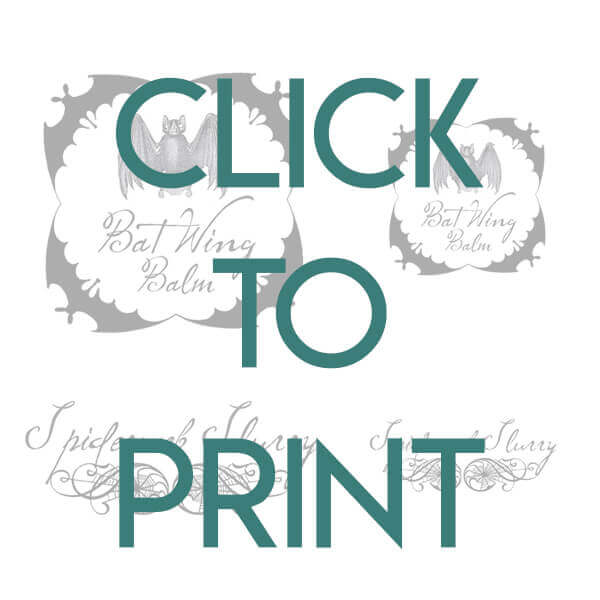
Click on the images below to download or print free, printable PDFs of the potion bottle labels.
Each sheet has larger and smaller versions of the same labels, so you can choose the one that works best for your bottles.
How to Age Paper for Halloween Potion Bottles
.JPG)
Go ahead and print out the labels on plain printer paper. I actually wanted thin, flimsy paper, not cardstock, for this project. It's easier to bend on curved jars, and looks more like authentic old labels.
To create the mottled, browned look of aged paper, I used the classic technique of tea staining. But rather than dipping my paper in tea, I used a wet tea bag to blot the paper. That gave me the perfect aged, blotchy look I was after, and also didn't take as long to dry!
.JPG)
Already looking awesome, right? Just the finishing touches are left now.
Finishing the DIY Potion Bottle Labels
.JPG)
Cut out the labels, and distress the edges by holding the paper to a candle flame. It will curl and brown gorgeously.
.JPG)
Just look at the difference adding the burnt edge makes!
Glue the finished potion labels to your glass jars (a hot glue gun will work just fine for this task), and fill.
What to Put in Halloween Potion Bottles
Fill your DIY potion bottles with a mix of different liquids and solid materials to make perfectly spooky and fun Halloween decorations.
.JPG)
Halloween Potion Bottles Filled with Food Coloring
Most of the potion bottles were filled with just food coloring and water. This method works brilliantly, and is dead easy.
IMPORTANT TIP: Be aware that most red and pink colors are very unstable in sunlight, so if you want a potion in the red family, keep it out of direct sunlight. It will fade to clear shockingly quickly.
.JPG)
You can use liquid, gel, or paste food coloring to color the water for your potion bottles.
I used liquid food coloring designed for airbrushes for the black potions, and it looked seriously cool distributing into the water in the bottle! I wish I could have suspended it like that somehow!
.JPG)
Within a few minutes, the color had pretty evenly spread through the water. Still cool.
.JPG)
You can see that a few drops didn't make a pure black--more of a desperately deep brown. Very spooky and awesome.
Halloween Potion Bottles Filled with Other Liquids
.JPG)
You can use other liquids to fill your Halloween potion bottles, too. I used leftover tea from dying the labels as the liquid in my moth musk potion.
Solid Items to Add to Halloween Potion Bottles
If you want to go beyond just colored waters in your potion bottles, you can add many solid things from around the house to create creepy effects, like:
- polyester fiber stuffing
- clear water beads (usually used as vase fillers for floral arrangements)
- small plastic toys (like these eyeball bouncy balls, or tiny plastic bat wings broken off from bat rings)
Get creative with materials you already have around the house! For example, to make the Moth Musk potion, I used tea and added some chibbled up parchment paper. The Spiderweb slurry was just clear water and some batting I had on hand.
.JPG)
A collection of these make a fabulous, easy Halloween centerpiece!
.JPG)
And if you want to make them look like they just came from a dusty apothecary shelf, pull out the baby powder. Or wait two days in my house. They really know how to make dust here in the desert!




.png)