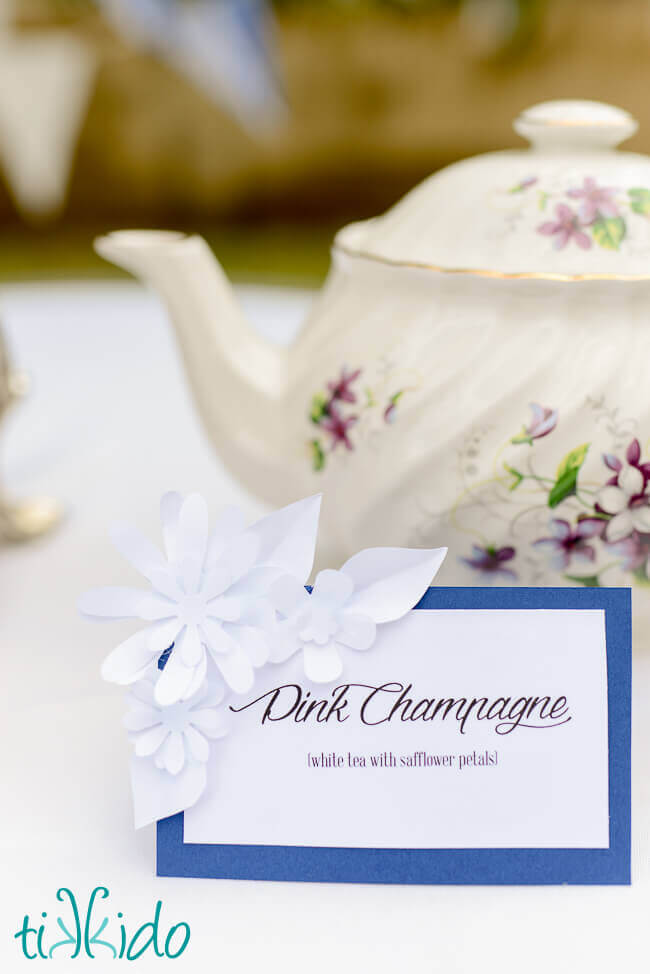
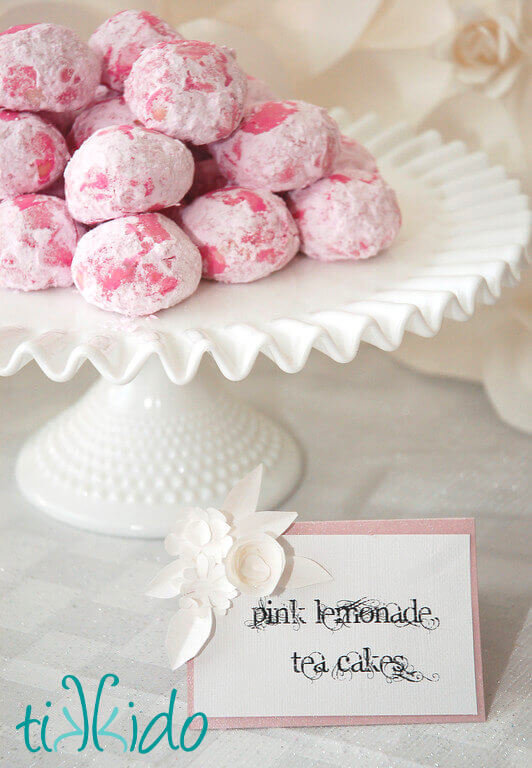
These sculptural, monochromatic, paper flower seating cards are incredibly elegant and easy to make. These paper flower escort cards and table tents are an elegant DIY project for your wedding or any event. I've used them for birthday parties and baby showers as well as weddings.
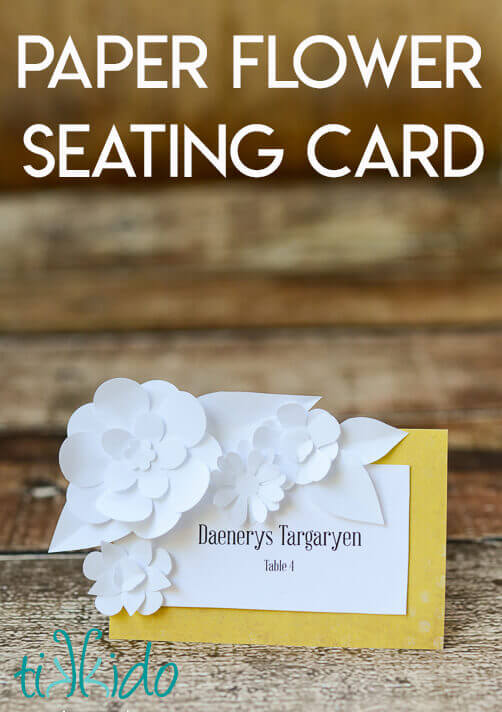
Gorgeous, right? I have such a thing for paper flowers and paper sculpture. Monochromatic, textural color schemes, too.
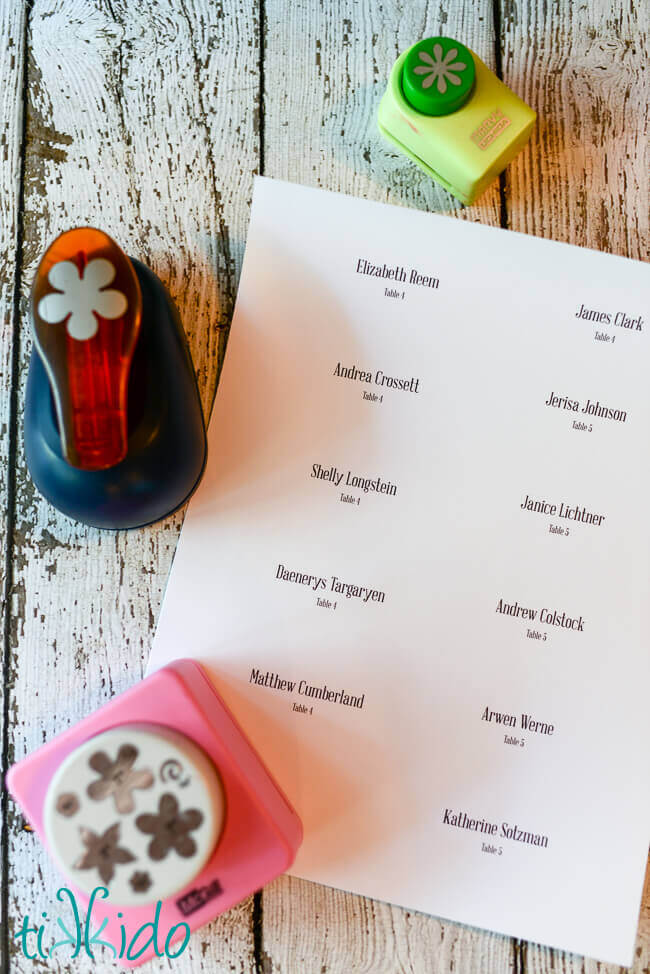
Materials for making the sculptural, paper flower seating cards or table tents:
- plain printer paper
- white cardstock
- contrasting color cardstock (optional)
- scissors
- straight edge paper cutting tool
- low temperature glue gun
- paper scrapbook flower punches
First, print on cardstock the guest names and table assignments (or whatever text you need). It works brilliantly to format your document into two columns and center the text for this purpose.
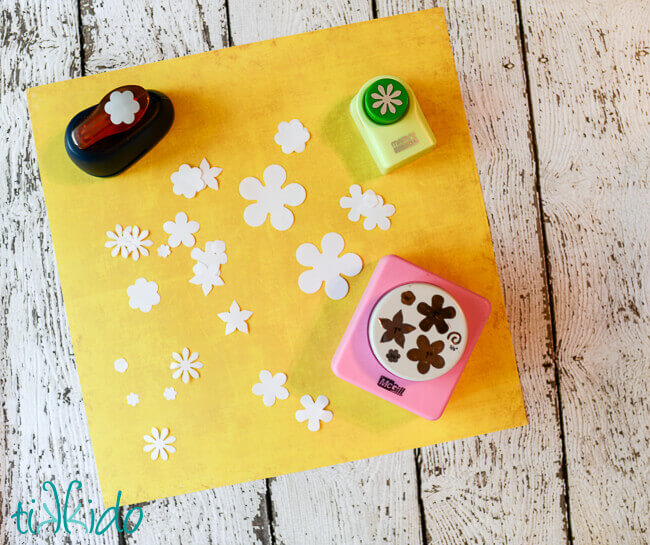
Next, use various flower scrapbook paper punches to cut out various sizes and shapes out of plain, white printing paper. I have a number of different punches I used for this project, but if you had to buy just one, this McGill punch with 5 flower shapes in one punch is a great option.
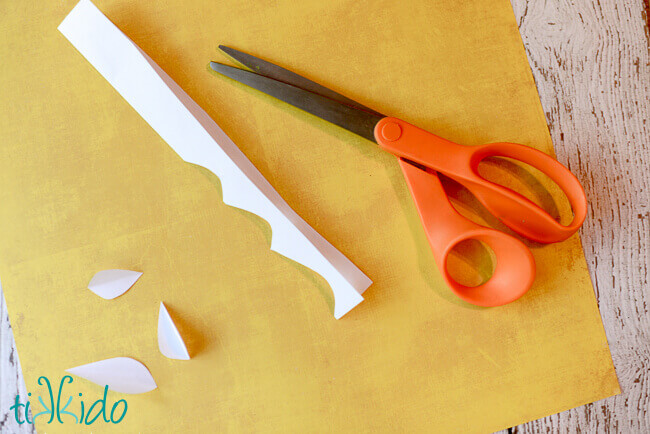
Cut out leaf shapes by folding a narrow piece of printer paper in half, then cutting out arcs of paper along the fold. Instant leaf shapes, with the fold down the center vein already there!
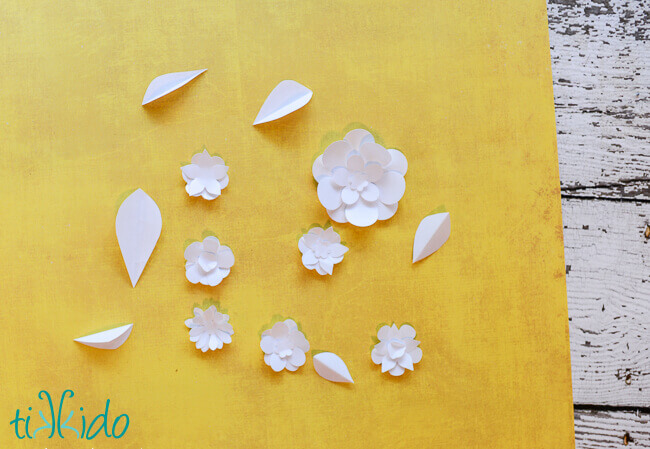
Assemble the paper flowers with a low temperature glue gun, curling the edges of the punched paper flowers up to give them extra dimension.
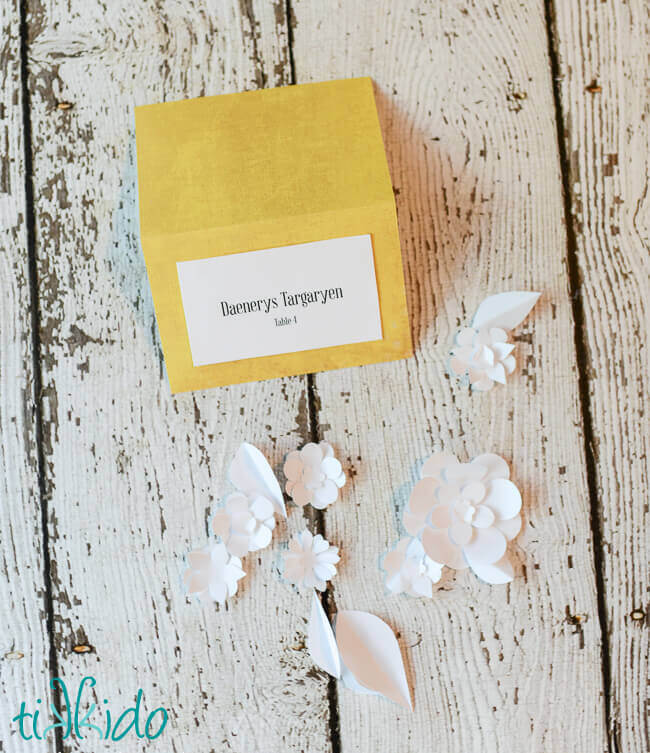
Cut out each name and table assignment. Glue the smaller rectangle of paper on a larger rectangle of cardstock. Fold the lager rectangle of cardstock in half to create the paper tent shape.
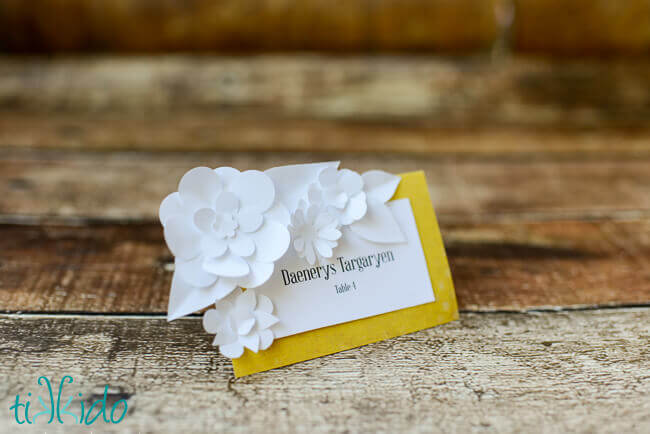
Glue a few paper flowers and leaves to the edge of the seating card. Don't be afraid to let the flowers and leaves extend outside the boundaries of the rectangle. It looks gorgeous that way.
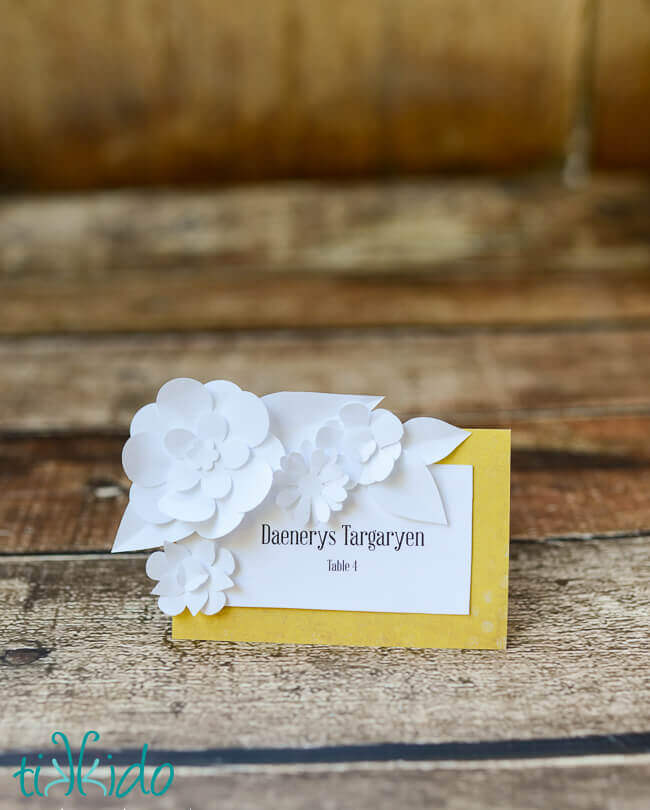
I tend to like the flowers in the upper left corner of the seating card, but you could certainly attach them wherever you like best.
I love paper flowers! Clearly, since I used this style of card at Helene's English Tea Party.

And the first time I used this technique was way back in 2011 for the Secret Garden baby shower! Guess I took a while to get around to writing up a tutorial for you, huh?


.png)