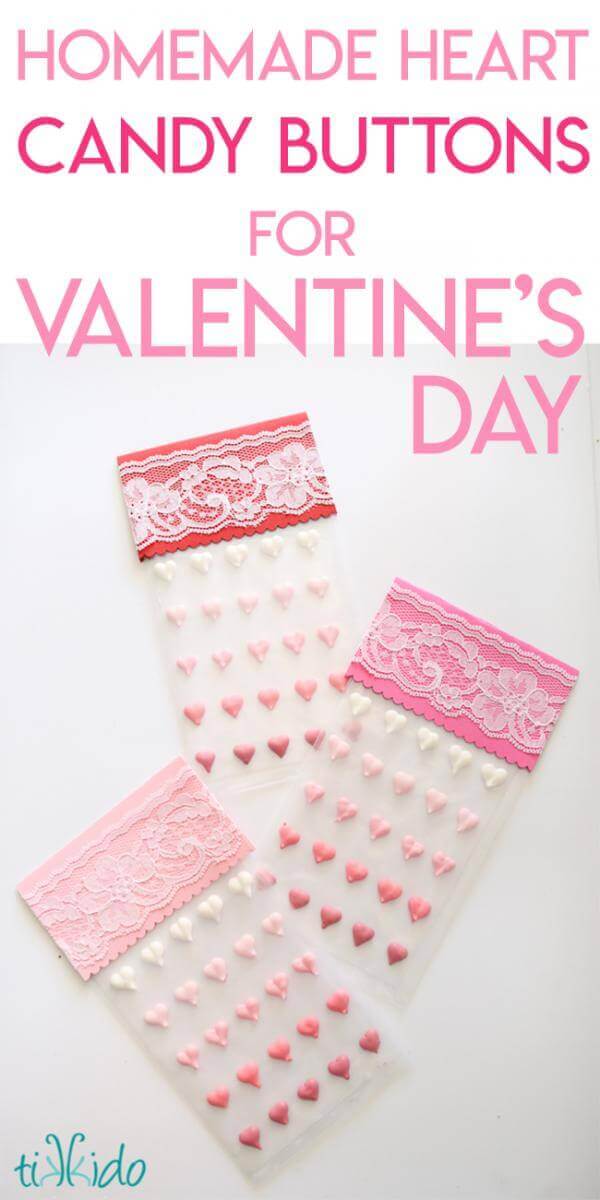
I made some birthday cookies for a friend this weekend, and ended up with leftover royal icing. Rather than throw it away, I was inspired to update my homemade candy buttons tutorial with a Valentine's Day twist.
.JPG)
I started by printing out some half-inch grid graph paper. I knew I wanted to make little icing hearts, so I'd need more room between the candy buttons than if I were just making circles.
.JPG)
I had some 4"x6.5" clear polypropylene treat bags already, so I cut my graph paper down to 4"x5" (to give a little room at the top for the label) and sketched out my pattern of hearts.
.JPG)
I mixed up some pink icing in an ombre palate of graduated color. I've loved ombre for decades. I doubt I'll ever get tired of it, even after the trend is long gone.
I cut strips of waxed paper (I learned the hard way in the original tutorial that parchment paper is too slippery!) 4" wide, slipped my grid underneath, and piped simple hearts on top.
.JPG)
Let the candy buttons dry completely, then slip each set into a clear goodie bag. The decorative closure at the top is the perfect finishing touch, and is fast and incredibly easy. Cut a rectangle of cardstock. Mine were 5"x4", but yours will be dictated by the size of the treat bag you use. I like using a 5" tall rectangle folded in half because it's a great size for adding a 2" circle punch (a printable, a little "Love, Name" written by the kid, etc.) to the banner. Fold each rectangle in half, add a little lace with a bit of spray adhesive, and attach to the bag of candy buttons with staples or a hot glue gun.
.JPG)
If you'd like, use a pair of scalloped scissors to trim the bottom edge of the folded rectangle of cardstock. I went back and forth, debating whether or not to go with the scalloped edge. I ended up soliciting opinions on Facebook and Instagram, and got some really great feedback. Thanks, guys, for helping me finalize the design! It's so nice to be able to bounce ideas and brainstorm with other creative, fabulous people!


.png)