Make a miniature gingerbread baking scene Christmas ornament to give to your favorite baker this Christmas. This DIY baking Christmas ornament is easy to make, and can be customized to represent your own family holiday baking traditions.
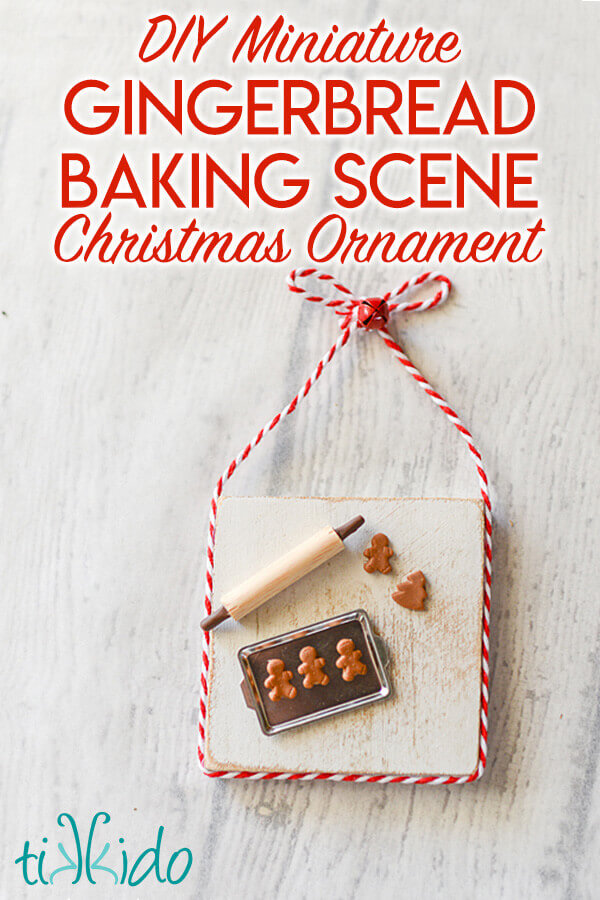
I love miniature things, I love Christmas ornaments, and I love baking tons of Gingerbread houses each December. It was only natural that I would eventually memorialize all of those things together in one outrageously cute Christmas ornament.
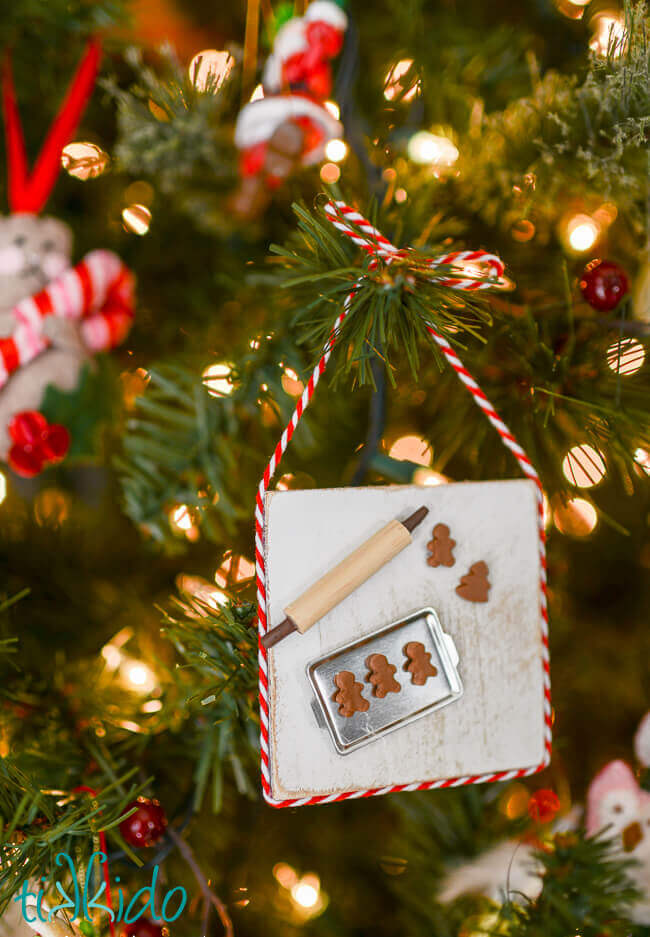
I love how these turned out SO much, and you won't believe how easy they were to make.
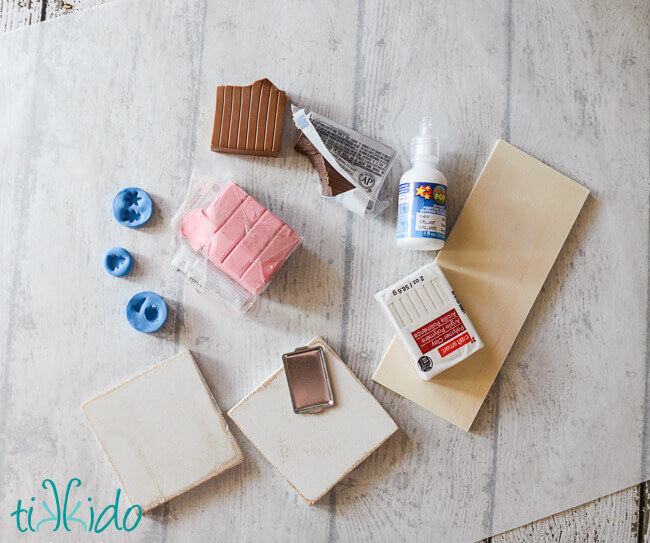
The distressed white wooden squares came from Michaels, pre painted and everything. They were only $0.99 each, too. I bought my polymer modeling clay at the craft store as well.
The miniature cookie sheets and cookie molds came from The Mouse Market, and yes, I am officially obsessed with everything on that site now. SO MUCH CUTE MINI STUFF! They have tutorials, too.
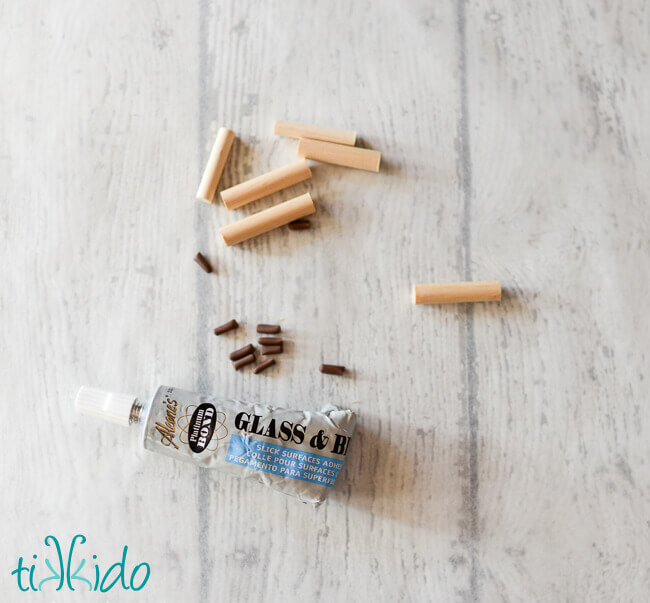
I made the rolling pins by cutting a dowel into approximately 1" lengths. I made handles out of polymer modeling clay, baked the handles, and glued them to the wooden dowel segments.
Note: I did not use my glue gun for once! Oh, I tried, but the polymer clay just pops right off. Instead, I used a thick, sticky glass and bead slick surface glue. E6000 would be another good option, but my tube of that had dried up.
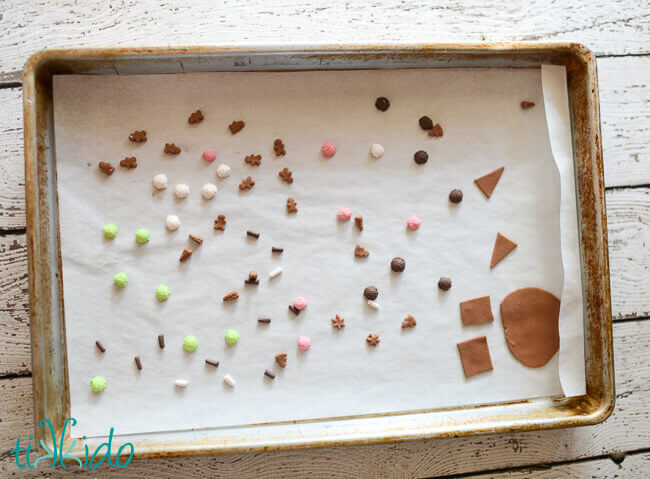
The molds are really easy to use, and turn out amazing miniature clay cookies. Bake the clay according to the instructions on the package.
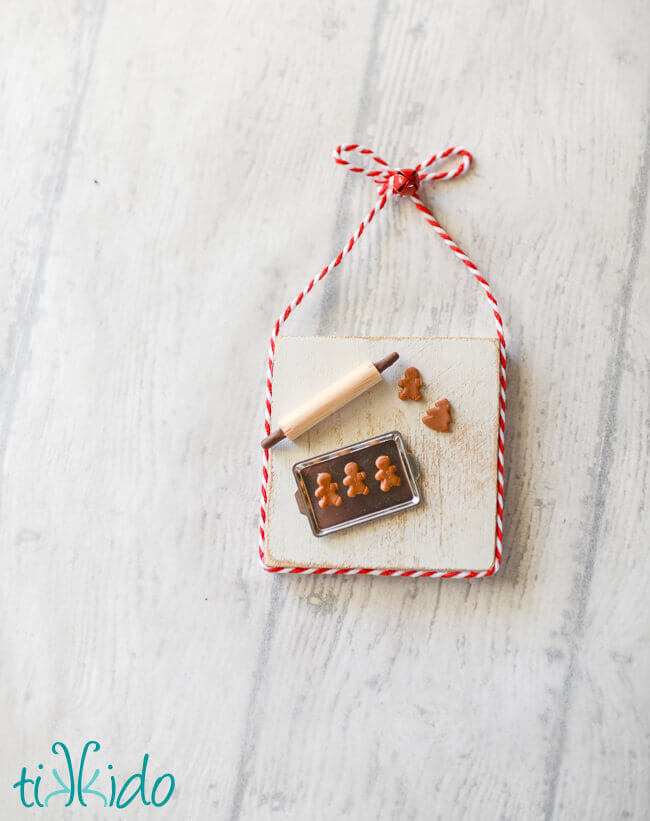
I used more of the glass and bead glue to assemble my little baking scene, and glued (using a hot glue gun this time!) baker's twine around the edge of the ornament to create the loop for hanging on the tree.
So cute, right? Sometimes I really impress myself. I made one of these for each of my girls (my awesome gingerbread baking helpers), and signed and dated the back.
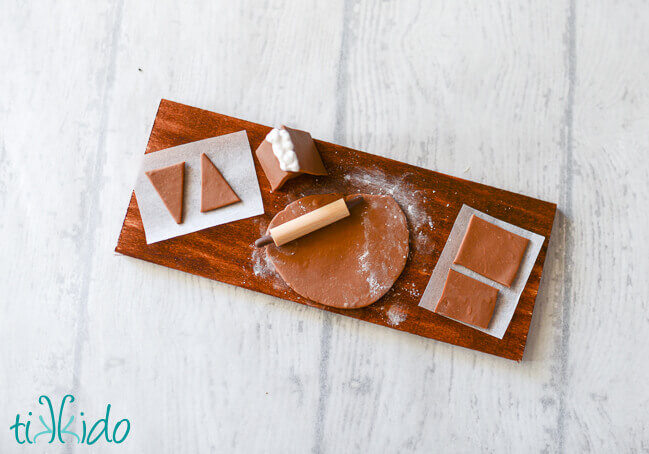
I have a garland over my kitchen windows where I display all my food-related ornaments, and I wanted to create a gingerbread house baking scene ornament for that garland. I knew I needed more space than that little square of wood, so I purchased a pack of wooden rectangles at Michaels. It was $2.99, I believe, for a 6 pack.
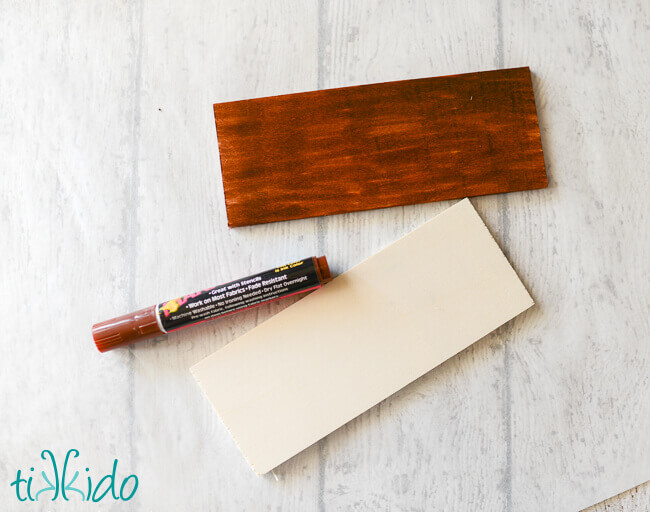
I could have stained the wood, but I didn't have stain on hand. I did, however, have access to my daughter's extremely extensive marker collection. The marker actually made the wood look exactly like our farmhouse style kitchen table! Plus, it was incredibly fast and easy, and took no time at all to dry.
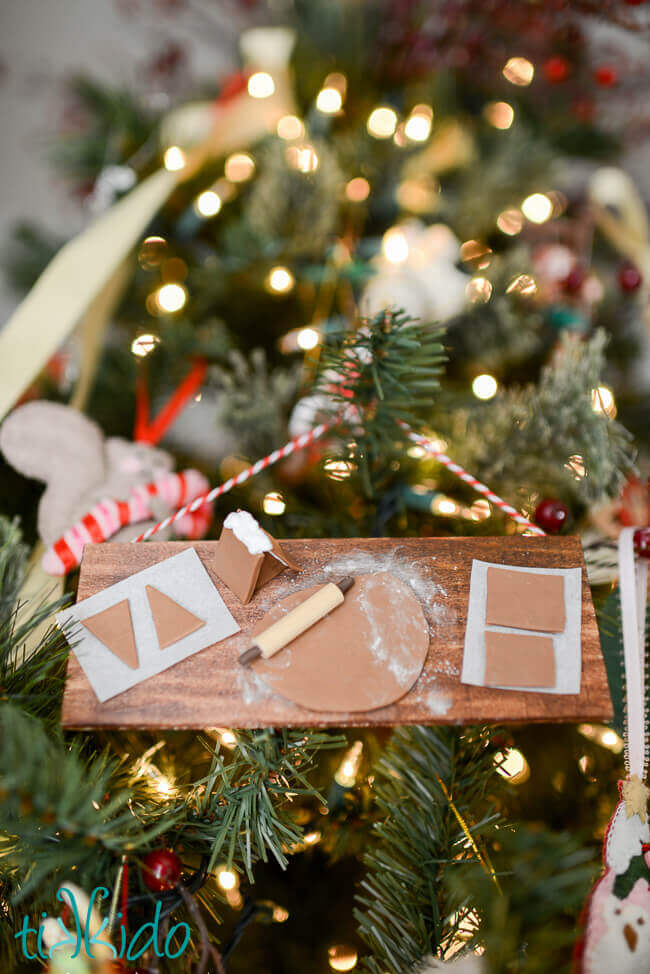
I baked up my polymer clay into miniature versions of my classic Christmas shapes, and assembled one itty bitty gingerbread house using puff paint as the fake royal icing glue.
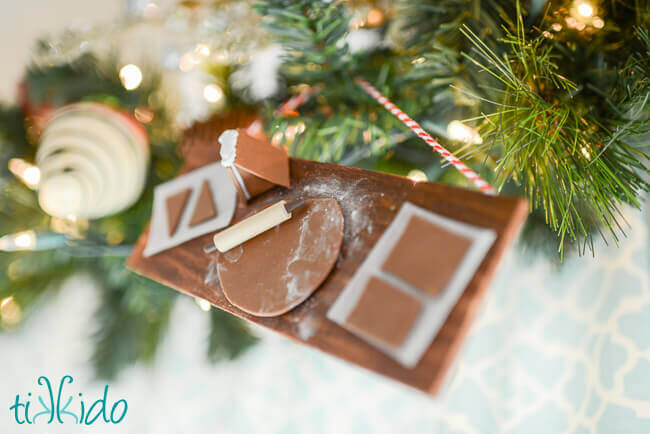
The parchment paper is actual parchment paper, cut into a tiny rectangle. For the flour, I dusted on baby powder. It looks great for now, but we'll have to see if I need to refresh the flour in future years. I'll report back on that as soon as I have any insights.
I love decorating my Christmas tree because my ornaments each have such special memories associated with them. I hope my girls, many years from now, put these ornaments on their trees, and remember how much fun we had baking together. That would be the best Christmas present I could ever hope for.


.png)