These no knead cinnamon rolls are everything you've ever wanted in a cinnamon roll recipe. Gooey. Tender. Decadent.
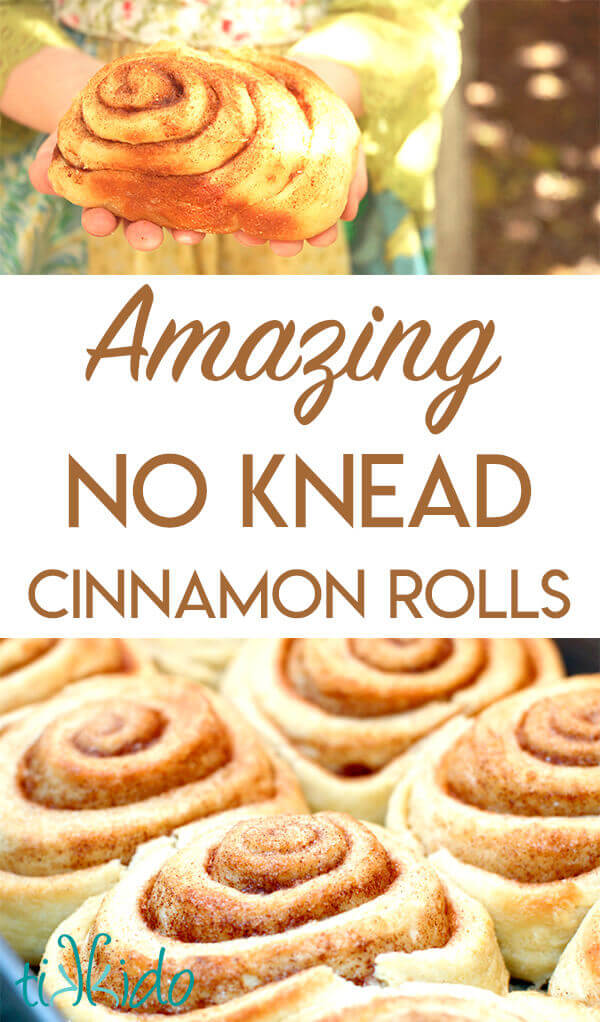
But so flavorful by itself that it seems a sin to put icing on top, so we never do. And those who eat my cinnamon rolls never seem to miss it.
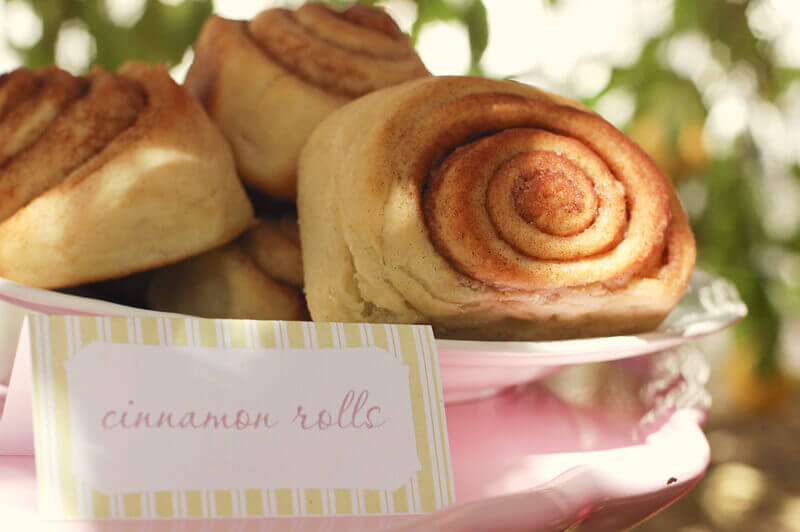
When I settled on a brunch theme for the Blush party for Festivities magazine, I knew that our cinnamon rolls had to be part of the menu. They're just too good to leave off!
Don't have time to make homemade cinnamon rolls? Try this cinnamon roll breakfast casserole or these no yeast cinnamon rolls that are ready in about 30 minutes!
I have no idea where this recipe originated, but I'd place my bet on it coming from the Tupperware company, mostly because the instructions reference using a tupperware "fix-n-mix" bowl. But Tupperware currently makes a bowl that's too small for this recipe and calls it "fix-n-mix," so that's not what you want any more! These days you need to get one of their larger "Thatsa Bowl." This is the one I use.
Now, you can really use any old large bowl you happen to have around, but using this particular one is nice because the recipe was clearly written for it. It makes the timing of the rises a snap! Plus it's a really handy bowl to have around for large batches of salad, coleslaw, cutting up a big watermelon, etc.
If you're looking for a savory no-knead bread, try making this easy no knead sourdough bread. But if you're ready for gooey, sweet, tender, buttery, amazing no-knead cinnamon rolls, carry on with this recipe!
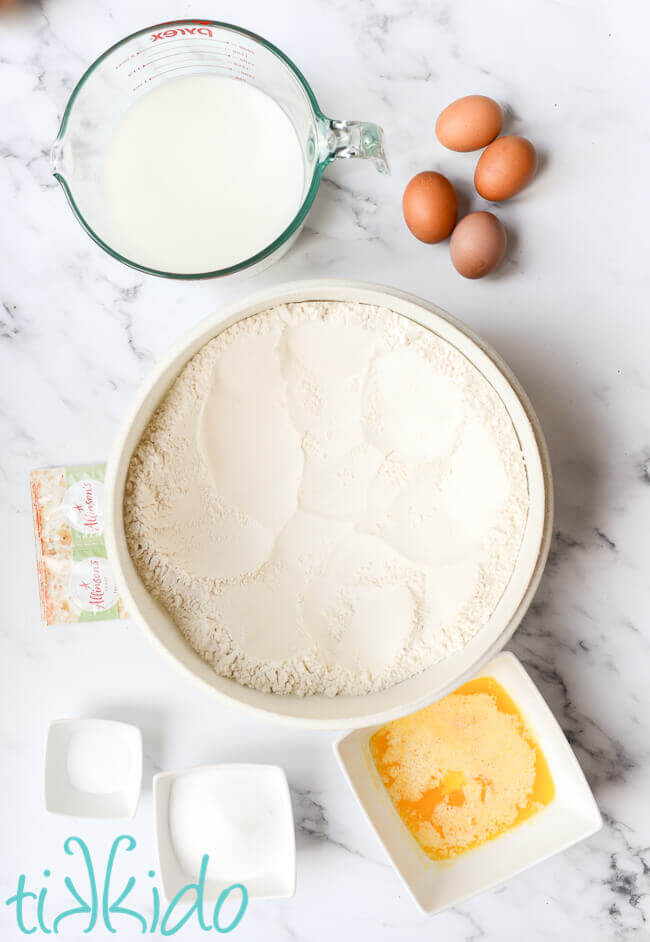
Cinnamon Roll Recipe Ingredients:
- 9 cups flour
- 1 1/2 cups milk
- 1 1/2 cups water
- 2/3 cup sugar
- 2 teaspoons salt
- 2 packages yeast
- 4 beaten eggs
- 3 sticks butter (divided)
- cinnamon sugar
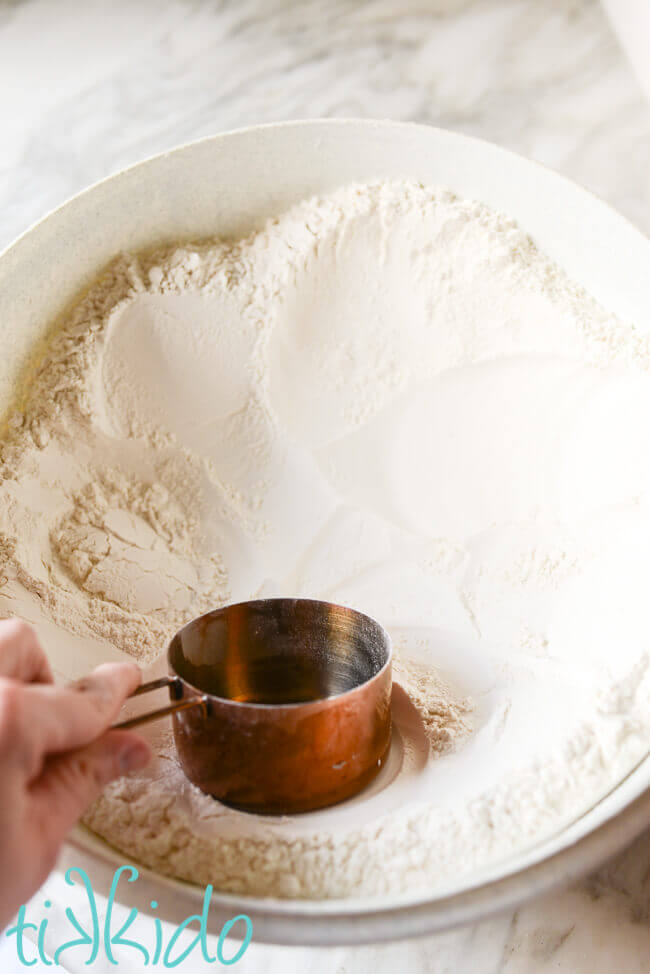
Place 9 cups of flour in your large Tupperware bowl. Make a large well in the center of the flour.
Take 1 1/2 cups of milk and 1 1/2 cups of water, and warm it gently until the liquid mixture is approximately 115 degrees. Add 2/3 cup sugar, 2 t salt, 2 packages of yeast, and 4 beaten eggs.
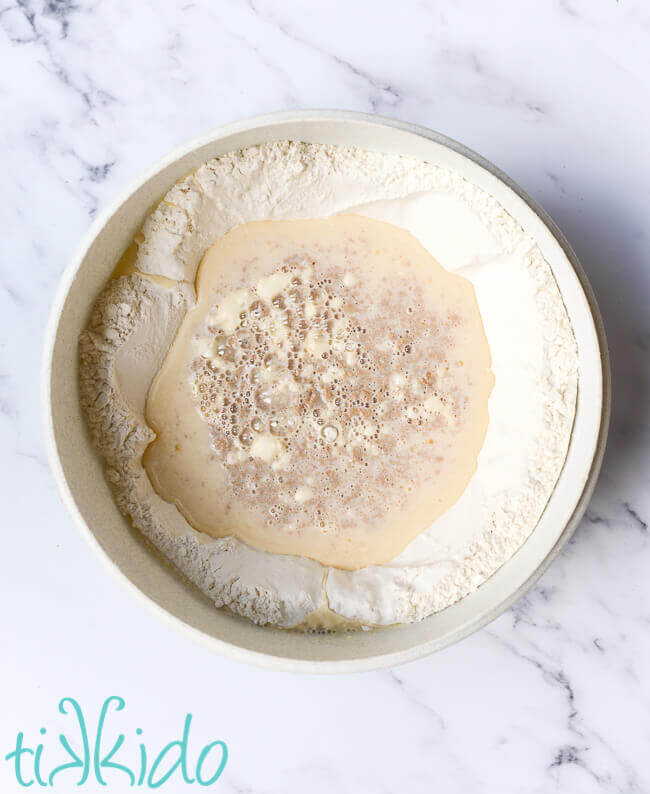
Pour the liquid mixture into the will. DO NOT MIX. You heard me, don't touch it. Put the lid on and wait until the lid pops off (about 30 minutes). If you're covering your bowl with cling wrap or a towel, you'll need to use a timer. This is where the Tupperware bowl is awfully handy!
While waiting, melt 2 sticks of butter and let cool a bit. (You don't want to kill your yeast with too-hot melted butter when you add it later).
When the lid pops off the first time (or after the 30 minutes of waiting), add the melted butter and mix it all together. It will be gooey, it will be lumpy, but don't worry. Just incorporate the flour and put the lid back on, and wait until the lid pops off again (another 30ish minutes).
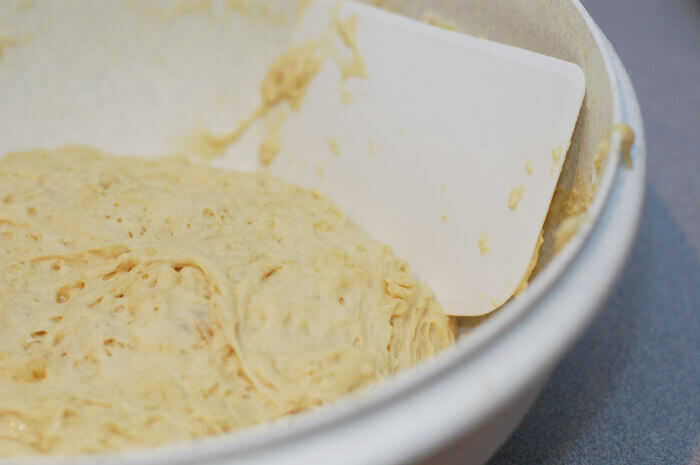
There's no kneading in this recipe. There's barely even any stirring. The dough above is ready to be formed, but see? It's lumpy, it's gooey. It doesn't look like it should work, but it really does!
How to Shape Cinnamon Rolls
It's now time to shape the dough, and this is where it gets fun. Divide the dough in half, and place the first half on a well floured surface. Well floured. This is a very wet dough. Sprinkle flour on top of the dough. Rub your rolling pin with flour. Don't be afraid to sprinkle more flour as needed as you roll it. Roll into a large rectangle.
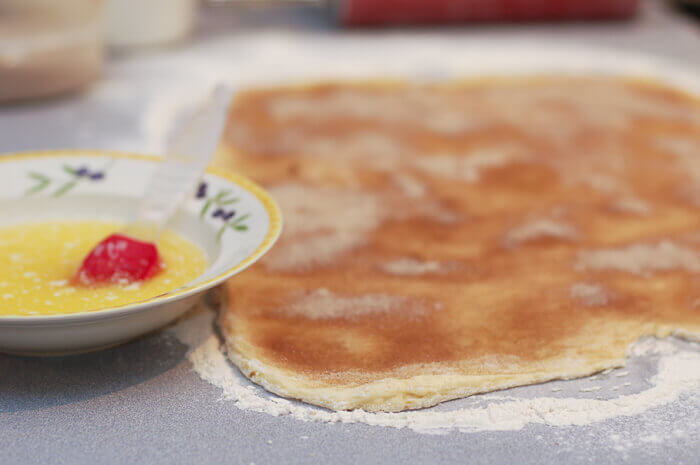
Melt another stick of butter (yes, we're on our third stick of butter! Why do you think these suckers taste so good?), and brush all over the surface of your rectangle of dough.
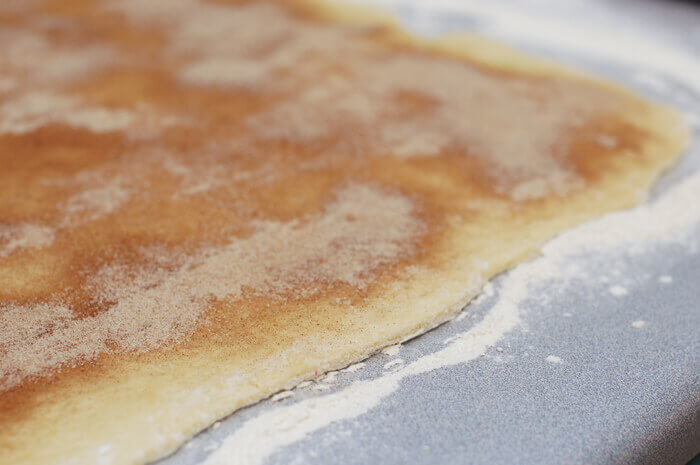
Sprinkle with cinnamon sugar, getting as close to the edge as you can without making a horrible, sticky mess all over the counter and floor.
Roll the whole thing up from the short side.
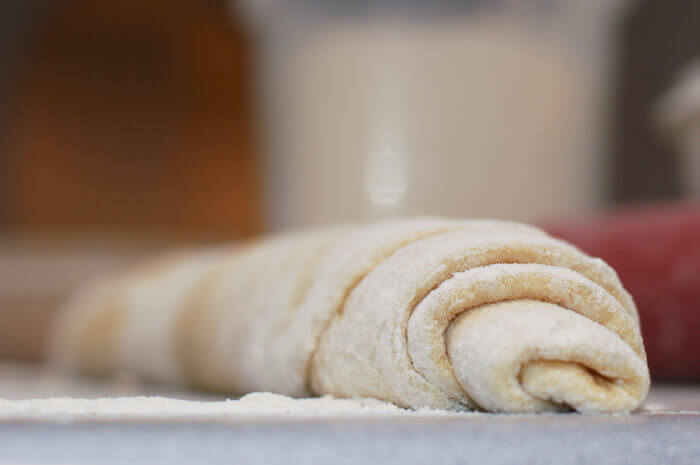
This is what your cinnamon roll should look like now. My rectangles are never more than rectangle-ish, so the ends are always irregular. Don't worry about it. Those ends are destined for the scrap pan, anyway.
Now comes the fun part, cutting the individual rolls! And this is one of my favorite tips in all of baking.
How to Cut Cinnamon Rolls
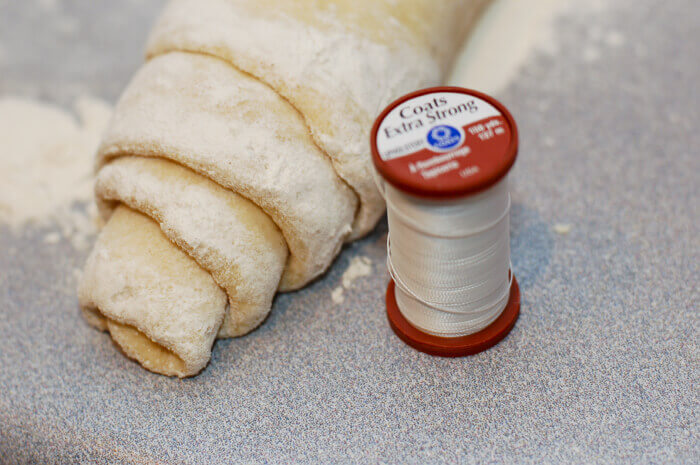
Rather than use a knife and smush all those lovely layers, we use thread to cut the cinnamon rolls. Specifically, extra strong sewing thread (sometimes called button thread). Tooth floss also works beautifully, but we usually have the minty stuff, so I always use the thread.
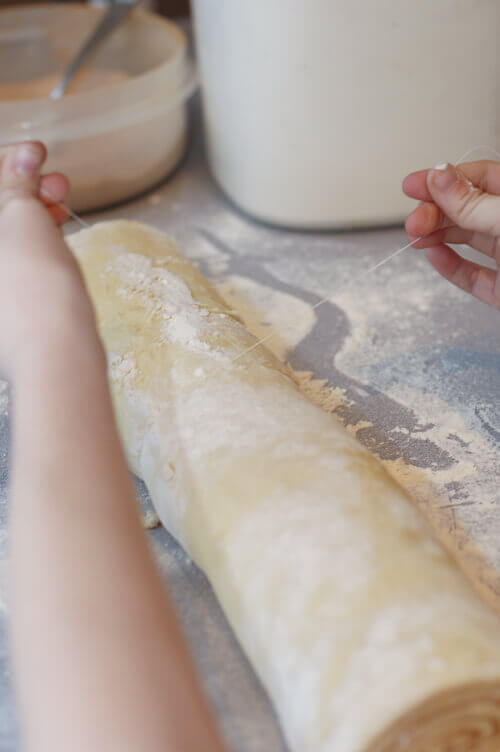
Cut a good length of thread--18-20 inches or so, and slide it under your long log of cinnamon roll dough. Do your best to find the center.
Draw the ends of the string up, and criss-cross them over the dough.
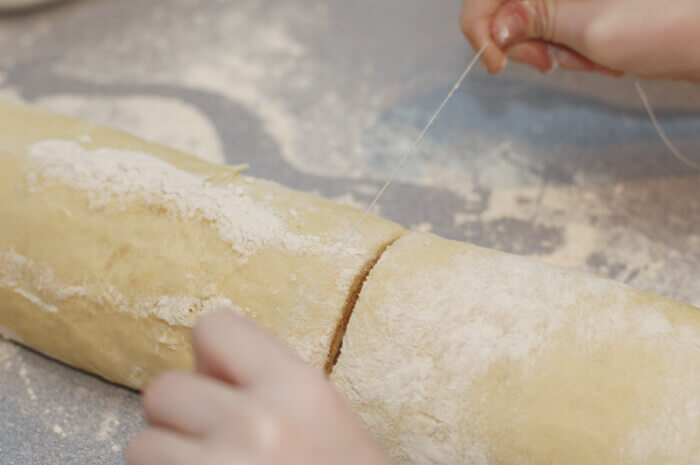
Pull one end of the string to the left, one end to the right, and before you know it, you'll have a magnificent, perfect, non-squishy cut in your roll of dough.
Trim off the irregular ends of the log, and place in an 8x8 scrap pan.
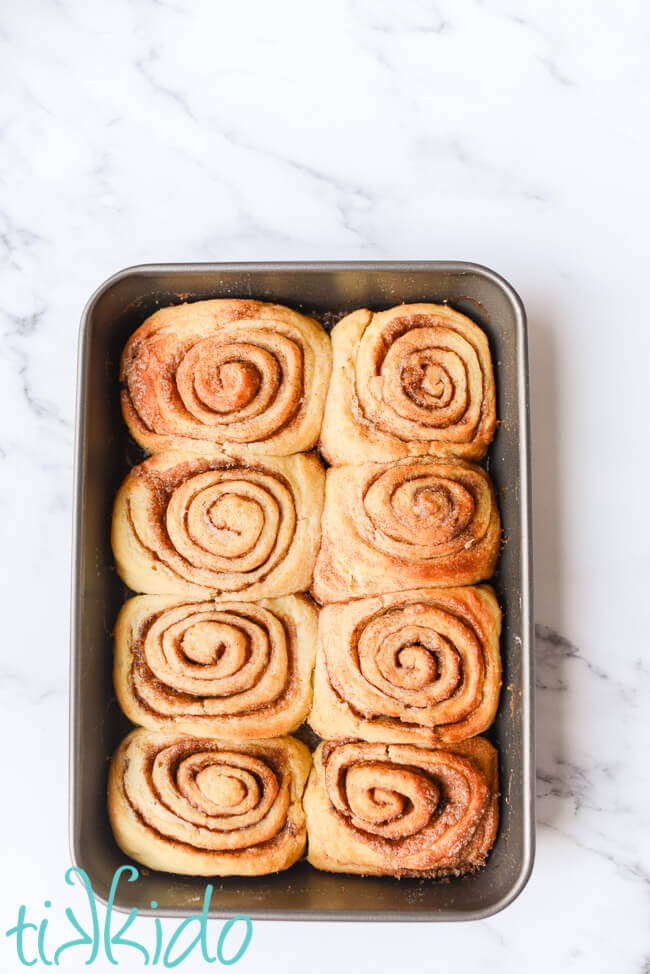
Cut your log of dough into eight equal pieces, and arrange in a 9x13 pan.
Repeat with the remaining dough. You'll now have 16 beautiful cinnamon rolls and 4 homely (but delicious) scrap rolls.
Brush the remaining butter over the sides of the cinnamon rolls in the pans; the rolls will grow together while baking, but the butter will make them easy to pull apart after they're done.
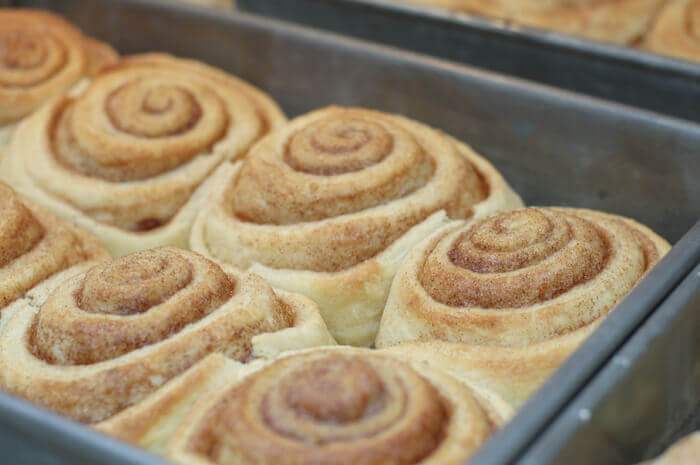
Let the shaped but unbaked dough rise while your oven comes up to temperature. Pop in a 350 degree oven and bake for 20-25 minutes. I almost always do 23 minutes.
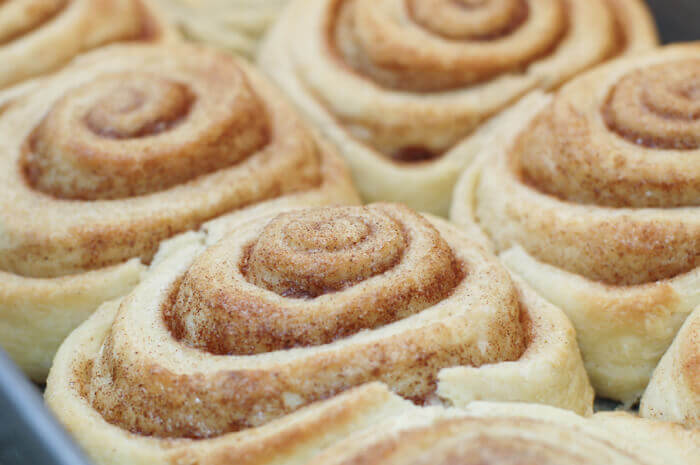
DO NOT OVER BAKE! These cinnamon rolls will not come out of the oven looking all golden brown. There will be a little bit of browning, but if you want more dramatic color, sprinkle the tops with extra cinnamon sugar. If you bake these until they are golden brown on top, they will be horribly dry, and you will wonder why the heck I think this is a good recipe.
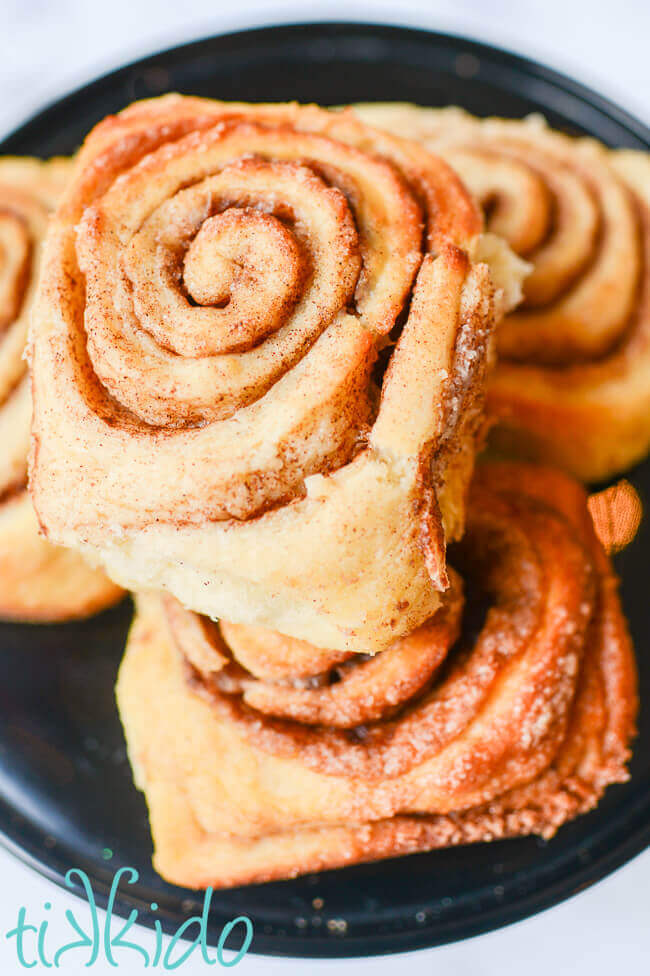
Cool and enjoy--if you can wait that long.
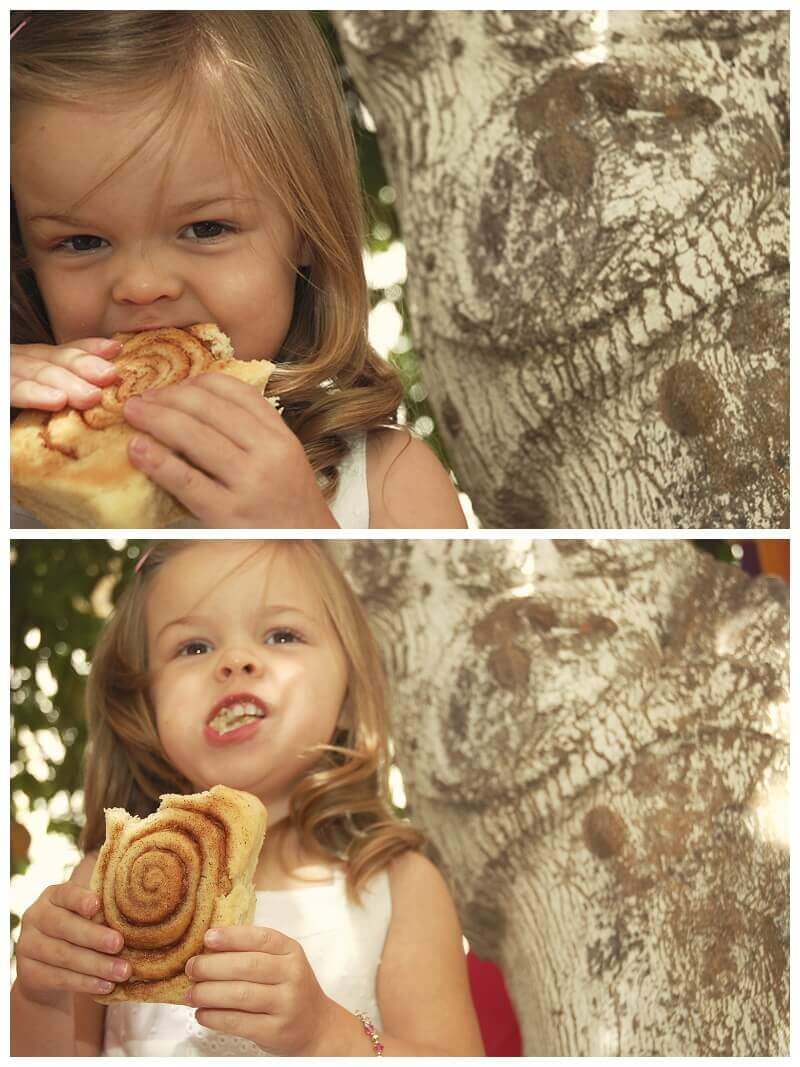
These are obviously good the first day, but can last quite a few days. They also freeze gorgeously. But around our house, we don't typically have the problem of extra cinnamon rolls sitting around for long ;-) This little beauty (above) ate two of them by the time she got home the day of the party!
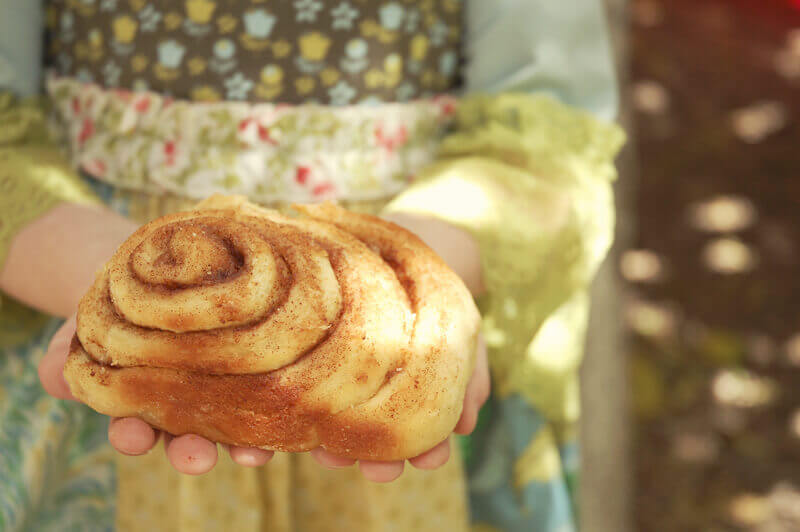
Big, beautiful, buttery, tender, and bursting with flavors you wouldn't want to cover up with a lake of icing. What more could you ask for in a cinnamon roll?
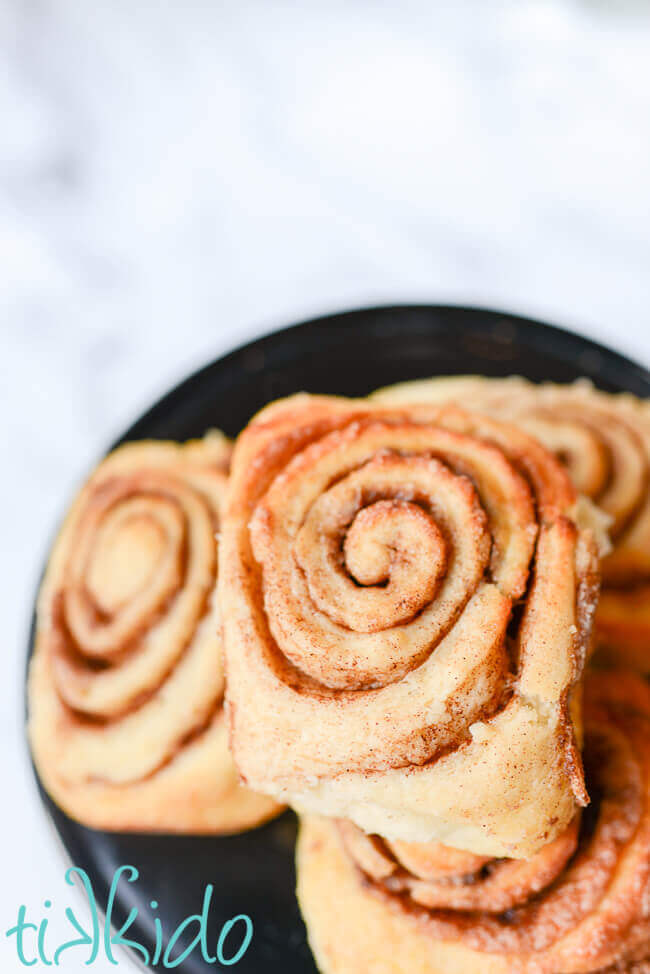
Printable Cinnamon Rolls Recipe
Pin it for Later:





.png)